Post-Apocalyptic Game Environment – In-Depth Tutorial Course
Release date:2021, April 12
Author:FastTrack Tutorials
Skill level:Beginner
Language:English
Exercise files:Yes
Post-Apocalyptic Game Environment – In-Depth Tutorial Course
Learn how a professional environment artist works when creating environments for games. You’ll learn techniques like Modular Modeling, Procedural Texturing, Unique Texturing, Decal Creation, Composition, Level Art, Lighting – and much more!
MAYA, SUBSTANCE AND UNREAL ENGINE
All the modeling will be done in Maya, However, the techniques used are universal and can be replicated in any other 3d modeling package. The materials will be created using Substance Designer and Substance Painter, and they will be previewed in marmoset toolbag 4. The foliage will be created using a combination of Maya and Speedtree and the level will be built in Unreal Engine 4.
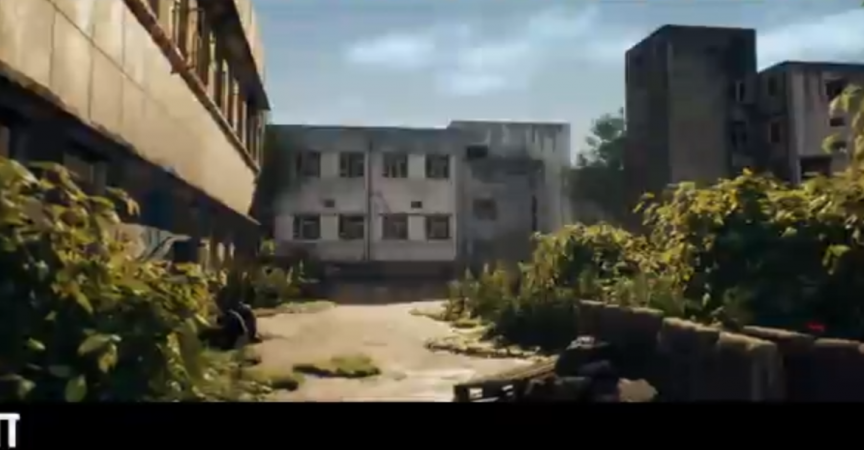
In this course, you will learn everything you need to know to create the final results that you see in the images and trailers. Next to this, the same techniques can be applied to almost any type of environment.
21 HOURS!
This course contains over 21 hours of content – You can follow along with every single step – The course does inclose a few small time lapses, this is just to speed up very repetitive tasks, the rest is done in real-time.
We will start by creating our blockout to make sure our modular pieces work and that the composition is correct. We will then turn these into final assets. Along with the final assets, we will create our procedural materials and unique textures. We will bring it all together in UE4 and start creating and placing our decals. we will finish things off with our first lighting pass and then draw focus to our foliage. where we will use Speedtree and Maya to create multiple types of foliage. We will bring the foliage in Unreal and place it, add general improvements to our scene and paint our terrain. Finally, we will finish off with some bonus chapters on how to use Megascans to push your level even more.
SKILL LEVEL
This game art tutorial is perfect for students who have some familiarity with a 3d Modeling tool like Maya, Substance Designer/Painter, Speedtree, and Unreal Engine 4– Everything in this tutorial will be explained in detail. However, if you have never touched any modeling or texturing tools before we recommend that you first watch an introduction tutorial of those programs (you can find many of these for free on Youtube or paid on this very website)


 Channel


i was waiting for this course
thank you for the uploads
Can you please update the course “Metodo FanArt 2.0” to 3.0? It’s vastly superior to the previous one
hi, i still cannot upgrade my account
please check http://mf.fxgear.shop/
this course Large Game Environment Creation – In-Depth Tutorial Course [UE5]
how to buy premium? no option
hey dude can u please find and publish their new course Large Game Environment Creation – In-depth Tutorial Course [UE5]