

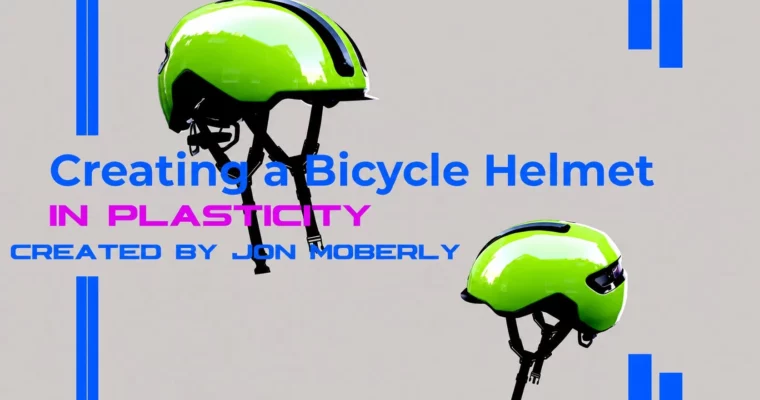
Creating a Bicycle Helmet in Plasticity by Jon Moberly

Duration:7h 10m
Actual Duration:7h 10m
Release date:2025
Publisher:Skillshare
Skill level:Beginner
Language:English
Exercise files:Yes
Software:Plasticity
Course URL:https://www.skillshare.com/en/classes/creating-a-bicycle-helmet-in-plasticity/1138085644
This is a straight-up, step-by-step build of a bicycle helmet in Plasticity. No fluff, no shortcuts—just 7 hours of focused modeling. You’ll start with reference gathering, then move into the main shell using lofting and patching with G1 and G2 continuity. From there, you’ll thicken forms, cut in details, and add components like the brake light, lid, and strap system. By the end, you’ll export the finished model as an OBJ, ready for texturing and rendering elsewhere.
🎯 What you’ll learn
- Build a complex helmet shell using lofts and patches with G1/G2 continuity
- Thicken and manipulate surfaces to create inner foam and outer shell geometry
- Model secondary components like brake lights, lids, and strap assemblies
- Prepare and export a clean OBJ file for use in other 3D platforms
✅ Requirements
- Skills: Basic familiarity with 3D modeling concepts and Plasticity’s interface
- Tools: Plasticity installed on your machine
- Hardware: A 3-button mouse with a scroll wheel is strongly recommended for viewport navigation
📝 Description
This class is built around a single, realistic project: the ABUS bicycle helmet. It’s a production model with real-world shapes and forms, which makes it perfect for learning how to handle complex surfaces. Jon doesn’t just show you the tools—he shows you the thinking behind each step.
The main helmet form is the meat of the course. You’ll use lofting and patching to create the shell, then refine it with G1 and G2 continuity. This is where Plasticity shines, and Jon walks through it methodically. Once the shell is solid, you’ll cut sections out and remodel them back in to add visual interest—a technique that’s essential for product design.
From there, it’s all about the details. You’ll thicken the inner foam, build a brake light assembly, create a new lid, and model the strap system piece by piece. The strap connectors alone take nearly two hours, and that’s where you’ll really stretch your problem-solving muscles. Finally, you’ll clean up the model and export it as an OBJ, ready for texturing and rendering in your preferred platform.
This isn’t a theory course. It’s a hands-on, follow-along build that leaves you with a portfolio-ready model and a much stronger grasp of hard-surface modeling in Plasticity.
🧑🎓 Who this course is for
- 3D artists and concept designers looking to add CAD modeling to their toolkit
- Beginners to intermediate Plasticity users who want a structured, project-based learning experience
- Indie learners who prefer a workflow that doesn’t rely on paid plugins like X-Nurbs
🧑🏫 About the Author
Jon Moberly is a YouTube creator and 3D artist with a focus on practical, accessible modeling tutorials. He’s known for breaking down complex workflows into manageable steps, especially for indie artists and self-taught learners. His teaching style is direct and no-nonsense, prioritizing real results over abstract theory.
🏁 Final Result
- A complete, production-style bicycle helmet model with inner foam, brake light, lid, and full strap assembly
- An OBJ export ready for texturing and rendering in other 3D applications
- A solid understanding of Plasticity’s core modeling tools and workflows for hard-surface design
 Channel