

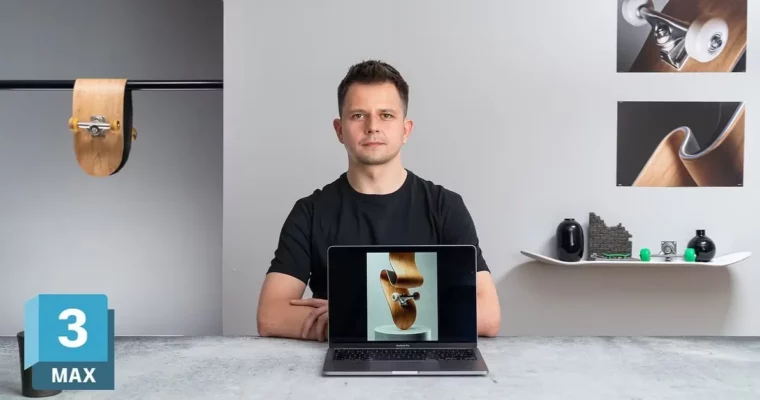
Advanced 3D Design, Modeling and Rendering Techniques by Sebastian Marek

Actual Duration:2h 12m
Release date:2024, June
Publisher:Domestika
Skill level:Advanced
Language:English
Exercise files:Yes
Software:3ds Max, Adobe Photoshop, Redshift, Substance Designer
Course URL:https://www.domestika.org/en/courses/4255-advanced-3d-design-modeling-and-rendering-techniques
Want to get sharper at hard-surface 3D? In this course you build a weird, stylized skateboard from zero using 3ds Max, Substance Designer, and Redshift — modeling, UVs, textures, lights, and final render included.
🎯 What you’ll learn
- Model a skateboard deck, griptape, wheels, and bearings in 3ds Max from technical plans
- Bend and refine geometry for a stylized, surreal look without breaking topology
- Build clean UV maps ready for texturing
- Create realistic textures with image-based and procedural workflows in Substance
- Set up cameras, lights, and materials for a final render in Redshift
- Composite render elements in Photoshop for a polished final image
✅ Requirements
- Skills: Basic knowledge of 3D programs and Adobe suite, familiarity with full digital workflows
- Tools: 3ds Max, Substance Designer, Redshift, Adobe Photoshop
- Hardware: Computer capable of running 3ds Max and GPU rendering, dedicated GPU recommended, minimum 16GB RAM
📝 Description
This is not a button-pushing tutorial. Sebastian walks you through why each step matters in a real job — how clean topology saves you in UV mapping, why good UVs save you in texturing, and why lighting makes or breaks the model.
You start in 3ds Max with technical plans. No eyeballing. You block out the deck, add griptape, build the wheels and bearings, then push the shape into something surreal with bending and deformation tools. It is practical hard-surface work you can reuse on any product or prop.
Then comes the part most people skip: UVs and textures. You lay out proper UVs, jump into Substance Designer, and mix image-based details with procedural controls for wood grain, roughness variation, and wear. That combo is what makes the board look real instead of plasticky.
Finally, you light it. You set cameras, build Redshift materials, dial in lights, and render. Then a quick composite pass to tighten colors and contrast. Short, focused lessons, no fluff — just a full modeling to rendering pipeline you can actually finish.
🧑🎓 Who this course is for
- Graphic designers and animators who want solid 3D modeling and rendering skills
- 3D artists who know the basics and want to level up in hard-surface workflow
- Creatives looking to explore surreal product visuals for their portfolio
🧑🏫 About the Author
Sebastian Marek is a multidisciplinary designer working across 3D design, motion, and digital sculpture. He is known for surreal, hyper-detailed object renders that mix technical precision with a playful visual twist. His client and personal work leans heavily on hard-surface modeling and look-dev, which is exactly what he teaches here.
🏁 Final Result
- A stylized, surreal 3D image of a skateboard — fully modeled, textured, lit, and rendered, ready for portfolio
 Channel