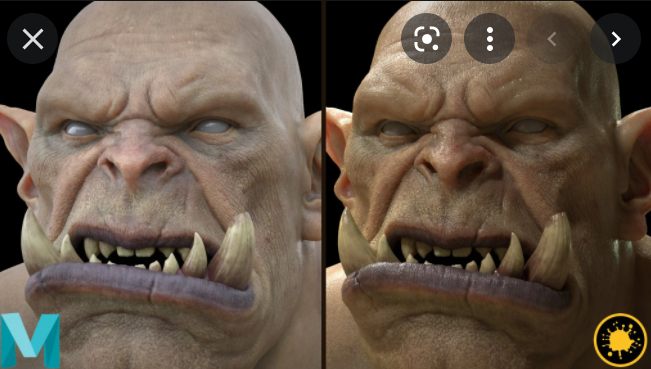
Mari and Maya – Skin Texturing And Shading For VFX by Lars Ivar Stranden
Release date:2022
Author:Lars Ivar Stranden
Skill level:Beginner
Language:English
Exercise files:Yes
When you first start out, the process of painting and shading skin in CG can be a daunting undertaking, riddled with both technical and artistical challenges. Too often the creative process will grind to a halt due to either a technical problem or uncertainty of the best way to progress.
This course will take you through the entire process from A to Z, teaching you a production proven workflow for creating skin textures and building skin shaders used by professional vfx artists in studios all around the world. We will delve deep into both the technical aspects of the workflow, as well as the creative thought process behind our decisions, making sure to explain not only the “how” but also the “why” of we use these techniques.
This way of painting textures is one that I use on a daily basis as a senior visual effects artist, and is filled to the brim with techniques that I have personally used on anything from small local commercials to Hollywood blockbuster feature films.
My hope for this course is to leave you with a thorough understanding of how to paint and shade CG skin for any type of character, as well as the confidence to both apply and adjust the workflow to whatever personal or professional project you undertake going forward as a character artist.
Main Topics:
- – Model review
- – Introduction to Mari and its powerful painting tools
- – Using skin scan textures to projection paint detailed skin displacement and color maps
- – A node based workflow for texture painting in Mari
- – Hand painting control and utility masks in Mari for added shader complexity
- – Whiteboard lessons explaining file formats, displacement technicalities and the UDIM workflow
- – Building a complex node based skin shader in Arnold from scratch
- – Real time and timelapse recordings showing the entire texture painting process
- – Evaluating your own work throughout the process to plan your progress
- – Basic render settings in Arnold for Maya
While I do try to cover every part of the tools and techniques we use throughout the course, this is not a Mari or Maya fundamentals course, and some prior knowledge of working with 3D software is recommended.
Included materials:
- – Character head model ready for texture painting (two versions of head model available based on your version of Mari)
- – Maya look development scene file with lighting setup ready
- – HDRI environment light textures from HdriHaven
- – Zbrush displacement maps (two versions available based on your version of Mari)


 Channel


Part 24 is missing. Please update, thank you so much
part 24, please
You guys do wonderful work. But can u upload this course https://www.thegnomonworkshop.com/tutorials/creating-a-stylized-female-character