VRY206 – Look Development with Maya, V-Ray and Nuke – Part 3
Release date:2021, October
Author:Amid Rajabi
Skill level:Beginner
Language:English
Exercise files:Yes
This course is the final part in the Look Development with Maya, V-Ray and Nuke trilogy (VRY204 – Part One, VRY205 – Part Two) and covers the final compositing.
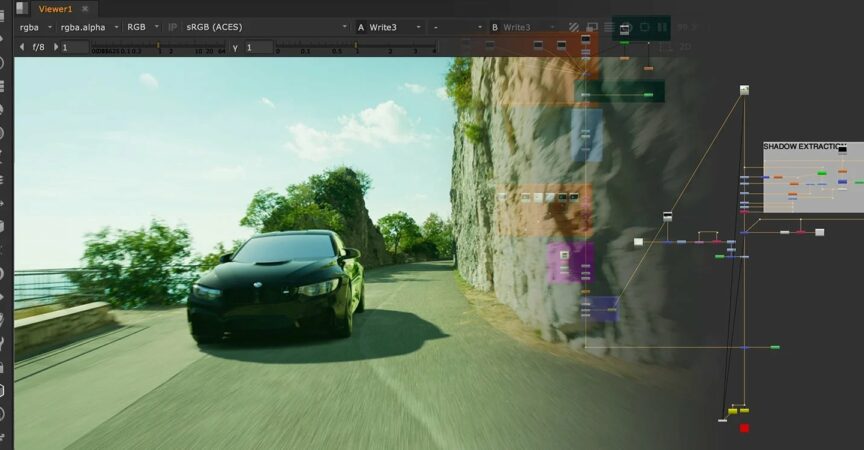
First, the multi-pass composite is set up with the passes that were rendered with V-Ray. The car is graded to match the color of the background footage and then we’ll look at the shadow extraction process to add the car shadow and ambient occlusion to the background. Finally, grain is added to the CG elements and finishing touches are made to the composite to achieve a realistic shot.
Class Listing
Class 1: Setup
Using the render passes to set up the multi-pass compositing process.
Class 2: Grading, Part 1
Grade of the reflection pass so that the car reflects the background in a realistic way.
Class 3: Grading, Part 2
Grading the car to match the background plate.
Class 4: Shadow Extraction, Part 1
Using the Keyer and Erode nodes to extract the luminance for the shadow extraction process.
Class 5: Shadow Extraction, Part 2
Finalizing the shadow extraction.
Class 6: Ambient Occlusion
Add ambient occlusion to the background to improve the realism of the shot.
Class 7: Final touches
Adding grain and other final touches for the composite.


 Channel


