Learn How to Create 3D Rick And Morty Character
Release date:2022
Skill level:Beginner
Language:English
Exercise files:Yes
Course URL:https://www.skillshare.com/classes/Learn-How-to-Create-3D-Rick-And-Morty-Character/1380103096
About This Class
Hello guys, it’s Zerina here, welcome to a new Blender course.
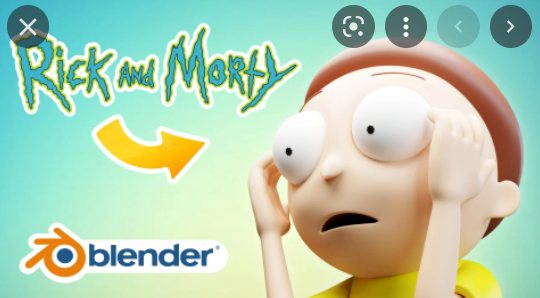
In this course, we will create Morty, from the famous TV Show Rick and Morty.
We will start the character creation using basic mashes and modifiers. It is going to be a low-poly model, easy modeling, and suitable for beginners.
Before we start modeling the character, we will need the reference images which we provided for you in the link:Morty references After we’ve imported the image reference we will then continue to create the character. Firstly we will model the base for the head, then, we’ll model the rest of the body.
Once we finish modeling the limbs and the body of Morty we will focus on the face on which we’ll use the basic principles of modeling. When we finish modeling Morty’s face we will then add the hair and the eyebrows.
Later, when we finish modeling the character, we’ll start applying the materials and finalizing the character creation. You’ll see how the Riggify Add On works, how you can add the meta rig to the character, how to assemble the bones, and how to pose the character. In the end, we’ll pose the character, adjust the settings then we’ll be ready to render our scene.What are we waiting for let’s hop on to the video! ^_^


 Channel


