


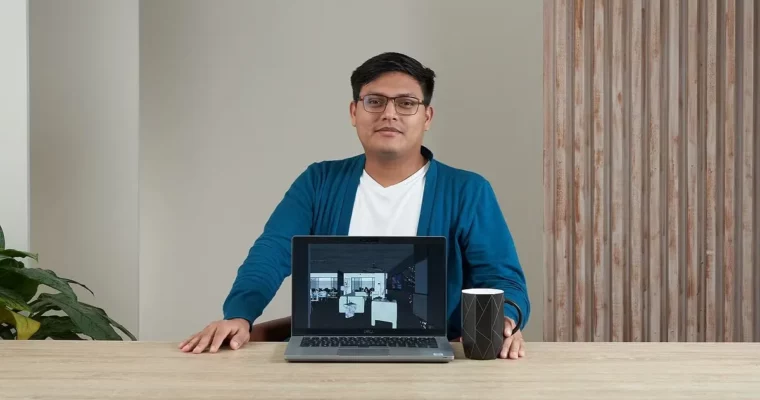
Domestika -Interiors rendering with Sketchup y V-Ray by Gabriel Cuenca Espinoza

Actual Duration:2h 3m
Release date:2024, October
Publisher:Domestika
Skill level:Intermediate
Language:English
Exercise files:Yes
Software:SketchUp, V-Ray, 3ds Max, Transmutr, Photoshop
Course URL:https://www.domestika.org/en/courses/3972-interiors-rendering-with-sketchup-y-v-ray
Want your interiors to stop looking flat and CG? This course shows you how to light, texture, and render a believable shared space in SketchUp and V-Ray, from brief and references to final Photoshop polish.
🎯 What you’ll learn
- How to analyze a brief and collect references for interior ArchViz
- How to set up main, secondary and directed lighting for interiors
- How to work with natural light and IES lights to shape mood
- How to create PBR materials and use displacement for depth
- How to build convincing wood, flooring, rugs and textiles with texture mapping
- How to import high-quality assets from 3ds Max to SketchUp with Transmutr
- How to dress a scene with furniture, objects and vegetation
- How to render in V-Ray and finish the image in Photoshop
✅ Requirements
- Skills: Basic familiarity with SketchUp, V-Ray, 3ds Max and Photoshop UI
- Tools: 3-button mouse, keyboard
- Hardware: Computer capable of running V-Ray, dedicated GPU recommended, minimum 16GB RAM
📝 Description
This is a workflow course, not just button-clicking. You start with a real brief for a shared space, pull references, and set up your SketchUp scene so the render actually has something to say. Gabriel keeps it practical: what to model, what to import, and where to spend your time for the best ArchViz result.
Lighting does most of the heavy lifting here. You will build natural light first, then add secondary fills and directed spots to shape corners and materials. He covers IES lights in plain terms — what they are, when to use them, and how to avoid that flat, overexposed interior look.
Then materials. You will make PBR materials from scratch, tune roughness and reflections, and use displacement to give fabrics, walls and floors real depth. There is a solid chunk on texture mapping for wood and flooring, because stretched or blurry textures kill realism fast.
Last part is about bringing it all together. You will move assets from 3ds Max into SketchUp with Transmutr, dress the space with furniture, rugs and greenery, and hit render in V-Ray. Final touch-up happens in Photoshop — contrast, color balance, small fixes that make the image client-ready without faking it.
🧑🎓 Who this course is for
- Interior designers, architects and 3D artists who want cleaner, more realistic interior renders
- SketchUp users who know the basics and want a solid V-Ray lighting and materials workflow for ArchViz
🧑🏫 About the Author
Gabriel Cuenca Espinoza is a 3D artist focused on architectural visualization with a soft spot for detailed interior environments. He builds precise scenes with custom furniture, objects and vegetation, and has worked with clients across Latin America, the Middle East and the US on residences, hotels and public projects.
🏁 Final Result
- A photorealistic 3D visualization of a shared interior space, lit and textured in SketchUp + V-Ray and finished in Photoshop — ready for your portfolio or client presentation.
 Channel