Ad Clicks : Ad Views : Ad Clicks : Ad Views : Ad Clicks : Ad Views : Ad Clicks : Ad Views :
Oh Snap!

It looks like you're using an adblocker. Adblockers make us sad. We use ads to keep our content happy and free. If you like what we are doing please consider supporting us by whitelisting our website. You can report badly-behaved ads by clicking/tapping the nearby 'Advertisement' X text.

SketchUp Pro Dynamic Components

/

Release date:2018, November 20

Duration:03 h 13 m

Author:Scott Onstott

Skill level:Intermediate

Language:English

Exercise files:Yes

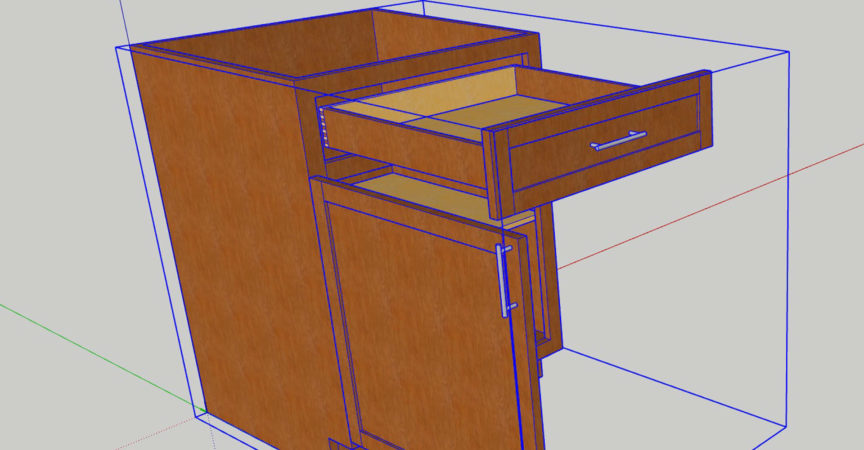
SketchUp dynamic components are reusable design elements with special attributes: parametric functions, interactivity, animation, and more. Creating your own dynamic components allows you to build a library of custom designs and easily share them with others. This training course shows how to use SketchUp Pro to build dynamic components from scratch. Instructor Scott Onstott starts by reviewing the premade dynamic components found in the Components panel and 3D Warehouse. Then he explores the build process: adding attributes, creating formulas, nesting component parts, and assigning materials. He even shows how to add a dialog box to change attribute values from a user-friendly interface. The last half of the course contains a collection of mini-projects: from fences that automatically add pickets as you scale to cabinets with animated drawers. Each project can be recreated in the Windows or Mac versions of SketchUp Pro. Finally, Scott closes with some tips for scaling materials along with your dynamic components.

Topics include:
Using premade dynamic components
Saving dynamic components to local libraries
Creating dynamic components: fences, bookcases, cabinets, and furniture
Adding position and size attributes
Adding formulas
Creating swatch components
Nesting component parts
Adding an interface for custom attributes
Animating component properties
Dynamically scaling materials

Watch online or Download for Free

01 Work with dynamic components in sketchup pro
02 Exercise files
03 What you should know
04 Reinstall the dynamic components extension
05 Course viewing strategy
06 Access dynamic components
07 Interact with dynamic components
08 Scale dynamic components
09 Understand the methods of configuring dynamic components
10 Potential problem with imported working models
11 Save and update dynamic component definitions locally
12 Access local dynamic component libraries
13 Upload a dynamic component to the 3D Warehouse
14 Add models and collections to your account
15 Create parts of a fence post as components
16 Create the top and bottom rails and the picket component
17 Define the overall component container
18 Add attributes and formulas to the post and its cap
19 Continue adding formulas to the top and bottom rails
20 Add formulas to the picket
21 Define the copy behavior for the pickets
22 Build the user interface
23 Add position and size attributes
24 Add a user interface for custom shelf attributes
25 Implement logic to copy shelves
26 Create and nest a swatch component
27 Cycle materials by clicking on a component
28 Correct texture coordinates in components
29 Nest component parts
30 Animate the drawer sliding and door rotation
31 Implement the Hidden and OnClick behaviors
32 Duplicate and make unique components
33 Nest various models in one component
34 Control model visibility with a formula
35 Implement pricing for each model
36 Debug errors
37 Disable scale and add descriptions
38 Texture mapping a face with a projected texture
39 Add more projected texture coordinates
40 Remove the material used for texture mapping
41 Implement material swapping and dealing with swatches
42 Understand how materials typically stretch
43 Create materials for each intended size
44 Design the user interface
45 Add formulas to control the number of panels and size
46 Concatenate a material name with length to swap materials
47 Add descriptions and save the project
48 Next steps
Exercise Files.zip


Join us on
  Channel    and      Group

  • Facebook
  • Twitter
  • Google+
  • Linkedin
  • Pinterest

Leave a Comment

Your email address will not be published. Required fields are marked *