Ad Clicks : Ad Views : Ad Clicks : Ad Views : Ad Clicks : Ad Views : Ad Clicks : Ad Views :
Oh Snap!

It looks like you're using an adblocker. Adblockers make us sad. We use ads to keep our content happy and free. If you like what we are doing please consider supporting us by whitelisting our website. You can report badly-behaved ads by clicking/tapping the nearby 'Advertisement' X text.

Rendering Engines for Product and Industrial Visualization

Release date:2019, January 25

Duration:03 h 50 m

Author:Zaheer Mukhtar

Skill level:Beginner

Language:English

Exercise files:Yes

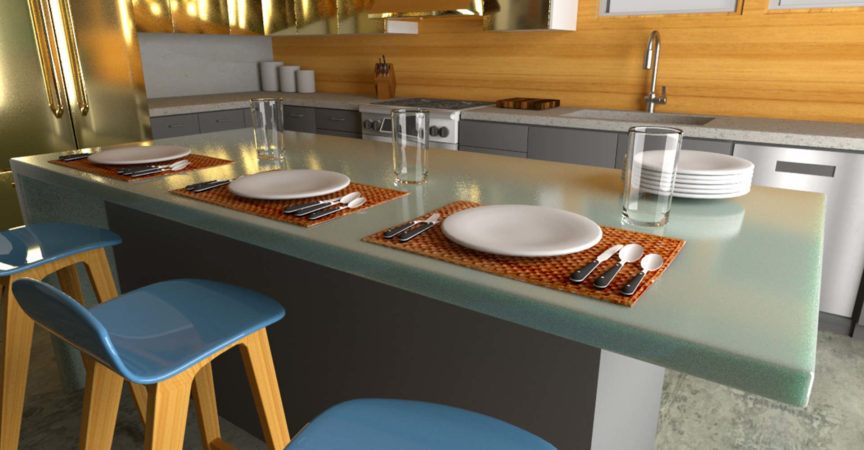
Choose the best rendering engine for your product and industrial visualization jobs. This course is focused on introducing and comparing the most popular rendering engines—Unreal, Unity, V-Ray, Arnold, and Redshift—and quick renderers such as KeyShot and Marmoset Toolbag. Instructor Zaheer Mukhtar explains the difference between real-time and offline renderers, and the advantages and ideal uses of each rendering engine. Discover how to leverage each application’s unique tools and workflow for lighting, texturing with materials, camera animation, and post-processing effects. Plus, learn why you might use KeyShot and Marmoset Toolbag for quick clean renders, such as previewing your project or presenting a low-poly 3D model to a client.

Topics include:
Exporting and importing in Unreal Engine
Adding lights and post-processing effects in Unreal
Creating fog and PBR materials
Exporting and importing in Unity 3D
Lightings, cameras, and post-processing in Unity
Lighting and materials in V-Ray
Working with the Arnold renderer
Lighting and materials in Redshift
Quick rendering with KeyShot and Marmoset Toolbag

Watch online or Download for Free

00. Introduction to Real-Time Renderers
01 – Real-time versus offline renderers
02 – Run Unreal Engine
03 – Export to Unreal using Datasmith
04 – Import to Unreal using Datasmith
05 – Add basic lights in Unreal Engine
06 – Add reflections and post-processing in Unreal
07 – Bake lights and post-process effects
08 – Snapshots and final renders
09 – Create fog and PBR materials
10 – Introduction to the Unity 3D interface
11 – Export a scene from 3ds Max
12 – Import a scene to Unity 3D
13 – Adjust lights in a scene
14 – Build more lights and reflections
15 – Add camera controls
16 – Use post-processing effects
17 – Use PBR materials
18 – Recap of Unreal and Unity

01. Introduction to Offline Renderers
19 – Set up V-Ray
20 – Explore the V-Ray Physical Camera
21 – Learn about V-Ray Sun and V-Ray lights
22 – Use HDRI lighting and V-Ray frame buffer effects
23 – Understand V-Ray materials and IPR
24 – Composite render elements in Photoshop
25 – Set up the Arnold renderer
26 – Construct an Arnold camera
27 – Assemble Arnold lights
28 – Add HDRI lighting
29 – Explore materials in Arnold
30 – Remove noise and finalize render
31 – Set up Redshift
32 – Understand Redshift lights
33 – Explore dome and IES lights
34 – Use Redshift materials presets
35 – Prepare final render
36 – Recap of the V-Ray, Arnold, and Redshift renderers

02. Introduction to Quick Rendering Tools
37 – Introduction to KeyShot
38 – Animate and render in KeyShot
39 – Overview of Marmoset Toolbag
40 – Conclusion

Ex_Files_Rendering_Engines_Viz_Unreal.zip


Join us on
  Channel    and      Group

  • Facebook
  • Twitter
  • Google+
  • Linkedin
  • Pinterest

Leave a Comment

Your email address will not be published. Required fields are marked *