

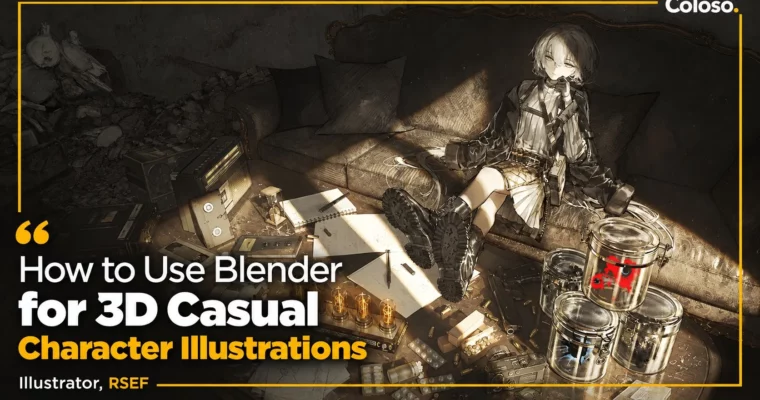
How to Use Blender for 3D Casual Character Illustrations by RSEF

Duration:34시간 58분
Actual Duration:69h 52m
Release date:2024, May
Publisher:Coloso
Skill level:Intermediate
Language:Korean
Exercise files:Yes
Software:Blender, Adobe Photoshop
Course URL:https://coloso.co.kr/products/illustrator-rsef
Tired of characters that look pasted on top of the background? This class shows you how to use Blender as a helper for illustration, not as a full 3D job. You build simple spaces, check angles and perspective, then paint over it in Photoshop.
🎯 What you’ll learn
- How to use Blender for illustration without learning full 3D production
- 1, 2, and 3-point perspective with simplified construction you can actually use
- Modeling simple props and rooms with cubes, cylinders, and modifiers
- Camera, focal length, and angle control for stronger compositions
- Light, shadow, and PBR basics for believable coloring
- UV mapping, procedural textures, and texture painting essentials
- Building a classroom scene with Blender Kit, physics, and particles
- Making and posing a low-poly dummy character with Rigify
- Blender to Photoshop workflow: render, layer cleanup, retouch, and finish
✅ Requirements
- Skills: Basic drawing skills, basic Photoshop operation like layers and brushes
- Tools: Blender 4.1 (free), Adobe Photoshop 2022 or newer, drawing tablet recommended
- Hardware: PC capable of running Blender, dedicated GPU recommended for Cycles, minimum 16GB RAM
📝 Description
This is not a Blender-for-Blender class. RSEF only teaches the parts of Blender you need for casual character illustration: interface, shortcuts, simple modeling, camera, lights, and export. You will stack blocks, model cans, chairs, desks and apples, then move straight to making spaces you can draw in.
The middle of the class fixes the part most illustrators skip: perspective. Instead of memorizing theory, you see it in 3D. Eye level, vanishing points, 1/2/3-point construction, lens and field of view — all explained with cubes you can rotate. RSEF then shows his simplified 3-point method so you can sketch big scenes without getting stuck on rulers.
Then it gets practical. You build a full school building and broken classroom scene with free Blender Kit assets, set up physics for scattered props, rig a low-poly dummy with Rigify, and test different lighting moods and camera angles. From there you take renders into Photoshop, clean up layers, match detail levels between 3D and paint, and finish two illustrations with texture brushes and color correction.
🧑🎓 Who this course is for
- You want to use 3D for casual illustration but felt Blender was too much to start
- Your characters and backgrounds never sit in the same space
- You always draw perspective by feel and want a system that actually sticks
🧑🏫 About the Author
RSEF is a freelance illustrator and instructor at Fever Cell Academy who is known for clean casual characters in solid, readable spaces. His client work includes HoYoverse, SUNBORN, BLUEPOCH, Yostar, Netease Games, and Adobe branded content, plus music video illustration for Kamitsubaki Studio.
He teaches the way he works: plan first, then paint. Lots of trial and error went into his system for combining character and background with correct scale, light, and PBR logic, and that is what this curriculum is built around — beginner-friendly steps that still hold up for client-level work.
🏁 Final Result
- Two finished portfolio illustrations built from your own Blender classroom scenes, from concept and 3D blockout to final Photoshop paint and color correction.
📢 Guys, this is a Group Buy campaign, check the GBC forum thread to get access
You can find the course preview in the download section below.
 Channel