Ad Clicks : Ad Views : Ad Clicks : Ad Views : Ad Clicks : Ad Views : Ad Clicks : Ad Views :
Oh Snap!

It looks like you're using an adblocker. Adblockers make us sad. We use ads to keep our content happy and free. If you like what we are doing please consider supporting us by whitelisting our website. You can report badly-behaved ads by clicking/tapping the nearby 'Advertisement' X text.

Revit Interior Design Project Techniques

/

Release date:2018, August 31

Duration:03 h 11 m

Author:Chante' Bright

Skill level:Intermediate

Language:English

Exercise files:Yes

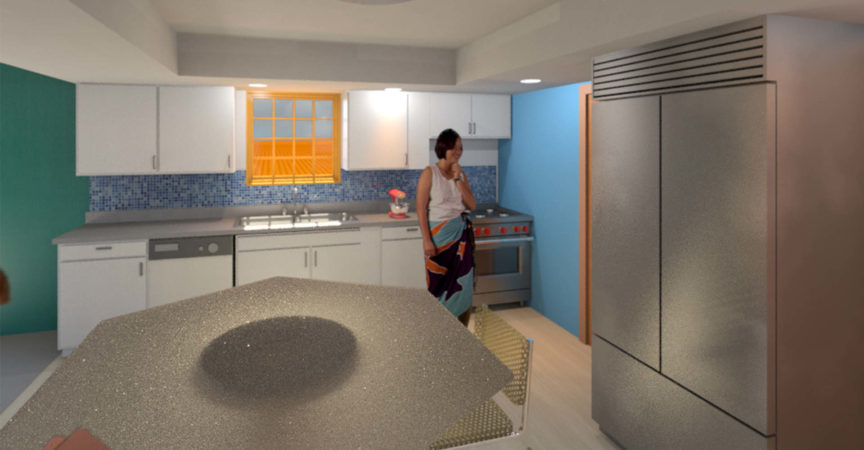
Autodesk Revit is widely known for its architectural drafting capabilities, but its features also lend themselves well to interior design projects. If you’re looking to tackle a project in Autodesk Revit, but don’t know where to begin, then this course is for you. Join instructor Chante’ Bright as she shares techniques and tools that can help you leverage Revit to create striking presentations and effective documentation. Chante’ steps through how to set up your workspace, add custom materials, create preliminary designs, use lighting effects in interior spaces, and more.
Topics include:
Managing your information
Working with the camera
Getting organized
Adding custom materials
Creating project schemes
Understanding design options
Placing components
Adding materials
Placing a ceiling for lighting
Proper lighting techniques
Rendering a view in the cloud

Table of Contents

Introduction
Create stunning presentations for interior design 53s
What you should know 36s
1. Managing Your Information
Taking care of business 2m 54s
Head over feet 4m 56s
2. Workspace Setup
Creating the interior elevation 4m 34s
Set it and forget it 2m 53s
Laying out and setting up 5m 15s
Seeing things clearly 4m 9s
Working with the camera 5m 36s
Putting things in their place 5m 18s
Getting organized 3m 35s
3. Material Library Setup
Adding custom materials: Part 1 7m 52s
Adding custom materials: Part 2 8m 59s
Texturizing 7m 16s
Classifications 4m 46s
4. Creating Project Schemes
Understanding design options 5m 10s
Using phasing and options together 14m 59s
Connecting the dots 3m 27s
5. Placing Components
Adding casework and other equipment: Part 1 6m 4s
Adding casework and other equipment: Part 2 5m 43s
Understanding component visibility 1m 15s
Placing kitchen components 7m 40s
6. Beginner Family Creation
Creating extrusions 8m 52s
Creating revolves 5m 26s
Adding materials 5m 48s
7. Material Mapping
Finishing touches 3m 49s
Digital staging 6m 8s
Adding materials by component 7m 40s
Adding materials by paint 5m 44s
Placing a ceiling for lighting 8m 6s
8. Presentation Documentation
Proper lighting techniques: Part 1 4m 57s
Adding a studio light 4m 10s
Rendering a view in place 8m 14s
Rendering a view in the cloud 7m 55s
Conclusion
Next steps 53s

  • Facebook
  • Twitter
  • Google+
  • Linkedin
  • Pinterest

Leave a Comment

Your email address will not be published. Required fields are marked *