Ad Clicks : Ad Views : Ad Clicks : Ad Views : Ad Clicks : Ad Views : Ad Clicks : Ad Views :
Oh Snap!

It looks like you're using an adblocker. Adblockers make us sad. We use ads to keep our content happy and free. If you like what we are doing please consider supporting us by whitelisting our website. You can report badly-behaved ads by clicking/tapping the nearby 'Advertisement' X text.

ZBrush – Rendering

/

Release date:2016, August 17

Duration:00 h 49 m

Author:Michael Ingrassia

Skill level:Beginner

Language:English

Exercise files:Yes

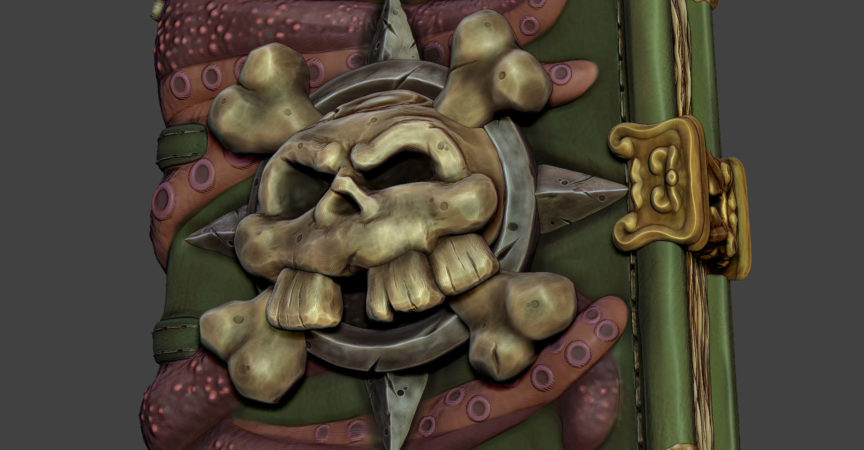
Take your ZBrush projects to the next level. Learn how to refine your models in programs like Maya and Photoshop. In this course, Michael Ingrassia walks through several ZBrush rendering workflows for modifying the shape of a model and exporting texture maps for painting outside of ZBrush. First, find out how to export elements for UV layout in Maya or use UV Master to lay out UVs right in ZBrush. Then learn how to export texture maps for refinement in Photoshop, where you can adjust colors, hand-paint texture, and add filters and effects. Chapter 3 shows how to adjust the overall shape of your model in Maya and reassemble the final sculpt back in ZBrush.

Table of Contents

Introduction
Welcome 52s
1. Exporting Mesh for UV and Texturing
Exporting cover mesh for quick UV layout 8m 22s
Completing UV layout and importing back to ZBrush 2m 42s
Texturing outside of ZBrush 4m 26s
Using UV Master to quickly unwrap organic shapes 3m 28s
2. Quick Rendering Using Photoshop
Creating a beauty pass render outside of ZBrush 5m 55s
Layering MatCaps in Photoshop 5m 8s
3. Final Sculpt Modification
Exporting the book using SubTool Master 3m 58s
Importing subtools into Maya 7m 50s
Reimporting into ZBrush 2m 14s
Finalizing book reconstruction 3m 51s
Conclusion
Wrapping up 1m 5s

  • Facebook
  • Twitter
  • Google+
  • Linkedin
  • Pinterest

Leave a Comment

Your email address will not be published. Required fields are marked *