Create 3D Photorealistic Faces by Gerardo Torres Carrillo
Release date:2024
Duration:02 h 52 m
Author:Gerardo Torres Carrillo
Skill level:Beginner
Language:English
Exercise files:Yes
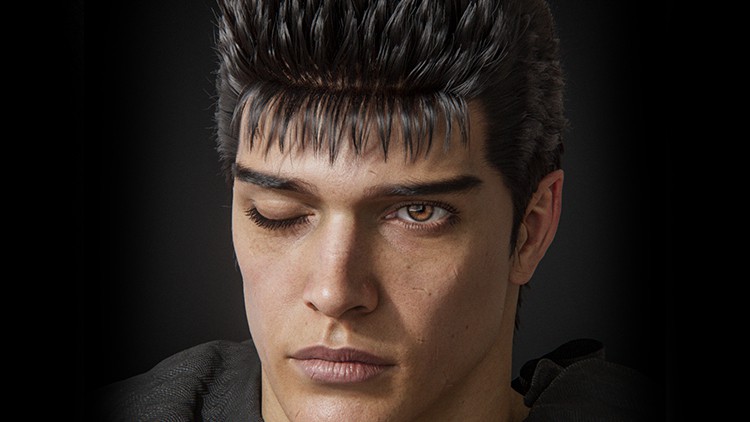
See that face? I’ll show you how to create it, inspired by Guts from Berserk.
Join me in this series of videos, totaling over 2.5 hours, where I’ll demonstrate my character creation process.
Below are the software I typically use, but you can follow along with your favorite program, such as Blender, for example.
Software used: Autodesk Maya 2024, Arnold Renderer, The Foundry Mari, The Foundry Nuke, Pixologic ZBrush, and Photoshop.
Note: Resources like the textures from TexturingXYZ are paid and separate. Also, this is not a beginner tutorial, but you will learn a lot.
We’ll begin with a basic overview of modeling in ZBrush, setting up our model and transferring textures. Then, we’ll move to Mari to project displacement and transfer textures. Next, we’ll dive into Maya, where most of the work will happen. We’ll set up our model with materials, connect textures, and prepare for rendering with Arnold Render. Once we have our render, we’ll export it for post-processing using Nuke and Photoshop to add those extra touches for a realistic result outside of the 3D software.
Who this course is for: This course is for anyone looking to achieve more realistic results with their characters. It’s designed for individuals with an intermediate level of knowledge in 3D software.



 Channel