INTRODUCTION
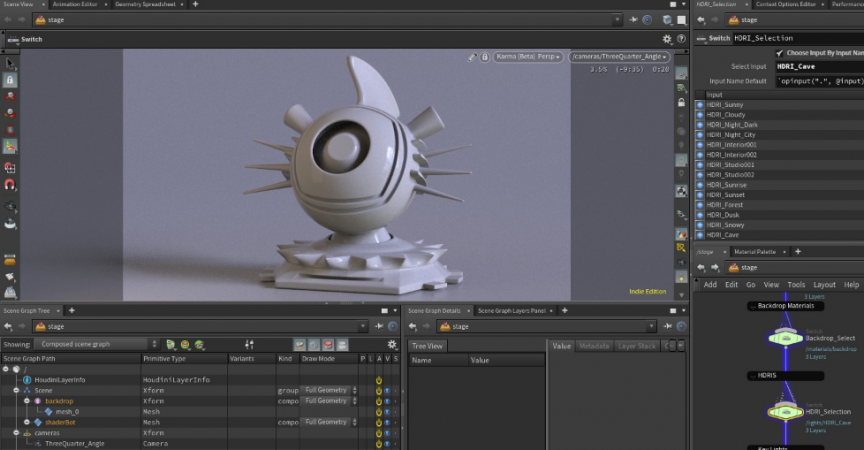
Get started with an introduction to the lessons and explore the shaderbot scene file that will be used to create the materials. The shaderbot includes a series of switch nodes for choosing different backdrops, HDRIs and Key Light setups to make it easy to examine how each material looks.
Length: 04:01
PART 1: Diffuse Reflection
This lesson dives into Diffuse Reflection and compares how this concept is usually taught to how it really works at the atomic level. You will then learn how the Principled Material handles diffuse reflections when rendering with Karma.
Length: 08:23
PART 2: Specular Reflection
This lesson will explore reflections in the real world including dielectrics, semi-conductors, & metals. You will gain an understanding of metallic and specular reflections including Fresnel effects where specular reflections occur at grazing angles.
Length: 10:45
PART 3: Roughness & Absorption
Learn what roughness means for diffuse reflections along with how roughness changes specular lobes. Explore the relationship between Fresnel and roughness and learn about absorption and best practices for albedo parameters. These concepts will then be tested on the principled material using the shaderbot.
Length: 10:47
PART 4: Shading Exercises
Starting with a collection of images, you will learn how to pick colors from each reference along with when to use the Metallic parameter and where to find the IOR of a metal on the web. By researching and analyzing reference, you can achieve the look you need for each material. This lesson also explores smooth dielectrics and how to sample metals.
Length: 11:59
PART 5: Texture Maps, Anisotropy, Sheen and Clear Coat
This lesson continues the creation of the real life materials. Here you will learn how to use texture maps with the Principled Material and best practices for using bump maps. Next you will explore the use of anisotropy, sheen and the basics of coat settings.
Length: 13:59
PART 6: Transparency
Learn how to achieve realistic transparency. This involves setting proper refraction & reflection limits to suit your model. Learn why light bends with transmission and what IOR [index of refraction] can do for the 3D artist. You will also talk how Dispersion affects the transparent look of your shader even though this feature along with nested dielectrics are not yet supported in Karma.
Length: 13:41
PART 7: Subsurface Scattering
Here you will learn the difference between diffuse and subsurface reflections. Starting with a real-world analysis of subsurface/diffuse objects, you will then learn how in CG you can use either single-scattering
or multi-scattering to get the look you need. This lesson will also explore the Transmission Color options on transparent shaders to achieve a colored glass effect.
Length: 09:48
PART 8: The Golden Challenge
Now that you know how to use the Principled Material to achieve different looks, you can try to create realistic gold using the techniques you have learned. To assist you, this lesson establishes basic gold parameters and addresses how to generate accurate RGB values for metals.



 Channel
