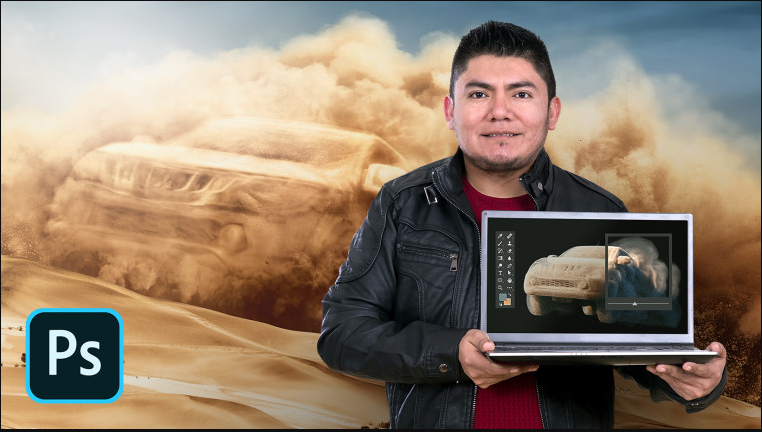
Photograph Retouching for Advertising with Jonathan Chafloque (Spanish, Eng Subs)
Release date:2020, June 10
Author:Jonathan Chafloque
Skill level:Intermediate
Language:English
Exercise files:Yes
Learn with Photoshop the fundamental techniques for image post-production.
If you are passionate about photo retouching and want to learn the workflow for an advertising assignment, designer and retoucher Jonathan Chafloque can guide you from the moment you receive the agency’s brief to the final delivery. He has worked for clients such as Mitsubishi, DirecTV, Cantol, Yura, or Progresol, among others.
In this course, Jonathan will teach you all about post-production for advertising photography, from sketch to final art. Starting from various photographs and an elaborate process of retouching in Adobe Photoshop, you will be able to create high visual impact images to advertise a product.
Start the course getting to know Jonathan, his journey and career as a retoucher, photographer, and graphic designer. He will tell you about his tastes and artistic influences.
Learn all about his workflow, seeing how he structures projects with the use of the master folder and how he uses Adobe Bridge in his day-to-day. You will customize the interface and see the action panel.
Study general concepts about composition and perception. Also, learn to interpret the creative concept you receive from the advertising agency and go to the reference image search phase to create your mood board.
Check out some guidelines and resources to make your digital sketch, which in a real brief must be approved by the art director.
Proceed to make the final art, preparing the canvas and each of the photos for integration. Then, learn the techniques to select and trim the assets.
Learn how to illuminate your composition, modeling the light, and enhancing the shapes. Then, heighten the visual effects to create drama and depth.
Finalize the color details in your project, experimenting with adjustment layers and making corrections using the Camera RAW filters. Finally, learn how to export the image to deliver to the client.


 Channel


please this domestika course https://www.domestika.org/en/courses/1171-adobe-photoshop-for-matte-painting