

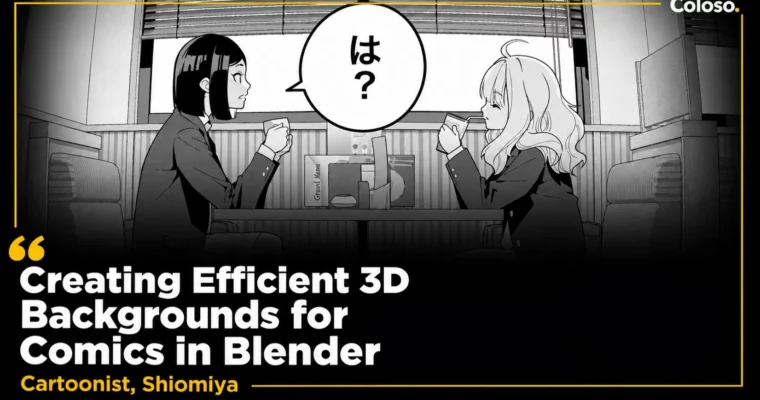
Creating Efficient 3D Backgrounds for Comics in Blender by Shiomiya

Actual Duration:29h 29m
Release date:2025, October
Publisher:Coloso
Skill level:Beginner
Language:English
Exercise files:Yes
Software:Blender, Clip Studio Paint
Course URL:https://coloso.global/en/products/cartoonist-shiomiya-us
If backgrounds eat all your time, this class fixes that. Shiomiya shows you how to use Blender as a comic assistant — model once, reuse forever, and get clean Freestyle lines and halftones that don’t scream 3D.
🎯 What you’ll learn
- Model small, medium, and large props with comic-friendly topology for clean lines
- Set up toon shaders, glass materials, and manga-style halftones
- Control cameras, perspective, and eye level specifically for comic panels
- Use Freestyle to get hand-drawn lines with distance-based thickness variation
- Organize scenes with Collections, View Layers, and Render Layers
- Use the Compositor to separate lines, materials, characters, and backgrounds
- Build rough character models for layout and perspective checks
✅ Requirements
- Skills: No prior Blender experience needed, basic interest in drawing comics or manga
- Tools: Blender, Clip Studio Paint
- Hardware: Computer capable of running Blender, 3-button mouse
📝 Description
This isn’t a general 3D course. It’s a production workflow for people who need to ship pages. Shiomiya starts from zero — preferences, workspace, objects vs. meshes — then moves straight into building a diner you can actually use. You’ll model with Blender, keep vertex counts low on purpose, and check how your line art will look before you add detail you don’t need.
The scale-based approach is what makes it click. Small stuff like mugs and glasses, medium stuff like sofas and tables sized to your characters, then full rooms. You’ll paint with toon shaders, fake highlights, and transparent glass materials, then convert everything to printable halftones with a dedicated add-on. No photorealism, no wasted subdivisions.
For panels, you’ll set cameras by eye level and horizon, match rough sketches to renders with View Layers, and push lines through Freestyle so thickness changes with distance. Then the Compositor and handy add-ons handle the boring parts: auto-export, separating characters from backgrounds, cleaning overlaps, and prepping files for Clip Studio Paint. By the end you can tweak one 3D scene into multiple angles instead of redrawing the same background all week.
🧑🎓 Who this course is for
- Aspiring comic artists looking for an efficient Blender-based 3D workflow
- Comic creators who want to build complete scenes with reusable 3D backgrounds
- Illustrators who want to expand their skills into comics and visual storytelling
🧑🏫 About the Author
Hi, I’m Shiomiya, a professional manga artist and illustrator. I got into 3D because I was tired of losing hours to cars, trains, weapons, and interiors. That led me to Blender, and eventually to a workflow that let me publish monthly manga solo.
I’ve published work like The Imaginary Detective Girl Aya, Zerozaki Soushiki no Ningen Shiken, plus Blender-assisted books including Maru’s Snack Bar and Kino’s Journey. Now I also build 3D assets and add-ons to help other comic artists work faster with less pain.
🏁 Final Result
- A finished manga scene built from a reusable 3D diner interior — modeled, textured with toon and halftone materials, rendered with Freestyle lines, composited, and placed into panels with hand-drawn finish
📢 Guys, this is a Group Buy campaign, check the GBC forum thread to get access
You can find the course preview in the download section below.
 Channel