ENV150 – Introduction to Clarisse for Environments
Duration:04:09:00
Actual Duration:4h 9m
Release date:2020, April
Skill level:Beginner
Language:English
Exercise files:Yes
Course URL:https://www.fxphd.com/details/605/
This course, taught by Charles Chorein, will get you up to speed in Clarisse. By the end of the course you will be able to export a mesh from Maya, set up the Clarisse scene, assign shaders, texture an object, and Combiners to prepare your Clarisse scene.
Charles Chorein is a CG supervisor at Dneg London with 12 years of experience. He has been working in London since 2009 and has worked on movies such as The Hobbit, Prometheus, The Hunger Games 2, Superman: Man of Steel, Harry Potter 7, Pirate of the Caribbean 4, and Despicable Me. For the last four years he has been working on TV and episodics, having recently finished Dark Crystal for Netflix. He is currently involved in more projects for Netflix coming early next year.
Class Listing
Class 1: Interface
This class is focused on understanding the interface and the mindset of Clarisse. You will learn how to create a camera and manipulate basic objects to create a layout. This includes creating lights and importing an alembic file from Maya to set up a basic Clarisse scene.
Class 2: The Render Engine
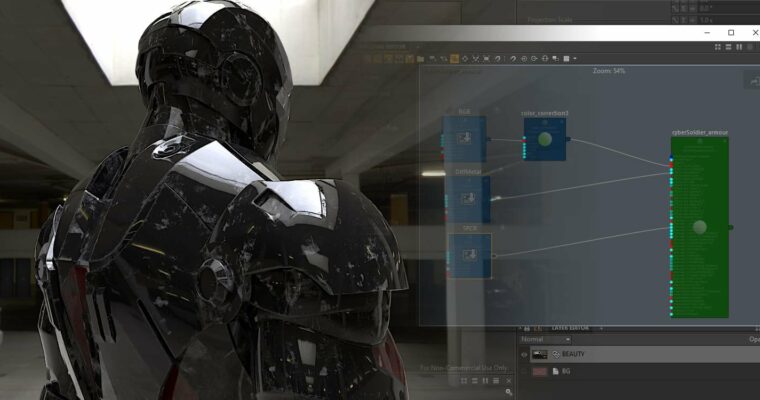
Assigning shaders and going through the Standard shader parameters to see the power and how quickly Clarisse can be used to set up a shot. Using the scatter paintbrush to quickly scatter a few hundred CyberSoldiers.
Class 3: Organization
Organizing 3D is essential and Clarisse is no an exception, as you will learn how to organize through context, group and combiner. Using a Point Cloud to scatter and generate some points randomly, creating thousands of CyberSoldier.s
Class 4: 3D Passes and Lighting
Using the groups and Combiner created in the previous class, we set up our 3D passes. To improve the scene, you will create an environment light and plug in an HDRI, using an area light as a key light.
Class 5: Look Development, Part 1
With the light rig completed, we create a shadow pass and do some look development with the Material Editor.
Class 6: Look Development, Part 2
To improve the CyberSoldier look development, we explore more nodes in the Material Editor. Updating our Context and making it dynamic to set up our first render of the garage.
Class 7: Render Passes
With the Garage render pass set up, we do the same thing with three more passes using different HDRIs to test robustness of our look development.
Class 8: Ground
To reproduce the environment properly, we create a ground plane and do quick look development with albedo, specular roughness, normal map, and displacement textures.
Class 9: Camera Mapping
Having as much control as possible is essential in 3D, so you will learn how to extract some lights from our HDRI and use them as a texture for area lights. Finally, we work to decrease the noise in our render through the PathTracer render engine.
Class 10: Test Comp
Using Nuke, we create a comp to re-create the 3D environment and test all our renders.



 Channel