VRY203 – Look Development With V-Ray Next
Release date:2019, March
Duration:02 h 48 m
Author:Amid Rajabi
Skill level:Beginner
Language:English
Exercise files:Yes
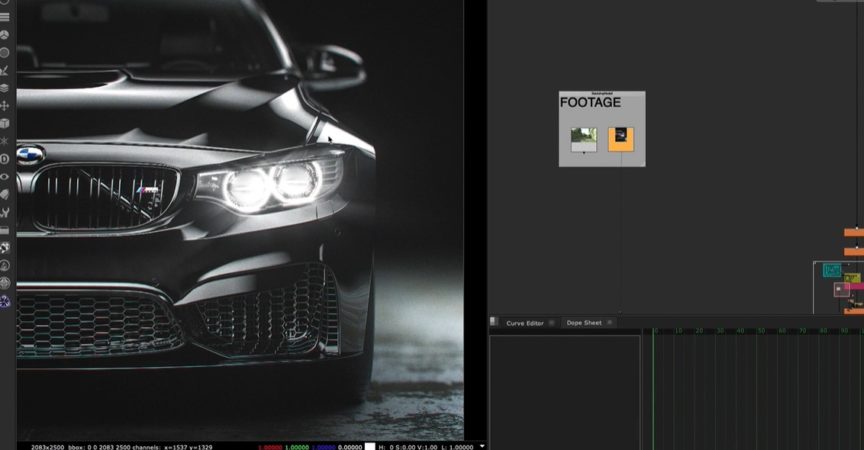
This course, taught by Amid Rajabi, covers the look development process for a realistic car using V-Ray Next for Maya, the latest version of V-Ray from the Chaos Group. It covers the software’s powerful shaders by doing intensive studio lighting and then exporting AOVs and compositing the elements in Nuke.
Rajabi is a freelance Look Development and Compositing artist and instructor, He has been working in the industry for close to 16 years, becoming a Nuke Certified Trainer in 2012 and has been working with Chaos Group as a closed beta tester. He has worked with the team at fxphd and fxguide since 2013 as well as is proud to say he has also taken courses at fxphd over the years.
CLASS 1: SCENE SETUP
An overview of the project as well as a consideration of the procedures and how to setup our model to get the best result. Setting up the size and dimension of the car scene, utilizing references of car materiasl and lighting processions.
CLASS 2: DEBUG SHADING, IBL, HDR
How to setup and use Image Based Lighting, the concept of HDRs, and the new Debug Shading in V-Ray Next.
CLASS 3: V-RAY CAR PAINT MATERIAL, PART 1
An overview of the Car Paint Material and a deep look at the Base and Coating Parameters.
CLASS 4: V-RAY CAR PAINT MATERIAL, PART 2
A dive into the Flakes Parameters and how to build up a super realistic car material.
CLASS 5: LIGHTING, PART 1
How to create realistic studio conditions for lighting. The basic concepts of lighting are covered, followed by in-depth details on how to create various types of soft boxes you might find on-set.
CLASS 6: LIGHTING, PART 2
Setting up the lights for our hero car project for this course, including how to work with Light Lister.
CLASS 7: MATERIALS
How to build the materials for the various parts of the car as well as how to use to use Quixel for processing and making the ground material.
CLASS 8: RENDERING AND COMPOSITING
Setting up all the AOVs we need for the project and how to use Light Select and render all our lights separately. The final comp in Nuke is covered, showing how to composite the various elements, color correct them, and create light effects in Nuke to finalize the shot.



 Channel





The 1, 2 videos are not working, they stop playing after 4-5mins.
I think it’s the case with all the videos please it’s my request please fix them.