Ad Clicks : Ad Views : Ad Clicks : Ad Views : Ad Clicks : Ad Views : Ad Clicks : Ad Views :
Oh Snap!

It looks like you're using an adblocker. Adblockers make us sad. We use ads to keep our content happy and free. If you like what we are doing please consider supporting us by whitelisting our website. You can report badly-behaved ads by clicking/tapping the nearby 'Advertisement' X text.

Unreal Engine 4 for Filmmaking Beginners Edition

/

Release date:2021, March 17

Author:JSFILMZ Entertainment

Skill level:Beginner

Language:English

Exercise files:Yes

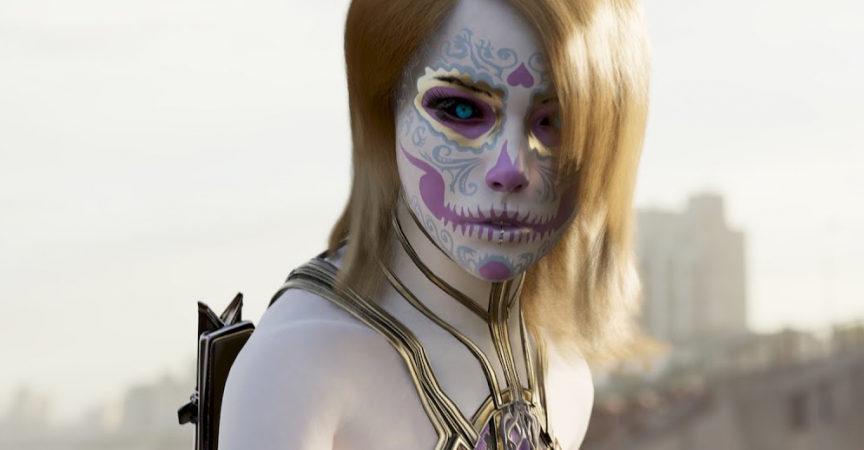
So today i will share with you my very first paid course that i call Learn Unreal Engine 4 for Filmmaking Beginners Edition. This course is for you guys out there who are wanting to try unreal engine for the very first time. In 1 hour and 40 minutes you will go from installing unreal engine 4 to exporting your very first animation in unreal engine 4. This course is a 0 to hero meaning you will go from knowing nothing inside unreal engine to being able to export a cg animated movie. Some of the topics we will cover will be the epic marketplace,importing animations,retargeting animations,manipulating cg in blender and reimport it back to unreal,working with cameras,using the cinematic sequencer,working with hair groom assets,ray tracing,movie render queue i mean i can go on and on.I covered alot of stuff in this short course. And best of all, we will not be using any blueprints whatsoever. Lastly, i tried my best to only use free assets so you guys can follow along but I did purchase an animation to use for this tutorial to spice things up and I bought hair as well but dont worry i used free animations too. Like always, thank you all for the support and good luck with your unreal engine journey.

Table of Contents

Introduction & Part 1:

1. Installing Unreal Engine 4.

2. Downloading Assets from the Marketplace

3. Creating a project

4. Loading downloaded assets to the project

5. Exporting FBX Files

6. Downloading Blender (free software)

7. Importing FBX in Blender then exporting back to Unreal Engine 4

Part 2:

1. Discussing the Skeleton System

2. Retargeting free Animations/fixing issues

3. Creating a cinematic sequencer

4. Loading animations in sequencer

Part 3

1. Adding cameras

2. Working with cameras

3. Purchasing hair asset [Optional]

4. Enabling Groom Plugin

5. Importing Hair asset

Part 4.

1. Working with Groom Hair Asset

2. More camera settings (manual focus,guides)

3. Loading paid animation [Optional]

4. Binding weapon to characters

5. More camera cuts more camera shake

Part 5.

1. Movie render queue

2. Enabling Raytracing

3. Looking at final video in Resolve [Optional]

4. Quick comparison of non-ray traced export vs ray traced.

5. The end.

  • Facebook
  • Twitter
  • Google+
  • Linkedin
  • Pinterest

Leave a Comment

Your email address will not be published. Required fields are marked *