Modeling realistic living in 3ds max
Release date:2023
Duration:05 h 17 m
Author:Aurelian Castravet
Skill level:Beginner
Language:English
Exercise files:Yes
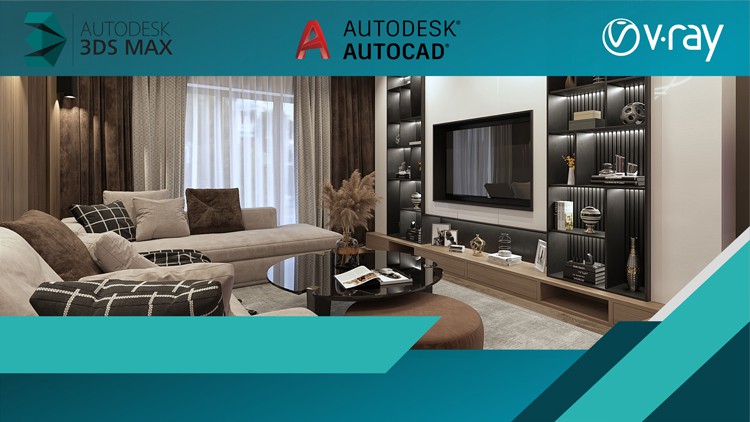
Welcome to the course designed specifically for interior designers who are starting their journey and want to achieve photorealistic renders using 3ds Max and Vray. Throughout this course, we will walk through the process of recreating a part of a real interior project—a modern living space—step by step.
We will follow the order of a real project to simulate the working process of an interior designer. One of the main challenges when aiming for photorealism is capturing the intricate details that closely resemble reality. We will focus on enhancing these details to achieve the desired level of realism.
We will begin by examining the main finish materials commonly used in interior projects, such as tiles. We will analyze how to adjust their settings to achieve a realistic tile appearance. Next, we will explore floor finishes like wood, understanding how to recreate the texture, random bump, and glossiness of real wood. Wood will not only be applied to the floors but also to decorative panels and furniture made from Medium Density Fiberboard (MDF Board). We will model the furniture with precise dimensions and chamfered edges to increase their realism. Additionally, we will learn how to adjust advanced settings to simulate a more realistic appearance of the material.
Once we have covered the hard surfaces typically found in construction, we will move on to soft finishes like fabrics. We will focus on curtains, as they play a significant role in adding warmth and comfort to an interior. We will explore techniques to enhance their realistic appearance, ensuring that our renders convey a sense of home comfort. Increasing realism is crucial as it prevents the images from appearing cold and crude, aligning with the interior designer’s goal of creating a cozy ambiance.
For every material, including fabrics, we will start with simple tests to upgrade their appearance. By understanding these principles, you will be able to adjust and achieve an advanced look in your future projects. I will provide you with a pro seamless fabrics library that you can use and customize according to the colors of your specific projects.
Of course, we cannot forget about the sofa. We will work with velour material, creating a test to understand how to control the velour appearance and then apply it to our model in the project. We will adjust it as a final touch to achieve the desired depth and effect.
Moving forward, we will tackle the ceiling, which is typically a part of the construction process. We will model the ceiling using ready plans and exact dimensions. Magnetic light tracks will be used for our project, as lighting plays a crucial role in achieving realism in our images. We will adjust the lights to closely resemble reality and interior standards. By controlling the intensities of each light according to their hierarchy, we will maintain a balance between light and materials.
Finally, we will delve into render settings and post-production in Photoshop. To attain a professional level in interior design, it is essential to complete at least one real interior project to gain experience from start to finish. Following a structured example will facilitate the development of your technical skills.
By the end of this course, you will have gained valuable insights into the process of creating photorealistic renders in 3ds Max and Vray. Join me on this journey to elevate your interior design visualization skills and create stunning renders that captivate viewers with their realism. Enroll now and let’s get started!


 Channel


