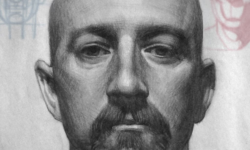
Blender 3D – Create a Procedural Hand Drawn Texture and Reveal Animation by Harry Helps
Duration:00:40:00
Actual Duration:40m
Release date:2023, April
Skill level:Beginner
Language:English
Exercise files:Yes
Course URL:https://blendermarket.com/products/create-a-procedural-etching-material-and-reveal-animation
Hello, I’m Harry! As a seasoned 3D artist with over a decade of experience, I’ve had the privilege of serving as the Studio Director at an award-winning architectural visualization studio.
In this class, we’ll delve into the creation of a procedural hand-drawn material. By the end of the course, we’ll bring it all together by crafting a captivating reveal animation that showcases our statue in the best possible light.
To make things even more convenient, I’ll also provide you with a simplified custom node group for the procedural etching material. This can easily be appended to any project you desire, and is tailored specifically for use with the Eevee render engine.
One of the key advantages of using procedural materials is that they enable you to design materials that are not only unique, but also fully customizable, without relying on pixel-based images.
With the procedural hand-drawn material we’ll be creating in this class, you’ll have the power to transform any model into a stunning classical etching reminiscent of the 16th century!
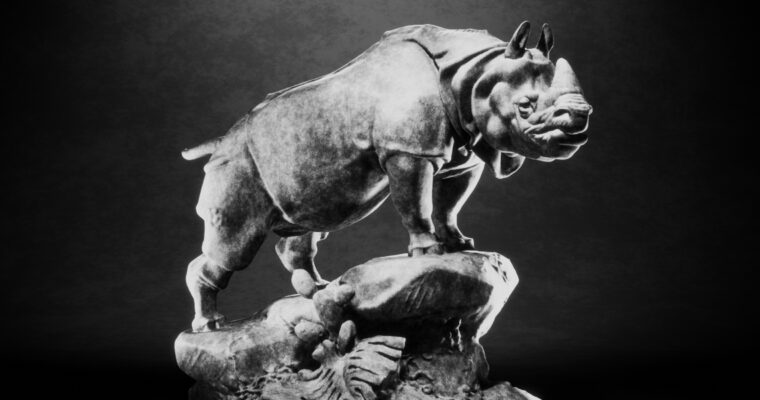
In particular, we’ll be working with the exquisite Rhinocéros sculpture crafted by Henri-Alfred Jacquemart in 1878. This sculpture will be provided to you as part of a preconfigured starter file, complete with textures and animations, so you can verify your progress. You can easily download these resources from the project resources section.
To ensure smooth execution, please make sure you have Blender 3.5 or a newer version installed. Get ready to bring classical artistry to your 3D projects with this exciting class!
In this comprehensive class, you’ll gain proficiency in various aspects of procedural texture creation. We’ll start with the basics, including an in-depth exploration of shading nodes such as ColorRamp, Shader to RGB, and Math nodes, and how they impact the final texture and interact with each other.
We’ll also delve into the intricacies of shader node grouping, step-by-step, to understand how different node groups contribute to the overall texture design.
To add dynamism to our creations, we’ll learn how to animate lights to create a captivating reveal animation loop. With just a few simple keyframes, we’ll bring our materials to life.
We’ll then move on to rendering, including simple compositing techniques in Blender, before rendering our final animation. To put the finishing touch on our project, we’ll convert our animation into an animated GIF that can be easily shared with friends and family.
By the end of this class, you’ll have a solid understanding of procedural texture creation, shader node grouping, lighting animation, and rendering in Blender. Get ready to level up your 3D artistry with these practical skills!



 Channel