Ad Clicks : Ad Views : Ad Clicks : Ad Views : Ad Clicks : Ad Views : Ad Clicks : Ad Views :
Oh Snap!

It looks like you're using an adblocker. Adblockers make us sad. We use ads to keep our content happy and free. If you like what we are doing please consider supporting us by whitelisting our website. You can report badly-behaved ads by clicking/tapping the nearby 'Advertisement' X text.

SketchUp Pro – Modeling a Lamp

/

Release date:2019, June 25

Duration:03 h 28 m

Author:Paul J. Smith

Skill level:Beginner

Language:English

Exercise files:Yes

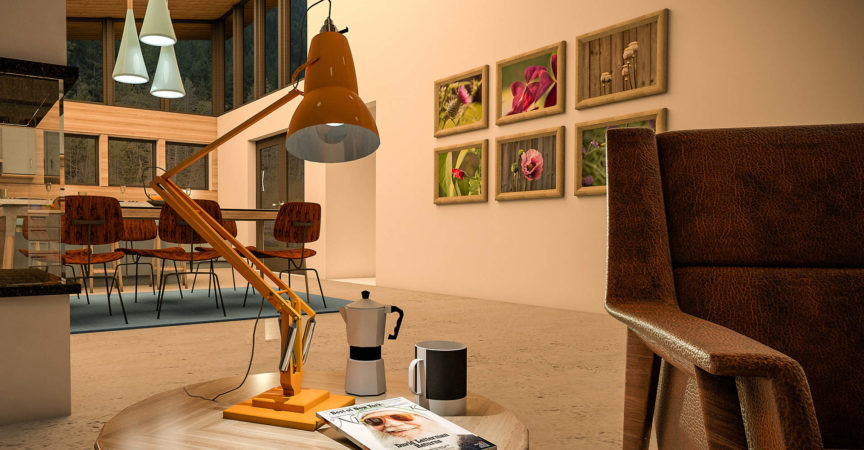
SketchUp Pro offers design and rendering tools that can help you create striking, professional-grade 3D models that wow clients and colleagues alike. In this course, Paul J. Smith demonstrates how to leverage these tools to create a detailed model of a house lamp. Along the way, he illustrates important techniques for organizing your project file, creating complex mechanical shapes, and even articulation for the lamp arm. Paul starts with the foundations, showing how to set up the template, load the components, and make the base profile for the lamp. He then demonstrates how to make the swivel connection profile, form the lower armature of the lamp, and make the top arm and lampshade. To wrap up, he explains how to put all of the pieces together and finalize the project.

Topics include:
Making the base profile
Making a swivel connection profile
Putting an armature hinge together
Adding springs
Completing a shade holder
Making a bulb and bulb holder
Making the armature hinge pin
Articulation and rendering

Watch online or Download for Free

0 – Introduction
E0 – Creating detailed 3D models in SketchUp Pro
E1 – What do I need to know-
E2 – Using the exercise files

1 – 1. The Template to the Base
E3 – Setting up the template
E4 – Loading the components
E5 – Making the base profile
E6 – Making the base part
E7 – Making the swivel connection profile, part 1
E8 – Making the swivel connection profile, part 2
E9 – Making the swivel connection part
E10 – Completing the swivel connection

2 – 2. The Lower Armature
E11 – Investigating the lower armature of the lamp
E12 – Making the base arm profile
E13 – Completing the base arm component
E14 – Making the armature hinge unit parts
E15 – Putting the armature hinge together
E16 – Forming the rear arm body
E17 – Finishing the rear arm body
E18 – Completing the rear arm

3 – 3. The Springs and Retaining Clip
E19 – Understanding the springs
E20 – The small spring connection
E21 – The spring barrel and hook
E22 – Completing the springs
E23 – The spring retainer pin
E24 – Building the base
E25 – Adding the springs
E26 – Connecting up the lower armature

4 – 4. The Top Arm and Shade
E27 – Making the top arm body
E28 – Completing the top arm
E29 – The shade holder profiles
E30 – Completing the shade holder body
E31 – Completing the shade holder
E32 – Making the lampshade
E33 – Making the bulb
E34 – Making the bulb holder

5 – 5. Putting It All Together
E35 – The upper armature explained
E36 – Connecting the bulb and bulb holder
E37 – Connecting the shade to the shade holder
E38 – Building the upper armature
E39 – Putting it together
E40 – Making the pins
E41 – Placing the pins
E42 – Making the armature hinge pin
E43 – The final pieces

6 – 6. Articulation and Rendering
E44 – About this chapter
E45 – Combining components for maximum efficiency
E46 – Articulating the upper armature
E47 – Articulating the lower armature
E48 – Articulating the upper and lower armatures
E49 – Multipoint articulation of the lamp
E50 – Adding the cables
E51 – Lamps in_situ

7 – Conclusion
E52 – Next steps

Ex_Files_SketchUp_Pro_Modeling_Lamp.7z


Join us on
  Channel    and      Group

  • Facebook
  • Twitter
  • Google+
  • Linkedin
  • Pinterest

Leave a Comment

Your email address will not be published. Required fields are marked *