Making Dreamy Silhouette Forest in Adobe Illustrator
Release date:2021
Author:Xenia Sorokina
Skill level:Beginner
Language:English
Exercise files:Yes
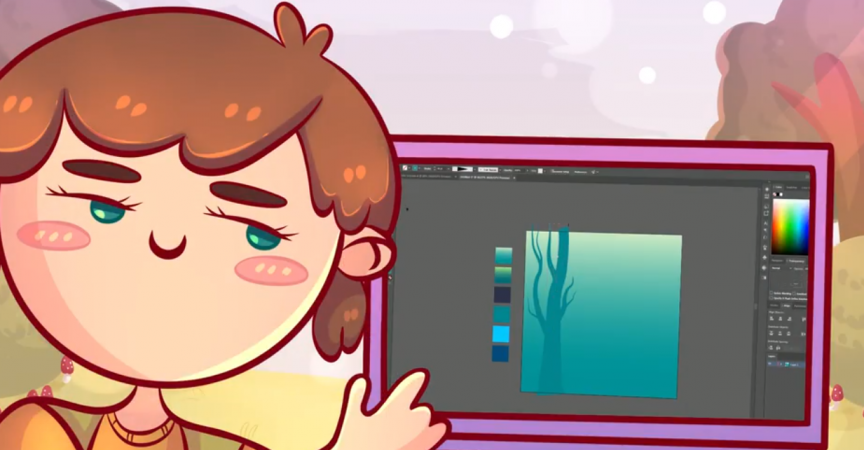
Into this class we’re creating dreamy silhouette forest in Adobe Illustrator.
During the class we’ll create an illustration of a forest. We’re going to be working with simple shapes and a bunch of tools, such as the Pencil tool, Warp, Width & Symbol sprayer tools, Shape Builder & Eyedropper tools to create a nice looking picture. As a bonus, we’ll learn how to add the texture.
All the elements that we’re going to be creating and all the tools that we’re going to be using are mouse-friendly, so you don’t need to have a graphic tablet. (But you might try to use it, if you want & have one :))
In the project and resource tab, you can find the file called “Color scheme” with all the swatches that were used during the class and that you can apply to your picture.
As a result you’ll learn how to use the different tools of Adobe Illustrator, and will be able to make simple landscape illustration.
You can use the final picture as sticker, postcard, some digital product or whatever you want.
This class is beginner-friendly, so don’t worry if you have no previous experience in Adobe Illustrator.


 Channel


Can you upload some https://artwod.com/online-drawing-courses/ lessons?
can’t download part 6 and from anywhere else