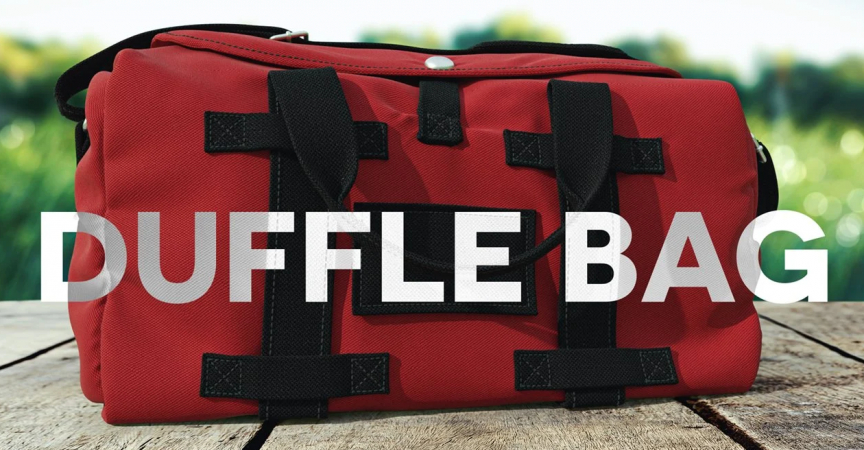
Learn how to create a Duffle Bag using Marvelous Designer and ZBrush
Release date:2021
Author:Oasim Karmieh
Skill level:Beginner
Language:English
Exercise files:Yes
I will be sharing with you my thought process and why I’m using those specific tools. I will be showing you my technique in how I create my duffle bag for animation or still render purposes. This course is targeted for people who are acquainted with Marvelous Designer and ZBrush. But can be quickly followed by newcomers to the software.
I have broken this up into 20 easy to watch videos (5 to 20 min each), I don’t have any speed up videos, all videos are recorded in real-time, and I try to be as transparent as possible with the tools and methods that I’m showing.
The techniques that you learn in these videos can be applied on any type of bag, from handbags, purses, hobo bags, clutch bags, backpacks, shoulder bags, crossbody bags and leather totes.
This course covers every aspect of the bag design process, from gather reference and sewing patterns to creating the 2d sewing patterns, detailing them in ZBrush to finally rendering the model in Dimension CC.
Some topics that are covered in the duffle bag course
How to use the rectangle tool to create simple patterns for our bag
How to use the 3d stitching tool in the 3d view.
How to import multiple avatars to help us pose the bag in Marvelous Designer.
How to create straightforward 3d buckles and turn them into an insert mesh brush.
How to add buttons inside Marvelouse Designer. How to create a zipper in Marvelous Designer.
How to add 3d stitching details in Marvelous Designer.
How to Zremesh and cleanup the MD model in ZBrush.
How to UV map all the parts that make the bag
How to decimate our 3d bag while keeping our UV I will be showing how to prepare the model for shading, lighting and rendering inside Adobe Dimension.


 Channel


