Learn Cinema 4D – Create Abstract 3D Design Elements
Release date:2019
Duration:02 h 19 m
Author:Jesper Sandell
Skill level:Beginner
Language:English
Exercise files:Yes
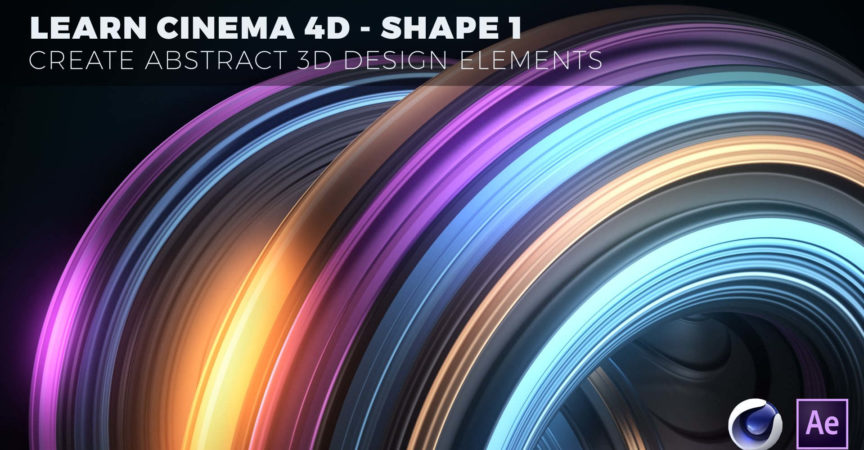
In this course, you’ll learn how to create abstract 3D design elements. And by doing that you’ll also learn the fundamentals of working with Cinema 4D, and with 3D in general.
You’ll need Maxon Cinema 4D(Prime, Broadcast, Visualize or Studio), and Adobe After Effects. No third party plugins are used.
We learn best by doing, so this is a hands-on, project-based course.
This is the first course, in a series of four, where we’ll create abstract shapes that are excellent as design elements for graphic designers and motion designers. You can use them for both 3D and 2D workflows.
We will use a procedural workflow that doesn’t require modeling. That means that all settings remain editable, and we can change the entire look by just adjusting a few sliders. It makes the whole process of creating and experimenting fun, flexible, and powerful.
Here’s a glimpse of what we’ll cover
• Working with parametric objects
• Exploring how geometry and complexity affect the appearance of objects
• Working with deformers
• Looking at how displacement works and how to optimize for best result
• Working with the noise shader
• Making complex shaders by using the layer shader
• Lighting a scene with 3-point lighting
• Working with cameras
• Creating materials
• Rendering with the Physical and the Standard Renderer
• Color grading and post-effects in Adobe After Effects
You’ll have access to all the project files, so it’s easy to follow along. Although I hope you’ll experiment a lot so you can come up with your unique designs.
Let’s start.


 Channel


