LAB Color Foundations Part 2 – DaVinci Resolve
Release date:2014, November 21
Duration:00 h 11 m
Author:Patrick Inhofer
Skill level:Beginner
Language:English
Exercise files:Yes
One of the superpowers of LAB, is how the brightness channel is distinctly separate from the color channels. In Part 1, we explored how to add color to an image by increasing the contrast in the A and B channels while working in Photoshop.
Working Curves in DaVinci Resolve
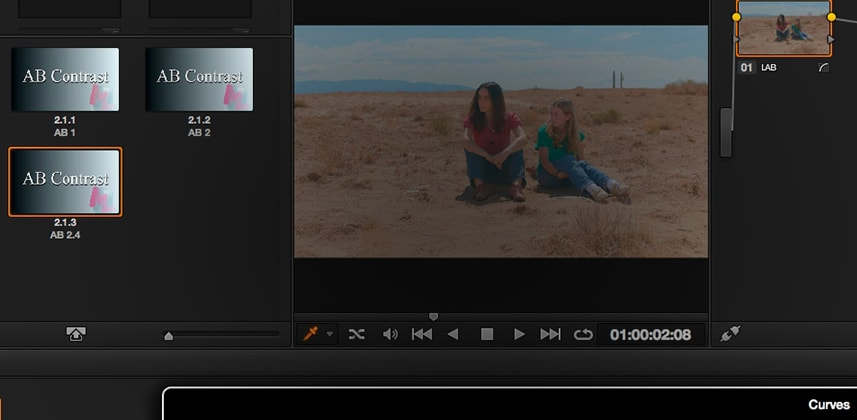
One reason I started this series in Photoshop, is because curves in DaVinci Resolve work distinctly differently. Frankly, Resolve’s curves interface fights against us so I wanted you to see how Curves should work. In this Insight, I’ll show you how we have to work around Resolve’s more limited curves interface.
Adding Contrast to the L Channel… and RGB
By the end of this Insight, we’ll be doing a full initial contrast expansion to this shot… in both RGB and LAB colorspaces.We’ll also add additional Saturation in the RGB color space and you’ll see distinct differences between the two.
And this brings up an important point…
Grading in LAB doesn’t mean we abandon RGB.
In fact, the more I grade the LAB the more I appreciate fine-tuning the image in RGB. I’ve started adding a node before and after my LAB node(s). But… that’s getting ahead of ourselves—it’s just something to keep in the back of your mind as you watch this series progress.



 Channel
