Illustration for Designers Create Your Own Geometric Animal
Release date:2019
Duration:01 h 43 m
Author:DKNG Studios
Skill level:Beginner
Language:English
Exercise files:Yes
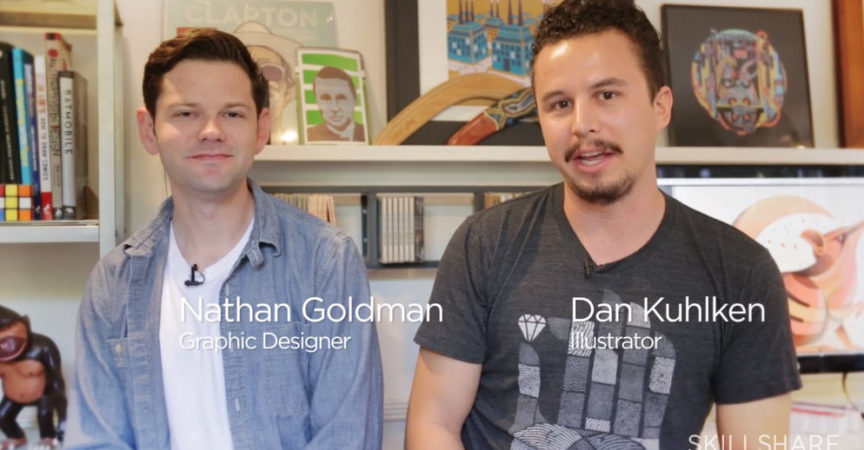
Join DKNG designers Dan Kuhlken and Nathan Goldman for an in-depth 90-minute class on vector illustration and their unique style. Learn practical ways to simplify complex forms, create unified compositions, and style with restraint. Then, put it all in practice with a fun creative project: sketching and illustrating an animal. This class is perfect for practiced illustrators, emerging designers, and everyone looking to improve their Adobe Illustrator skills.
Want to see Dan and Nathan teach different styles? Check out their other two Skillshare classes: Rock Poster Design and Halftones for Screen Printing.
Class Outline
Introduction. Dan Kuhlken and Nathan Goldman of DKNG Studios aim to bridge the gap between design and illustration in this graphic design course where you’ll create an animal in Adobe Illustrator using basic shapes.
Your assignment. First, you’ll get acquainted with the process of creating your own geometric design of an animal, from initial sketch to final vector illustration.
Researching. Get to know your subject before you even put pencil to paper. Dan will walk you through his process, which includes grabbing as many reference images as possible and surveying other’s artwork of the same subject.
Starting your sketch. Use your reference images to establish a design layout. By drawing simple shapes, you’ll create the broad outline for your animal’s face.
Adding details. After you establish the basis of your design, it’s time to fill in the details. You’ll watch Dan as he shades and defines a bison face and comes up with a creative design for his project.
Basic shapes 1. It’s time to turn your hand drawing into an Adobe Illustrator file. Using Dan’s guidelines, you’ll begin to break your pencil drawing down into basic shapes in Illustrator and set up a color palette for your piece.
Basic shapes 2. You’ll learn how to set a background color for your design and explore the rotation tool as a way to keep your design symmetrical.
Basic shapes 3. Here, you’ll focus on alignment. Dan will show you how to move shapes in your design while keeping them aligned and how to connect lines to establish tangents. These tips can come in handy for other projects, like letter design.
Basic shapes 3b. You’ll begin to flesh out your design by adding color and creating complex shapes by duplicating and dragging simple ones.
Basic shapes 4. You’ll discover how to create shadows by duplicating and overlapping shapes. Dan will also show you how to make uniform shapes by establishing a system of rules.
Creating rules. Rules help you keep a geometric design looking consistent. Dan and Nathan will lay down rules relating to shape size, stroke width, angles, and zooming.
Adding color. In the design process, you don’t need to stick to the first colors you choose. Here, you’ll get suggestions on how to experiment with different colors and learn the importance of creating swatches early in your design process. You’ll also learn how to overlap two colors using Illustrator’s transparency tool to create a third color.
Texture 1. Adding texture to your vector design will make it look less squeaky-Illustrator-clean. You’ll learn how to edit a textured image in Photoshop to put a darker texture on a lighter background in Illustrator.
Texture 2. Now you’ll learn how to put a lighter texture on a darker background, first by adjusting the texture image in Photoshop, then by implementing the change in Illustrator. These final touches will ready your image for its debut in your graphic designer portfolio!
Final tips. Dan and Nathan will leave you with some final tips on color printing and shape relations.



 Channel






Can you upload these two from DKNG studios ?
https://www.skillshare.com/classes/Productivity-for-Designers-11-Tips-to-Revamp-Your-Workflow-with-DKNG/171045174?via=user-profile
https://www.skillshare.com/classes/Skillshare-Live-The-Path-to-Creative-Success/1705054552?via=user-profile