LESSON 01: MIXAMO DOWNLOAD
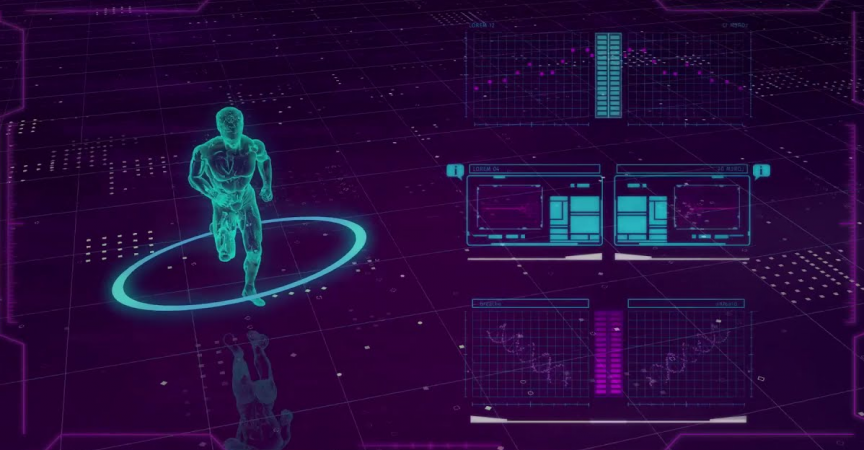
In this first lesson, we’ll take you through how to download the Mixamo character we’ll be using for our Cinema 4D project
LESSON 02: TWEEKING THE MIXAMO ANIMATION
We’ll tweak the Mixamo animation by extending it and getting rid of unnecessary keyframes
LESSON 03: ADDING MATERIALE TO THE CHARACTER
In this lesson, we’ll add a material to illuminate our subject and create a stylistic Hud look
LESSON 04: CREATING THE FLOOR
We’ll create a floor out of a disc and reference a grid like material from Jspalcement; a free app
LESSON 05: ADDING A CAMERA AND BLINKING LIGHT
We’ll make a visible light blink and add a camera to our scene we’ll animate
LESSON 06: RENDER TO AFTER EFFECTS
Now it’s time to setup our project to render to After Effects. The techniques shown here are replicated from the other 3 previous HUD courses
LESSON 07: BRINGING AND PREPPING THE AEC FILE
In this lesson, we’ll bring in the AEC file and separate the 3 layers from the object buffers we created
LESSON 08: PREPPING THE PSD FILES
We’ll download and prepare a free Photoshop HUD design for use in After Effects with courtesy of Adobe Stock
LESSON 09: BRINGING AND POSITIONING THE PHOTOSHOP LAYERS IN AFTER EFFECTS
We’ll bring in our prepared PSD file and position it in our After Effects Comp
LESSON 10: ANIMATING THE TEXT PLACEHOLDERS
In this this, we’ll convert our Photoshop text for After Effects and animate it. We’ll also add some extra tex via the numbers Effect
LESSON 11: ANIMATED HEARTH GRAPH
Now, we’ll animate a heart monitor with the help of After Effects Audio Effects
LESSON 12: ANIMATED CHART
We’ll replace a static graphic with After Effects shapes and animate them with some simple expressions
LESSON 13: DNA STRAND
In this lesson, we’ll create a new Cinema 4D project and a simple DNA strand that we’ll bring into our After Effects comp via Cineware
LESSON 13: STYLISTIC TOUCHES
In this last lesson, we’ll add some glow and unify the colors of our Comp better. That’s it you’ve made it all the way to the end of this course!


 Channel


