Getting The Best Exposure From Your Raw Files
Release date:2014, May 26
Duration:00 h 07 m
Author:Dan Moran
Skill level:Beginner
Language:English
Exercise files:Yes
Getting The Best Exposure From Your Raw Files
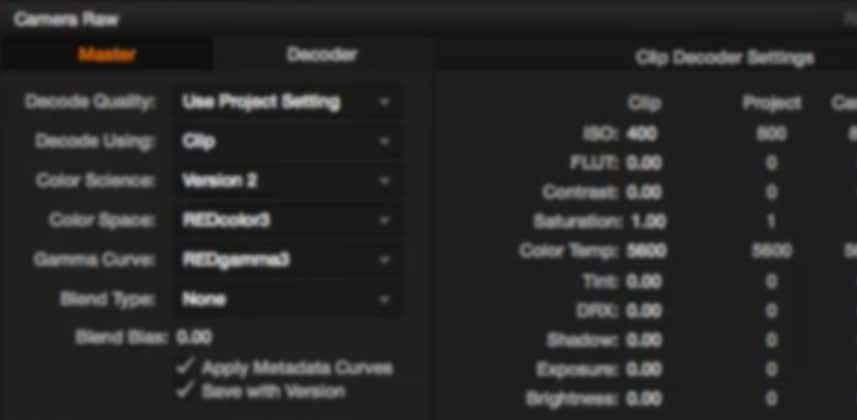
I’ve been guilty of ignoring the red settings when grading. I had a formula. Open the project. Set to RedColor3 and RedLogFilm and grade! In a grade session recently with stills photographers they asked me to keep the lift gamma and gain adjustments to a minimum. They had lit the project very creatively and precisely on set so they didn’t want me to adjust the contrast where possible.
They asked me to manipulate the ISO, Color Temp and Tint and that was it!
The logic behind this is that we were building the best “negative” possible to work from. Nothing Over Exposed, Nothing Under Exposed and get it to a sweet spot.
Once we have our ideal starting point it was then time to jump in with secondary corrections to shape and add drama to our image.
This was a great way of approaching a grade and totally different to my usual method of using the lift and gain controls to expand the image out to 100% and 0% and then manipulate the image for there.
How would you approach a grade like this?
If you have any red files it is great to open them up and try and prepare the best possible image before touching the lift gamma or gain controls. Pay attention to highlights, shadow detail and look at your scopes to make sure that you’ve not compressed any details either.
I’m not sure if the red decode settings give you a “better” result but it certainly challenged me to think differently about how I approached the grade.
My favorite part was the amount of precise control I had. When using the lift gamma and gain controls you introduce a lot of changes to the image very quickly where with the red settings its small and precise adjustments that go a long way.
Check out my insight below to see how I got on!



 Channel
