Color Correcting with LUTs- The 3-Node Approach
Release date:2013, March 13
Duration:00 h 07 m
Author:Patrick Inhofer
Skill level:Intermediate
Language:English
Exercise files:Yes
Why Three Nodes?
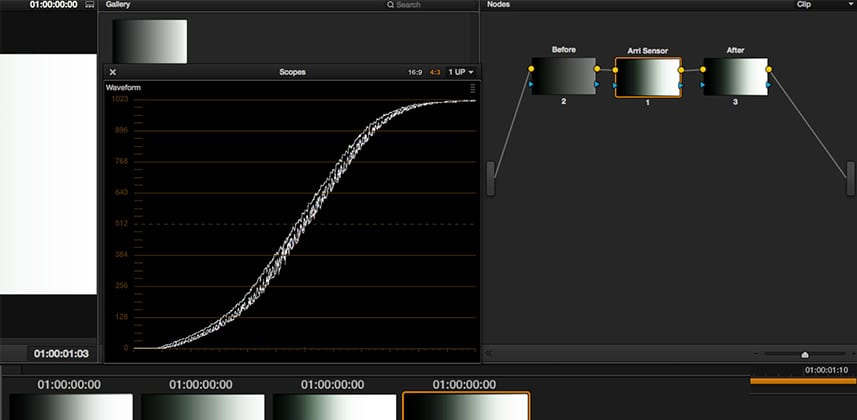
In Mixing Light Insight 008, I demonstrated how the exposure of an image can radically change the effect of any single LUT on that image. In doing so I used three nodes in DaVinci Resolve:
Node 1: We used this to manipulate our black- and white-points before the LUT.
Node 2: We called this our ‘Sensor’ node, where we applied the LUT to simulate us finishing what the sensor started.
Node 3: This was our ‘After’ LUT – but we didn’t do much with it in that Lesson.
In this article we’re going to look at why precisely I used this node structure and the reasoning behind it. We won’t be discussing Node #3 yet, that’ll come in a later article. But by the end of the accompanying video you should start getting the idea of the power of this approach – segmenting our workflow into clear distinct actions allowing any LUT we use to have its maximum impact.
The 3-Node Structure works in other apps too
This approach to controlling how you use your LUTs isn’t just for DaVinci Resolve. In FCP, Premiere or Avid these can be three separate filters – one applied after the other with the LUT filter being sandwiched between the other two. Enjoy!


 Channel


