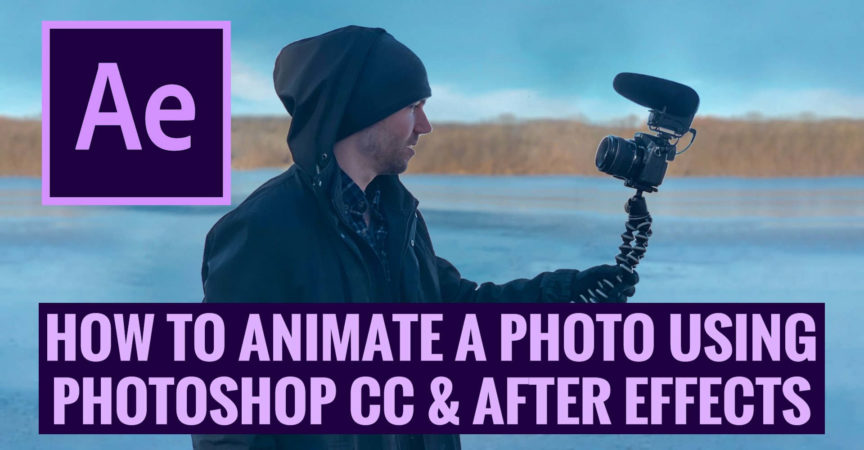
How To Animate Your Photos Using Photoshop & After Effects CC – Parallax Effect
Release date:2019
Duration:00 h 26 m
Author:Will Bartlett
Skill level:Beginner
Language:English
Exercise files:Yes
Welcome to our How To Animate Your Photos using Photoshop & After Effects class!
In this mini-course your instructor Will Bartlett will walk you through how to take a regular image and set it up in Photoshop CC so that we can then import it into After Effects and create an animating parallax video.
You’ll learn how to:
Analyze a photo in order to understand how to perform a parallax effect
Split an image into various layers using Photoshop CC
Fill in a selected area to make a seamless background
Import your Photoshop project into After Effects properly
Use Adobe Dynamic Link to make changes to the Photoshop document after it’s in After effects
Create animation keyframes to manipulate the image in various points in order to bring an image to life
Add several other keyframes to the final video to make it more interesting
Export a final video in 1080p resolution
In the class project you’ll find the same image we used in the course so that you can download it and follow along! (We encourage you to do so because it will help you retain the information required to perform the parallax technique.)
Your instructor for this course is Will Bartlett; he has been a professional Cinematographer and Editor for 10+ years and a content creator for 15+ years. Will runs an established video production company based out of Toronto and an online business that’s trained over a 140,000 students worldwide.
If you don’t have Photoshop or After Effects, you can get a free 30 day trial of either program from Adobe’s website!
Enroll today to learn how turn a static still image into an animating video with a parallax effect!


 Channel


