Ad Clicks : Ad Views : Ad Clicks : Ad Views : Ad Clicks : Ad Views : Ad Clicks : Ad Views :
Oh Snap!

It looks like you're using an adblocker. Adblockers make us sad. We use ads to keep our content happy and free. If you like what we are doing please consider supporting us by whitelisting our website. You can report badly-behaved ads by clicking/tapping the nearby 'Advertisement' X text.

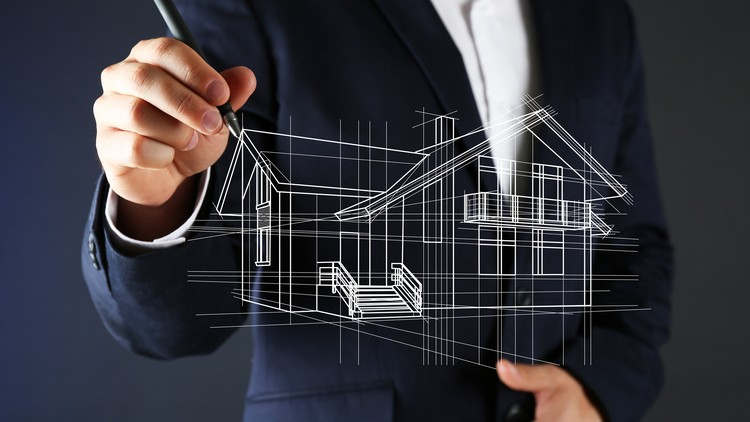
Beginners guide to Architectural modeling in 3Ds max

/

Release date:2018, August

Duration:04 h 01 m

Author:Jawad Abdul Mateen

Skill level:Beginner

Language:English

Exercise files:Yes

What Will I Learn?
Students will be able to create Architectural modeling in 3DsMAX

Requirements
Be able to use computer and 3Dsmax installed

Description
This course of Architectural modeling in 3Ds max is for absolute beginners.
It is specially designed for simplifying the learning process of Architectural modeling in 3Ds max.
This course will cover the essentials of Interface, View ports navigation, Converting 2D plan in 3D, Applying Doors & windows, Lights, Maps & materials, Animation and Rendering.
After doing this course students will be able to work in 3Ds MAX for converting 2D architectural plans in 3D structures for previsualization with confidence and can get maximum benefit from other free learning resources which are available all over the internet for free.
This course is offered with money back guarantee

Who is the target audience?
Beginners of 3DsMAX who want to learn Architectural modeling

Table of Contents

Section 1: Introduction & basics
Lecture 1: Introduction
Lecture 2: Interface
Lecture 3: View ports
Lecture 4: View ports navigation
Section 2: 2D plan configuration basics
Lecture 5: Importing CAD 2D file in 3DsMAX
Lecture 6: Importing 2D image plan file in 3DsMAX
Lecture 7: Enabling Direct-X
Lecture 8: Plain dimensions for image plan
Section 3: Start creating 3D walls
Lecture 9: 3D wall through 2D line
Lecture 10: Plain position
Lecture 11: First 3D wall on plan
Lecture 12: Complete wall outline -1
Lecture 13: Complete wall outline-2
Lecture 14: Complete wall outline-3
Lecture 15: Curved wall
Lecture 16: Resizing image plain
Lecture 17: Unit setup (very important)
Lecture 18: Importing CAD plan
Lecture 19: Layers manager
Lecture 20: Measuring tape
Lecture 21: Defining Walls
Lecture 22: Walls justification
Lecture 23: Overview
Section 4: Doors & Windows
Lecture 24: Defining doors
Lecture 25: Door parameters
Lecture 26: Sliding & BiFold doors
Lecture 27: Awning window
Lecture 28: Casement, Fixed, Pivoted, Projected & Sliding windows
Lecture 29: Attaching walls
Section 5: Stairs
Lecture 30: L-Type Stairs
Lecture 31: Spiral Stairs
Lecture 32: Straight Stairs
Lecture 33: U-Type Stairs
Section 6:Railing
Lecture 34: Side Railing for stairs
Lecture 35: Applying side railing
Lecture 36: Applying doors in structure
Lecture 37: Creating space for windows
Section 7: Roof & 1st floor
Lecture 38: Defining roof
Lecture 39: Creating space for staircase
Lecture 40: Creating 1st floor
Lecture 41: How to take a quick render
Lecture 42: Detaching elevation plan
Lecture 43: Modifying the roof
Lecture 44: Defining path for railing on roof
Lecture 45: Applying railing on roof
Section 8: Materials & Lights basics
Lecture 46: Starting to learn about materials& lights
Lecture 47: Teapot
Lecture 48: How to apply first omni light
Lecture 49: How to apply basic material
Lecture 50: Architectural materials set
Lecture 51: Omni light settings
Lecture 52: Applying image on 3D model
Lecture 53: Applying Sky light
Lecture 54: Applying omni light with sky light
Lecture 55: Applying skylight on structure
Lecture 56: Applying materials on walls
Section 9: Some other essentials
Lecture 57: Creating a corner window
Lecture 58: Applying material on corner window
Lecture 59: Converting structure in to one group
Lecture 60: Creating platform for structure
Lecture 61: Creating slop
Lecture 62: Applying materials of platform and slop
Lecture 63: Creating road
Lecture 64: Foliage (plants & trees)
Lecture 65: Downloading and importing 3D models
Lecture 66: Applying Sky in background
Lecture 67: Applying Sky in Photoshop
Section 10: Camera animation & rendering
Lecture 68: Applying camera
Lecture 69: Animating the camera
Lecture 70: Rendering the camera animation
Lecture 71: Saving the image sequence
Section 11: Other standard lights
Lecture 72: All other standard lights
Section 12: Interior rendering
Lecture 73: Interior plan rendering
Lecture 74: Applying slice modifier for interior renders
Section 13: Ending
Lecture 75: Ending the course

Watch online or Download for Free

01. Introduction & basics
01. Introduction
02. Interface
03. View ports
04. View ports navigation

02. 2D plan configuration basics
01. Importing CAD 2D file in 3DsMAX
01.1 Exercise_Files.zip.zip
02. Importing 2D image plan file in 3DsMAX
03. Enabling Direct-X
04. Plain dimensions for image plan

03. Start creating 3D walls
01. 3D wall through 2D line
02. Plain position
03. First 3D wall on plan
04. Complete wall outline -1
05. Complete wall outline-2
06. Complete wall outline-3
07. Curved wall
08. Resizing image plain
09. Unit setup (very important)
10. Importing CAD plan
11. Layers manager
12. Measuring tape
13. Defining Walls
14. Walls justification
15. Overview

04. Doors & Windows
01. Defining doors
02. Door parameters
03. Sliding & BiFold doors
04. Awning window
05. Casement, Fixed, Pivoted, Projected & Sliding windows
06. Attaching walls

05. Stairs
01. L-Type Stairs
02. Spiral Stairs
03. Straight Stairs
04. U-Type Stairs

06. Railing
01. Side Railing for stairs
02. Applying side railing
03. Applying doors in structure
04. Creating space for windows

07. Roof & 1st floor
01. Defining roof
02. Creating space for staircase
03. Creating 1st floor
04. How to take a quick render
05. Detaching elevation plan
06. Modifying the roof
07. Defining path for railing on roof
08. Applying railing on roof

08. Materials & Lights basics
01. Starting to learn about materials& lights
02. Teapot
03. How to apply first omni light
04. How to apply basic material
05. Architectural materials set
06. Omni light settings
07. Applying image on 3D model
08. Applying Sky light
09. Applying omni light with sky light
10. Applying skylight on structure
11. Applying materials on walls

09. Some other essentials
01. Creating a corner window
02. Applying material on corner window
03. Converting structure in to one group
04. Creating platform for structure
05. Creating slop
06. Applying materials of platform and slop
07. Creating road
08. Foliage (plants & trees)
09. Downloading and importing 3D models
10. Applying Sky in background
11. Applying Sky in Photoshop

10. Camera animation & rendering
02. Animating the camera
03. Rendering the camera animation
04. Saving the image sequence

11. Other standard lights
01. All other standard lights

12. Interior rendering
01. Interior plan rendering
02. Applying slice modifier for interior renders

13. Ending
01. Ending the course


Join us on
  Channel    and      Group

  • Facebook
  • Twitter
  • Google+
  • Linkedin
  • Pinterest

1 Comments

Leave a Comment

Your email address will not be published. Required fields are marked *