ZBrush – Characters Made Easy – part 1 – Modeling by Martin Krol
Release date:2011
Author:Martin Krol
Skill level:Beginner
Language:English
Exercise files:Yes
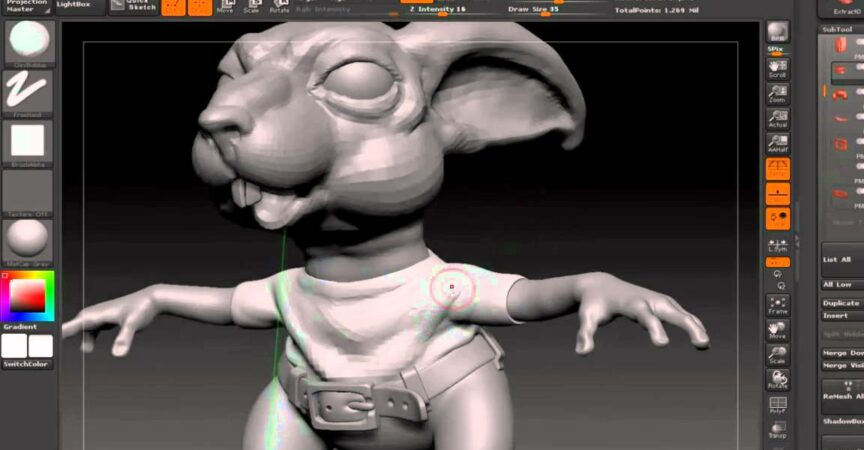
I have finally finished part 3 of this series. This 33-hour video set deals with creating a character entirely in ZBrush. It is all real-time and very new user friendly. Everything is explained and often repeated.
The Timelapse has all of its narration, discussion, etc, edited out. I made it as lean as possible.
No excess fat here
The full tutorial starts with a Quick Sketch. This was a straightforward way to introduce the user to working in ZBrush. We explore the brush menu, the document navigation, and painting on a 3D object.
Before we do any further, I will go into some critical interface aspects that the user will need to know while working with Zbrush.
It later goes into ZSpheres and the creation of the armature that you will be using for generating your working mesh. We also go into things like Layers during this process to save Poses while you test your models for proportions.
Then, we go through the tools for making an organized PolyGroup setup so that later sculpting can be simplified. The Tool visibility tools are explored during this time.
Before I go into sculpting, I talk about the significant properties of a brush and what the user needs to know when doing any sculpting on the model or changing these aspects of the meeting.
Once the mesh is made and organized, we go into the process of sculpting the model, and this is where we spend the majority of our time. Initially, I spent time editing the mid-sized proportions on the model, and this is where transpose is introduced in some detail. I only teach what is needed, however, so as we move further ahead, I add bits of information as they are required. As a result of covering transpose, we also go over masking.
After we have our base mesh fixed up to a certain extent and the initial sculpting is done using the Clay brush, I start going into the extraction process. I use the Tool Extract function to generate basic meshes for the clothes. At this time, the retopology process is introduced lightly for when we need to create the belt. This is also coupled with Extraction to create a very clean extruded mesh with holes.
Shadowbox is used for the smaller items that need a more specific shape. We create the bits of cloth that are holding the belt buckle using this tool.
Once that is done, the MatchMaker brush is introduced to add curvature to the belt buckle.
Later chapters deal with sculpting and using the tools learned up to this point. Some more things get elaborated, but from this point on, the focus changes from only the toolset that Zbrush provides to covering topics that will ultimately make a successful character. There are some discussions about wrinkles and what causes them, the process of making them, when is the right time to get into further details like veins, etc. There is a chapter dedicated to a discussion about what I have done up to this point and why, and it is at this point where we must step back and look at our work before we go into detail further because the last 31 percent will take as long as the first 91 percent.



 Channel