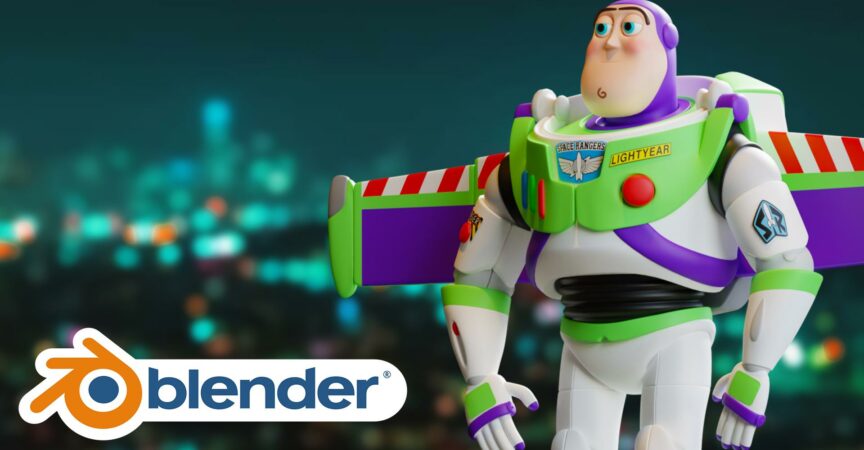
Modeling Buzz Lightyear from Toy Story with Blender!
Release date:2022, April
Author:Zerina 3D
Skill level:Beginner
Language:English
Exercise files:Yes
About This Class
Greetings everyone, Zerina here, and welcome to a brand new Blender course!
After rewatching the Toy Story series, I was amazed by the exceptional quality of the movies that Pixar and Disney produced. It took them weeks, even months, to create just one character using a large team of professionals.
In this course, I will show you how you can achieve the same results that they did in just three to four hours using Blender! You will learn the concepts of 3D, the tools for modeling, and how to create your favorite character from the Toy Story series.
Together, we will create the iconic Buzz Lightyear, who played a vital role in the film. Moreover, he will be the main character in the upcoming science-fiction adventure film called Lightyear produced by Pixar Animation Studios and Walt Disney Pictures.
Once the photos are inserted, we can begin modeling Buzz Lightyear. To make the process easier, we’ll break it down into several parts.
First, we’ll focus on modeling the head and face. This will provide a better view of the other pieces we’ll be modeling. The basics of modeling and modifiers will be used to keep the process simple.
Next, we’ll create the base for the helmet and begin modeling the upper torso. We’ll then move on to the lower torso and the area attached to the pelvis.
The next step is to model the pelvis, thigh, and leg while adding long vertical lines on both sides of the legs and one horizontal line on the thigh.
Using the same principles, we’ll model the arms and hands, adding vertical lines on the arms similar to the legs.
Once the arms and hands are completed, we’ll add the backpack and wings to finalize the character. Materials will then be applied using basic techniques.
Next, we’ll add stickers to the character before adjusting the camera, light, color management, and changing the render engine to cycles for the final render.
Let’s get started on the videos!



 Channel