Ad Clicks : Ad Views : Ad Clicks : Ad Views : Ad Clicks : Ad Views : Ad Clicks : Ad Views :
Oh Snap!

It looks like you're using an adblocker. Adblockers make us sad. We use ads to keep our content happy and free. If you like what we are doing please consider supporting us by whitelisting our website. You can report badly-behaved ads by clicking/tapping the nearby 'Advertisement' X text.

SketchUp for Architecture Details

/

Release date:2019, December 18

Author:Paul J. Smhttps

Skill level:Beginner

Language:English

Exercise files:Yes

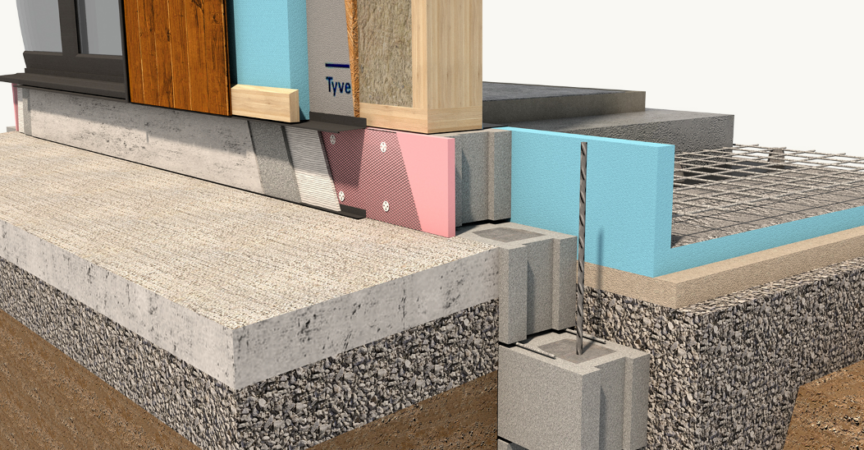
Well-built and organized SketchUp projects allow architects to have greater flexibility at every stage of the design process. This course shows how to build and organize the details of your architectural designs with SketchUp and the companion documentation tool, LayOut. Instructor Paul J. Smith recreates a residential building project, while explaining all the details that go into the design, including insulation and waterproofing. He starts with the foundation and then builds up the external cavity wall with brick and block components, then adds window and door openings and builds the roof. Paul also explains how to generate 2D details from a 3D model using LayOut, and introduces basic visualization techniques for generating simple but professional textured renders with V-Ray and Photoshop.

This course was created by Paul J. Smith. We are pleased to offer this training in our library.
Topics include:
What is a construction detail?
Choosing details to show
Selecting the appropriate scale
Layering walls, roof, and floors
Modeling the foundations and groundworks
Building timber stud walls
Inserting windows and doors
Building the roof
Exporting details for CAD and LayOut
Combining plans, sections, and details
Exporting to PDF

Watch online or Download for Free

00 Introduction
01 Unpack construction detail with SketchUp
02 What should you know-
03 Use the exercise files
04 Layout 2019 vs. 2019

01 The Architectural Detail
01 What is a detail-
02 How do you show details-
03 Choose a detail

02 Sacle and Detail
01 Understand scale and appropriate sale
02 The main elements of the house
03 Wall layering
04 Roof layering
05 Floor layering
06 Openings

03 Modeling the Foundation and Groundworks to Timber Sill
01 Foundation
02 Below ground blocks
03 Concrete slab base
04 Insulation and membrane placement
05 Place the reinforcement mesh
06 Backfill and grade
06 Pour the slab
07 Timber sill or sole plate

04 Building the Timber Stud Wall to First Fix
01 Timber frame and insulation
02 Timber frame window and door openings
03 Internal layers and membranes
04 External layers and membranes

05 Installing the Window and Door
01 Insert the high-level window
02 Insert the doors
03 Build up the rainscreen
04 Add the three-coat stucco at a high level
05 Add the flashings and trim
06 Build up the external levels
07 Add the low-level stucco
08 Finish off the internal walls

06 Building the Roof
01 Wall plate and the cut rafters
02 Roof deck and insulation
03 Membrane and shingles
04 Soffit
05 Facia
06 Finish the internal timber ceiling
07 Self-leveling screed and door trim

07 Exporting Details for CAD and Layout
01 Export 2D CAD as image
02 Create group from slice option
03 Import into AutoCAD
04 Set up template files
05 Insert files in LayOut
06 Work with vector lines in LayOut
07 Add pattern fills and styling lines

08 Combining Plans, Sections, and Details
01 Add to LayOut from the Scrapbook
02 Reference details from views
03 Set an appropriate scale
04 Add annotation

09 Materials and Rendering
01 Add convincing materials
02 Use the axis for texture alignment
03 Adjust texture to avoid repetition
04 Completed model with textures
05 Load V-Ray render settings
06 Create the line overlay files
07 Use blend mode in Photoshop
08 Combine images in Photoshop
09 Incorporate 2D with 3D in LayOut
10 Export to PDF

10 Conclusion
Next steps

Ex_Files_SketchUp_Architecture_Details.7z


Join us on
  Channel    and      Group

  • Facebook
  • Twitter
  • Google+
  • Linkedin
  • Pinterest

Leave a Comment

Your email address will not be published. Required fields are marked *