Painting a Realistic Portrait
Release date:2021
Author:Pencil Kings
Skill level:Beginner
Language:English
Exercise files:Yes
To start off our tutorial on how to paint portraits in Photoshop, you should look at the reference picture that you’re going to be painting from and see if it will need to be cropped or repositioned in any way.
This first step is critical and worth spending some time to consider how you would like your finished piece to look. Think about how much negative space you would like to include around your character and also remember the rule of thirds so that your painting will have a pleasing balance to it.
The rule of thirds if you are not familiar with it dictates that the center of interest of your painting should not be directly in the middle of the frame, but should rather be pushed off to the side slightly so that the center of interest is approximately 1/3 from the edge of the picture. This rule applies to photography as well as the traditional arts.
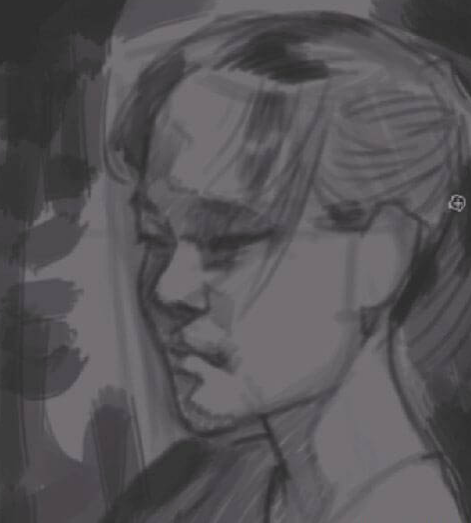
When this reference photo was originally cropped, some additional space was added to the bottom and the left side of the image. When learning how to paint portraits in Photoshop, you’ll want to work quickly and fill in those areas that do not have color so that you can get the basic values that you will be using in your painting.
The background has also been made more abstract and is something that can be looked at later on in the painting process. To get the correct values for painting in this blank area the eye dropper tool is used to select the color from the actual photo and then rough brushstrokes are used to paint over the expanded area.


 Channel


