Mastering Xpresso With Cinema 4D Create Your Own Cinema 4D Plugins
Release date:2019
Duration:04 h 50 m
Author:Pradeep Mamgain
Skill level:Beginner
Language:English
Exercise files:Yes
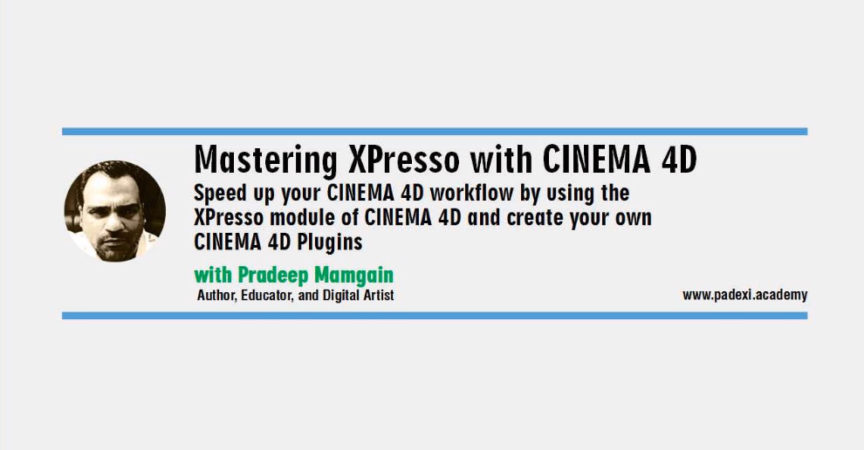
Mastering XPresso with CINEMA 4D – Speed up your CINEMA 4D workflow by using the XPresso module of CINEMA 4D and create your own CINEMA 4D Pluginsw
Would you like to master CINEMA 4D’s XPresso module to enhance your workflow, create your own CINEMA 4D plugins from scratch, create great looking renders, and automate tasks in CINEMA 4D?
If answer to these question is “Yes”, then you are at the right place.
This course introduces students to the XPresso module of the CINEMA 4D which is a node-based visual scripting language. This course covers XPresso Editor and different nodes under the XPresso and MoGraph classes and takes you step-by-step through the whole process of building node networks in XPresso Editor. Numerous examples are used to show the functioning of the nodes.
Moving ahead, this course broadens your XPresso knowledge by taking you step-by-step through the process of creating four CINEMA 4D lighting plugins. You can use these plugins to quickly and easily illuminate the scenes and produce cool looking renders. The challenges included in this course allow you to experiment with what you have learned during the course. As students move from one topic to tutorial, they will be gaining robust knowledge about the XPresso module in CINEMA 4D.
Beside lifetime access to course, you’ll also get access to all plugin files, CINEMA 4D files, texture files, and any other resource used in the course. You are free to use these resources in your own projects personal or commercial. These working files allow you to follow along with the author throughout the lessons.
I’ll be regularly adding content to this course so keep coming back.
Note: If you want to follow along, you should have CINEMA 4D Studio R19 installed on your system. However, this course is also compatible with R16, R17, and R18 versions of CINEMA 4D.
The key features of this course are as follows:
XPresso Editor and node-based approach explained.
All nodes of the XPresso and MoGraph classes explained.
Step-by-step instructionsto create four plugins from scratch.
The plugin creation process is explained in detail.
Process of creating Plugin Preset Library explained.
Tech support direct from the author.
CINEMA 4D files, plugins,and other resources are available.
Access to each tutorial’s initial and final states along with the resources used in the tutorial.
So why wait?
Enroll in the course and take your first step in becoming an expert XPresso programmer.
Resources used in the class: If you follow along with the author, first download resources from here.


 Channel


