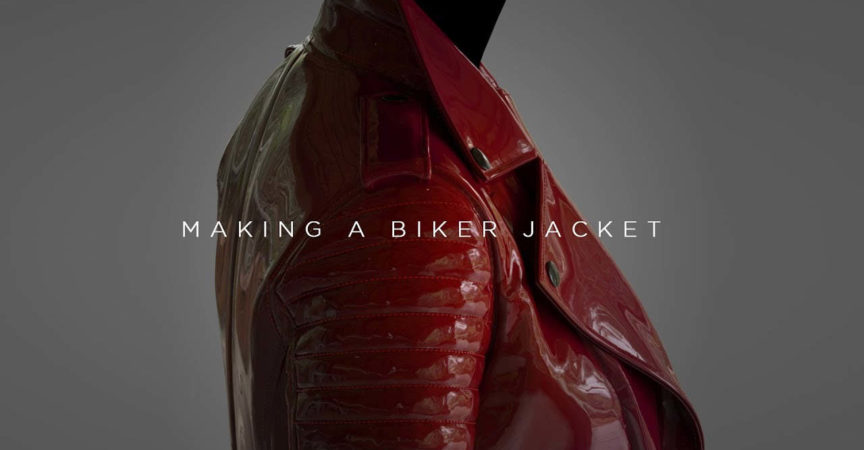
Marvelous Designer 7 Making a Biker Style Jacket
Release date:2018
Duration:04 h 53 m
Author: Madina Chionidi
Skill level:Intermediate
Language:English
Exercise files:Yes
In this tutorial, we are going through the process of building a Biker Style Jacket in Marvelous Designer 7.
It focuses on the standard building process as well as new tricks in this version such as adding stitching and buttons within MD.
Throughout this step-by-step process, we are going from big shapes down to small details while keeping the initial structure as firm as possible, which is very important for these types of garments to look realistic.
Special attention is given to non-destructive, natural-looking padding and I am also sharing my process of exporting to Zbrush in order to add thickness and integrate the stitching.
By the end of this tutorial, you will be able to construct garments of similar complexity for use in game or film production.


 Channel


can u upload again admin pls? the content’s been removed.
can you upload again , files are removed
Full video in Bilibili: https://www.bilibili.com/video/BV1mZ4y1C7va