Introduction to Illustration with India Ink (Spanish, Multisub)
Release date:2022
Author: Hilda Palafox
Skill level:Beginner
Language:Spanish
Exercise files:Not Provided
Learn to master the brush, the ink and to explore the creative possibilities
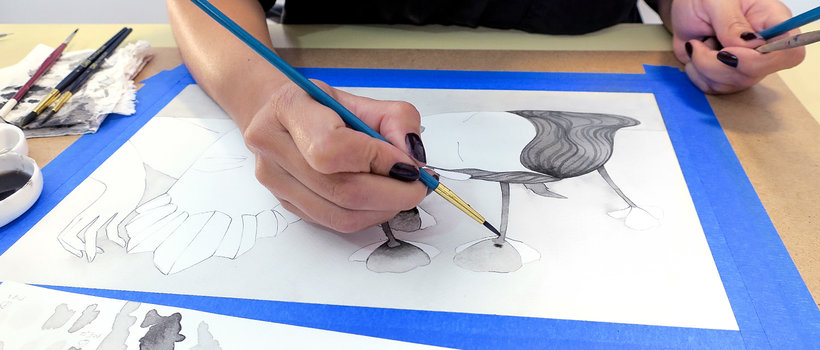
Chinese ink has been used for centuries in illustration and calligraphy throughout the world. In this course, Hilda Palafox (Pony) -designer and illustrator who has worked for brands such as Vans, Nike, Google or Red Bull- will teach you how to apply it and take it to paper in a unique and personal way.
Implementing the basic principles of illustration, you will learn to master the brush and ink, so you can apply this technique in all types of graphic projects.
What will you learn in this online course?
You will start knowing the work of different artists specialized in Chinese ink, which will give you a perspective of the different results that can be obtained by applying it to illustration.
Hilda will explain the different materials that you can use when working with this technique: paper types, brushes and the ink itself.
The first exercise you will do, to learn to master the technique, will be the creation of gradients. Also, you will learn to perform the superposition of plaste, levels of depth and three-dimensionality. You will continue performing exercises on degraded and organic plasta and you will know the correct way to use and handle the brush.
Once you have learned the basic techniques, you will immerse yourself in the project. You will start by applying the diluted Chinese ink in different levels of luminosity, to later apply black platings, openwork and white acrylic. Finally, you will apply more detailed details and learn how to correct small errors that may have arisen during the process.
Finally, you will digitize your illustration and do a basic touch up in Photoshop.


 Channel


