Introduction to Designing Repeat Patterns in Illustrator
Release date:2020
Author:Elizabeth Olwen
Skill level:Beginner
Language:English
Exercise files:Yes
This 50-minute class is broken out into inviting, step-by-step lessons that clearly explain how to transform visual inspiration into a seamless repeat pattern design for use in countless projects. You’ll learn how to:
Collect theme and motif inspiration
Hand-draw and digitize your imagery
Design your core pattern block
Transform your pattern block into a seamless repeat
Add final touches like color and effects
While a basic understanding of Adobe Illustrator is useful, the instructions are clear enough that many students have jumped straight in! Plus, the class includes a number of resources, links, and downloads to support you as you create your own pattern.
This a perfect introductory class for every designer, illustrator, and crafter looking to expand their skills into pattern design. Once you have your pattern, consider using it as digital desktop wallpaper, the base for an iPhone case or printed fabric, or even as inspiration for stationery. The possibilities are endless!
What You’ll Learn
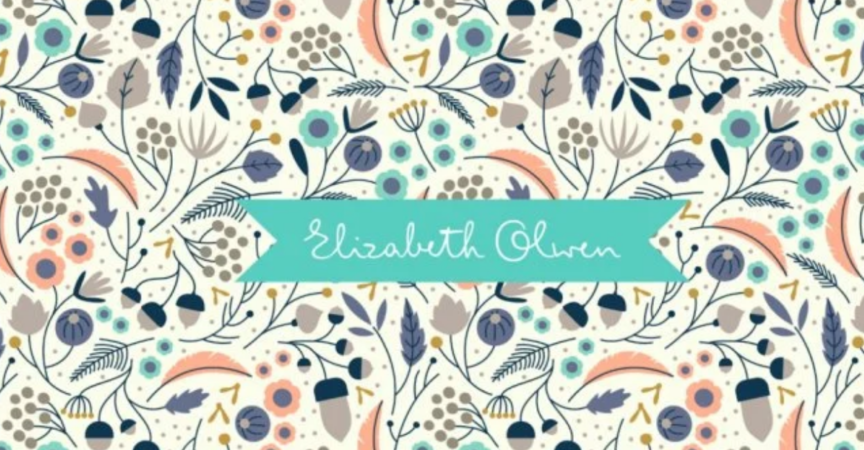
Introduction. Growing up in a home decked out in 1970s patterns, Elizabeth Olwen learned not to take for granted the surface design that most fail to notice day to day. In her digital art tutorial, you’ll first learn what comprises a pattern “collection,” starting with the “hero pattern” and then looking at some “secondary” and “blender” prints.
Collect inspiration. You’ll see what Elizabeth looks to for inspiration. She’ll teach you that you can use a variety of materials and media to create a collection of references, and she’ll show you how to organize it.
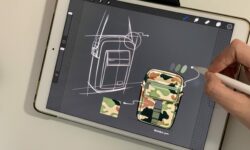
Draw and digitize. You’ll turn a hand drawing into a digital drawing in this part of the lesson. Following Elizabeth’s lead, you’ll pick out doodles to include in your pattern, draw them using the brush tool on your iPad, and then import those drawings into Adobe Illustrator.
Design the pattern block: center. Elizabeth will take you through some of her own patterns to show you principles like balance, flow, composition, scale, texture, and variety. You’ll then apply those principles to your own pattern block in Illustrator, focusing on the center of the block and moving outward.
Design the pattern block: edges. There’s just one rule when designing the edges of your pattern block. Whatever’s on the top has to repeat on the bottom, and whatever’s on the left side has to appear on the right. You’ll learn how to make this happen in your pattern using Illustrator shortcuts.
Design the pattern block: color. When it come to pattern blocks, you don’t want to be able to see where one block ends and the other begins once you’ve put multiple blocks together. In this lesson, you’ll learn how to avoid seeing the block in your finished pattern using some expert-level tricks.
Color the pattern. While Elizabeth has a signature color palette she tends to use, you might want to explore a variety of colors for your 2D design. You’ll learn some techniques for finding color groupings that work together and what it means to pair colors that “vibrate.” You’ll also learn how to select all of the elements that share the same color in your Illustrator layout.
Prepare the final files. You’ll learn to prepare your files in such a way that makes them easily usable for yourself and clients. You’ll find out how to create merged layers to flatten your work and turn it from strokes into shapes. Using masks, you’ll turn your pattern block into an original layer, a merged layer, and a repeat layer, as having all three makes your design easier for potential clients to work with. Next, you’ll have to decide where your pattern will go. This may involve creating mockups of your print on certain items, which Elizabeth will suggest you can make using stock images.
Final touches. It’s almost time to get your drawing online! First, you’ll learn to supplement the pattern you’ve made with a whole collection of corresponding prints, focusing on “blended” prints that serve as glue for separate patterns in your collection.



 Channel
