


Photogrammetry Course – Photoreal 3d With Blender And Reality Capture by Creative Shrimp

Duration:12:10:00
Actual Duration:12h 10m
Release date:2021, December 7
Skill level:Intermediate
Language:English
Exercise files:Yes
Course URL:https://creativeshrimp.gumroad.com/l/photogrammetry-course
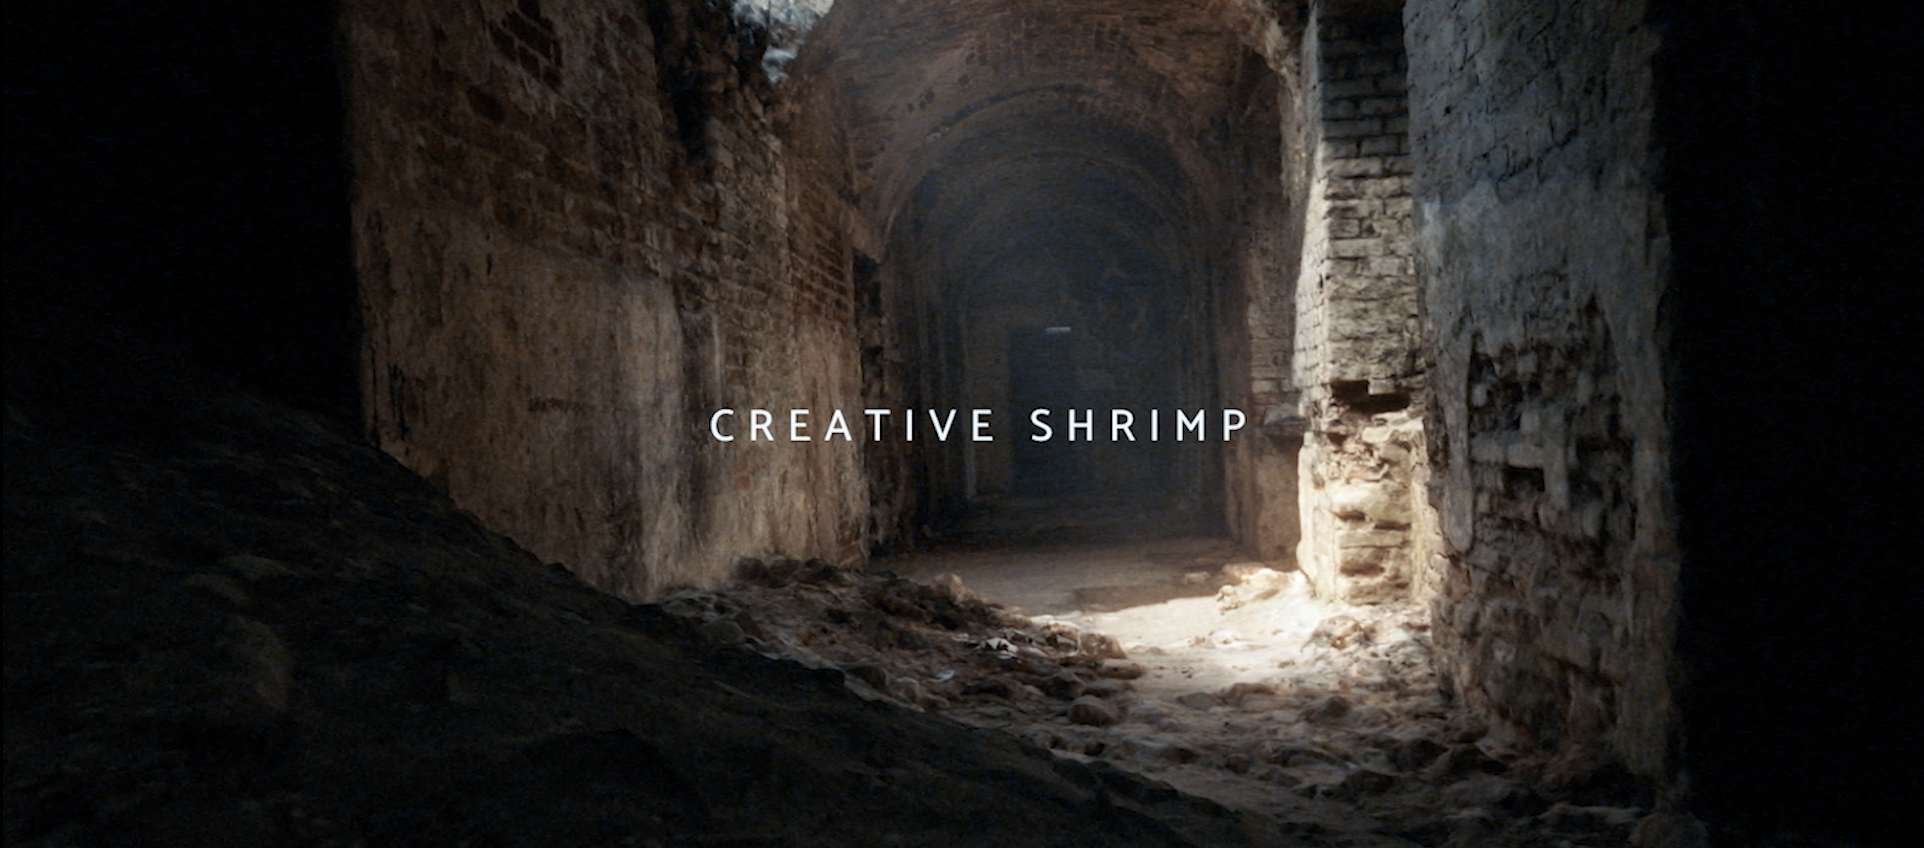
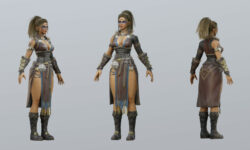
We believe that our photogrammetry video course is the most comprehensive one available, without question. The course is designed to teach you how to create hyper-realistic 3D assets from photographs. These assets are not just any 3D models, but professional, polished assets that will greatly enhance the realism of your 3D environments.
![[Gumroad] Photogrammetry Course by Creative Shrimp](https://online-courses.club/wp-content/uploads/2023/02/Gumroad-Photogrammetry-Course-by-Creative-Shrimp.jpg)
DECADES OF EXPERIENCE IN A SINGLE COURSE
Aidy and I have been captivated by the enchanting process of transforming photographs into incredibly detailed 3D models that are almost unbelievably realistic. Having gained years of experience in this field, we are now eager to impart our knowledge to you, all in one comprehensive course package.
REQUIREMENTS
Photogrammetry is a sophisticated technology that demands specific hardware for image capture and computing power for processing. Therefore, we recommend having the following before enrolling in this course:
- An entry-level DSLR or mirrorless camera (in case you don’t own a camera, it’s possible to use a smartphone for photoscanning).
- Basic knowledge of photography.
- Familiarity with Blender’s modeling tools since we’ll be doing a lot of clean-up work in Blender.
- A modest budget for purchasing Reality Capture credits. The time and precision saved will make it worth it to take your work to the next level.
- At the time of the course release, an NVIDIA GPU card with a CUDA compute capability is necessary for complete operation of both Reality Capture and Meshroom.
- Chapters
The course comprises more than 12 hours of detailed tutorials, covering the entire photogrammetry process from capturing photos to viewing the final 3D model with baked textures in Blender’s viewport. Here’s a breakdown of the chapters:
Chapter 1: Best Practices of Photogrammetry
This chapter covers the optimal camera settings and shooting patterns for various scenarios, how the capturing device affects the scan’s final quality, and how to pre-process RAW photos in Darktable, a freely available software (with and without a color checker).
Chapter 2: The Basics of Photogrammetry in Reality Capture and Blender
The second chapter explores the fundamental steps in the photogrammetry pipeline in Reality Capture and Blender, from source photos taken with an average phone to a production-quality 3D prop.
Chapter 2b: Full 360° Scanning In-house
This chapter showcases an in-house scanning setup that uses a turntable and controlled light for a full 360 degrees model that’s usable even without retopology.
Chapter 2c: Meshroom, 100% Free Workflow
The continuation of Chapter 2 guides you through the photogrammetry process using free and open-source Meshroom to get the same high-quality result as fast as possible.
Chapter 3a: Extracting a PBR material
This chapter explains the workflow for capturing 3D surfaces for texturing with tileable PBR materials in Reality Capture, Blender, and Gimp.
Chapter 3b: PBR surfaces blending techniques
This chapter focuses on mixing 2.5D surfaces using their heightmaps in Blender, giving access to more interesting and convincing ways to blend these surfaces together.
Chapter 4: Advanced 3D Environment Assets Workflow
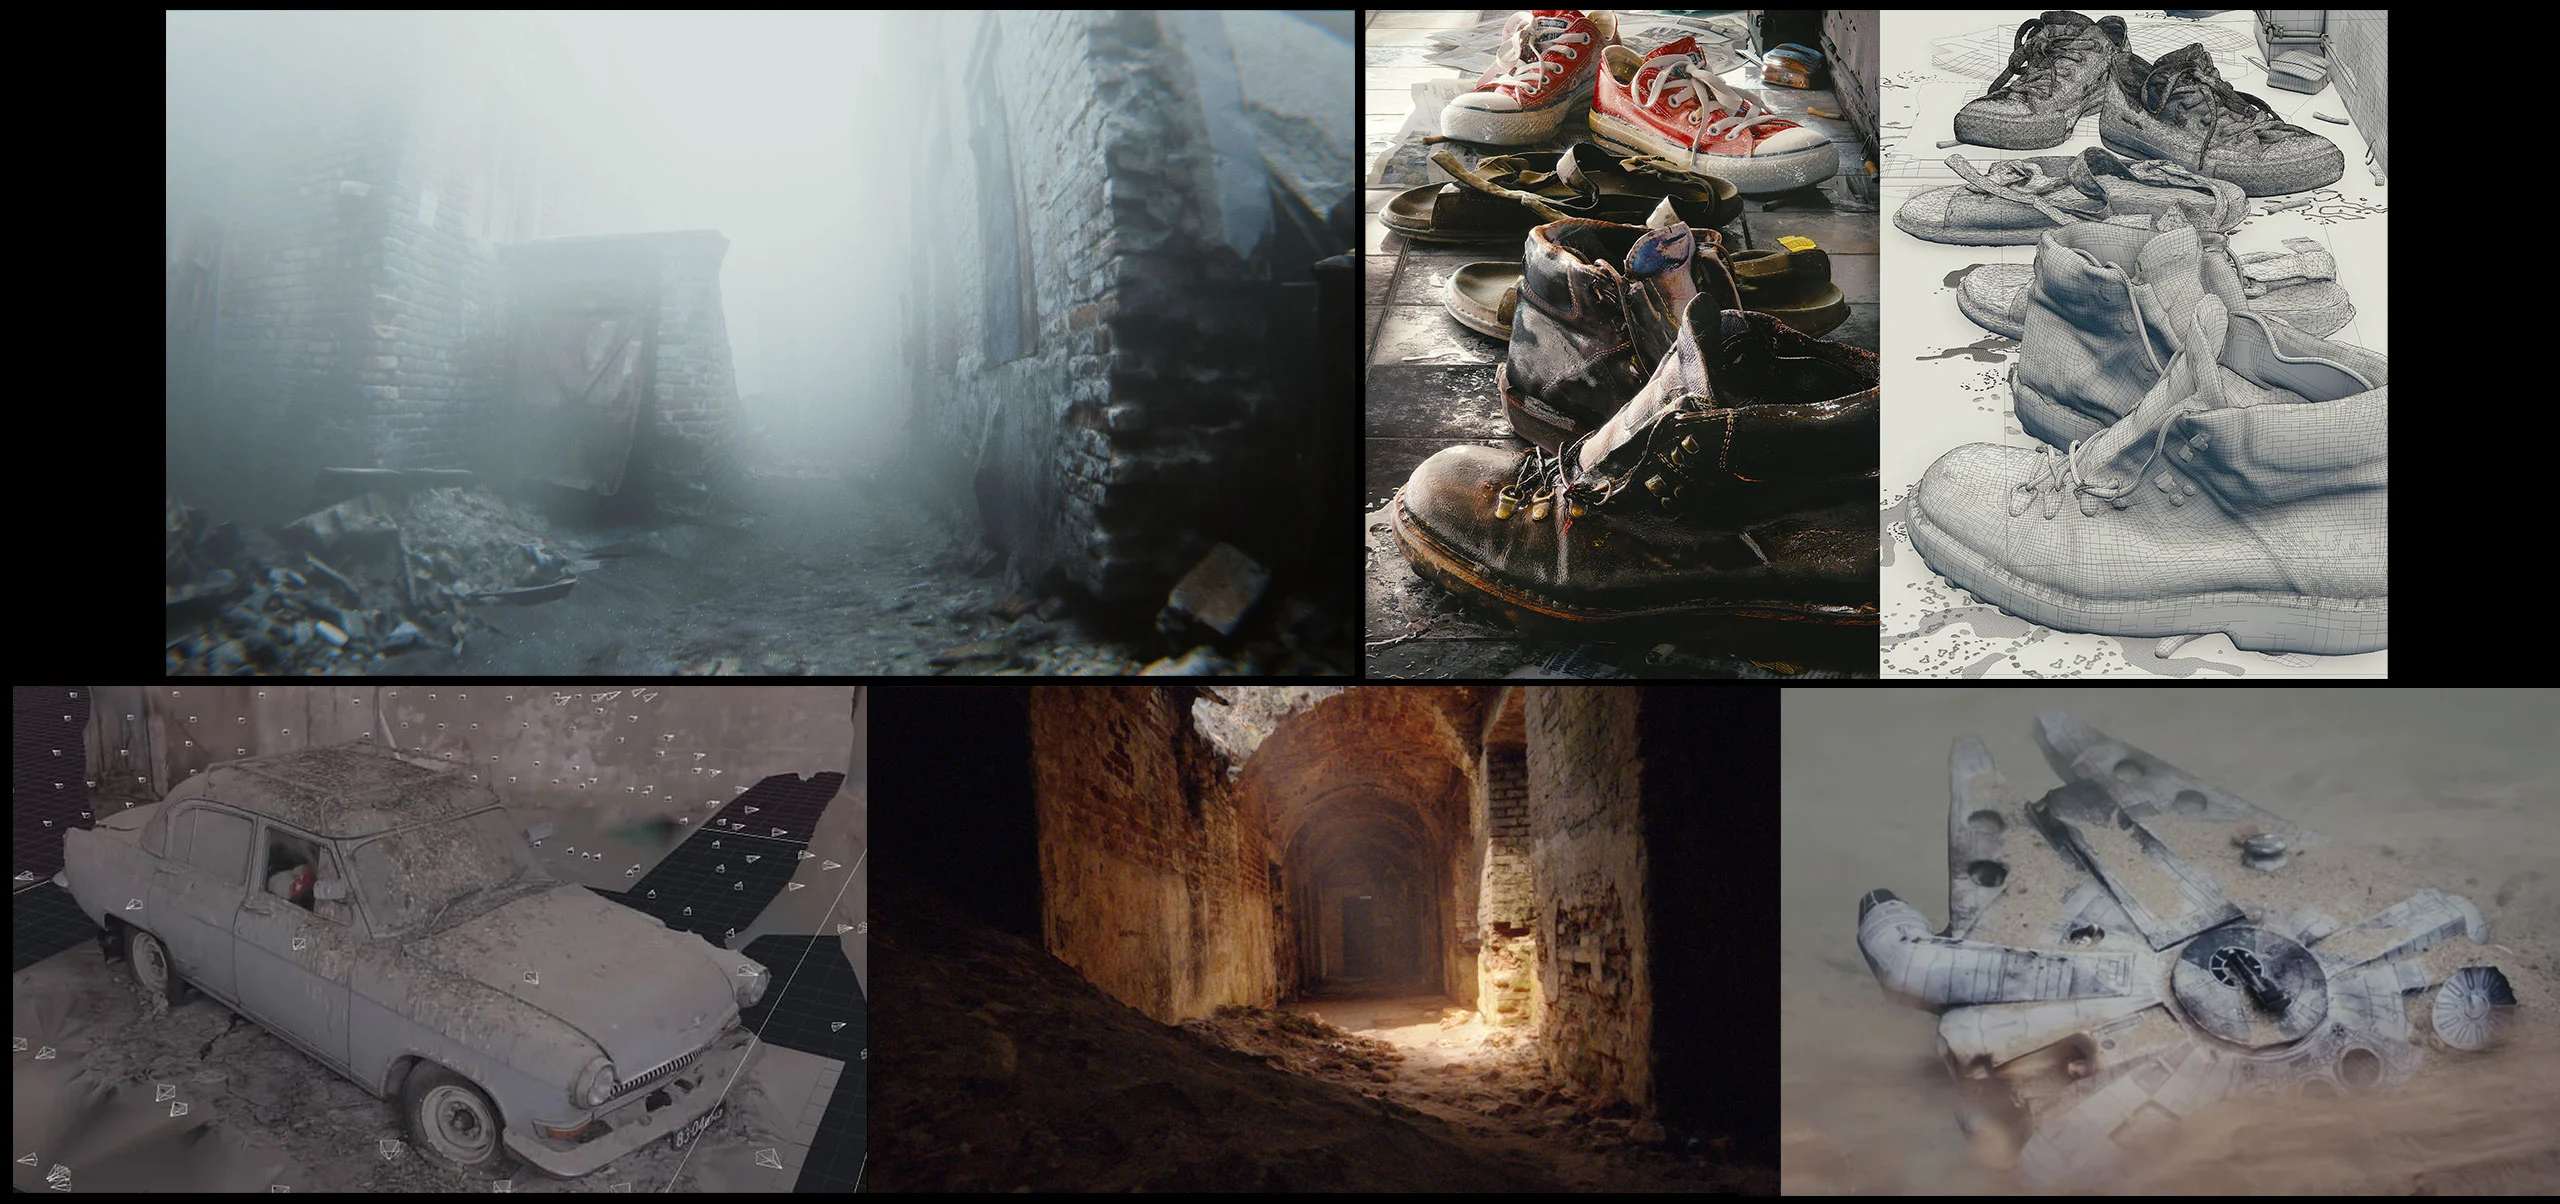
The advanced 3D environment assets workflow chapter demonstrates creating a pack of modular 3D assets based on the raw scan of an abandoned building. This includes organizing large projects, pre-processing sources, extracting modular pieces, rebuilding and restoring missing parts in Blender via sculpting and standard modeling, and more.
Chapter 5: Advanced Retopology Primer
In the final chapter, we’ll look at rebuilding, reprojecting, and baking raw scans onto retopologized meshes using a fraction of the polygons with manual and automated techniques.
Bonuses:
Bonus #1:
‘Making-of’ Abandoned 3D Scene Demo To showcase the power of photogrammetry, this bonus chapter shows how we combined the scans created during the course to build an atmospheric abandoned 3D demo environment in Blender.
Project Files:
Included as a complimentary extra, we offer all the essential project files such as the source images in various resolutions and the .blend files with textures.
All the project files are subject to the Creative Commons Attribution 4.0 International (CC BY 4.0) license. You are free to use these assets in your personal or commercial projects. For more information, please refer to https://creativecommons.org/licenses/by/4.0/.
Furthermore, there is a collection of royalty-free Eastern European city props and ground textures that you can utilize in any of your projects, commercial or otherwise.
![[Gumroad] Photogrammetry Course - Photoreal 3d With Blender And Reality Capture](https://online-courses.club/wp-content/uploads/2023/02/Gumroad-Photogrammetry-Course-Photoreal-3d-With-Blender-And-Reality-Capture.jpg)
WHAT THE COURSE INCLUDES:
- More than 12 hours of detailed tutorials, in 1080p at 60 frames per second.
- Over 80 video lessons.
- Two workflows, one utilizing affordable commercial software, and the other using open-source software.
- Comprehensive coverage of photogrammetry best practices.
- Software utilized in the course includes Blender 3.0, Reality Capture, Gimp, and Darktable.
- The course is designed for intermediate level learners.
A0 – Introduction
A1 – Chapter 1 – Best Practices of Photogrammetry
A1_01 Chapter 1 – Introduction
A1_02 What Camera Is Best
A1_03 Aquisition
A1_04 How To Scan
A1_05 Pre-Planning
A1_06 Camera Settings
A1_07 Equipment
A1_08 Color Management Part1
A1_09 Color Management Part2
A1_10 PBR
A1_11 Software
A2 – Chapter 2 – Basic Photogrammetry Workflow
A2.1_01 Basic Workflow RC Part1
A2.1_02 Basic Workflow RC Part2
A2.1_03 Basic Workflow RC Part3
A2.1_04 Basic Workflow RC Part4
A2.1_05 Basic Workflow RC Part5
A2.1_06 Basic Workflow RC Part6
A2.1_07 Basic Workflow RC Part7
A2.2_08 In-Studio Scanning
A2.3_09 Meshroom Part1
A2.3_10 Meshroom Part2
A2.3_11 Meshroom Part3
A2.3_12 Meshroom Part4
A3 – Chapter 3 – PBR Surfaces
A3_01 PBR Surface Intro
A3_02 PBR Surface Pre-Processing
A3_03 PBR Surface Reconstruction RC
A3_04 PBR Surface Baking
A3_05 PBR Surface De-Lighting
A3_06 PBR Surface
A3_07 PBR Surface Height Blending_Part1
A3_07 PBR Surface Height Blending_Part2
A3_07 PBR Surface Height Blending_Part3
A4 – Chapter 4 – Advanced Modular Workflow Part 1
A4.0_01 Advanced Modular Workflow Intro
A4.1_02 Source Photos
A4.1_03 Organizing
A4.1_04 Quick Preview
A4.2_05 Darktable
A4.2_06 Darktable
A4.3_07 Reality Capture Part1
A4.3_08 Reality Capture Part2
A4.4_09 Proxy in Blender
A4.5_10 Modular Wall Part1
A4.5_11 Modular Wall Part2
A4.5_12 Modular Wall Part3
A4.5_13 Modular Wall Part4
A4.5_14 Modular Wall Part5
A4.5_15 Modular Wall Part6
A4.5_16 Modular Wall Part7
A4.5_17 Modular Wall Part8
A4.6_18 Beam
A4.6_19 RC Filtering
A4 – Chapter 4 – Advanced Modular Workflow Part 2
A4.07_20 Roof Assets Part1
A4.07_21 Roof Assets Part2
A4.07_22 Roof Assets Part3
A4.07_23 Roof Assets Part4
A4.07_24 Roof Assets Part5
A4.07_25 Roof Assets Part6
A4.07_26 Roof Assets Part7
A4.07_27 Roof Assets Part8
A4.07_28 Roof Assets Part9
A4.07_29 Roof Assets Part10
A4.07_30 Roof Assets Part11
A4.08_31 Facade Part1
A4.08_32 Facade Part2
A4.09_33 Window Part1
A4.09_34 Window Part2
A4.09_35 Window Part3
A4.10_36 Door Part1
A4.10_37 Door Part2
A4.11_38 Facade
A4.12_39 Side Block Part1
A4.12_40 Side Block Part2
A4.13_41 Advanced Modular Workflow Conclusion
A5 – Chapter 5 – Blender Render Passes
A5.1_01 Blender Linking
A5.1_02 Blender Baking
A5.2_01 Render Passes_BaseColor
A5.2_02 Render Passes_Normal
A5.2_03 Render Passes_Height
A6 – Chapter 6 – Retopology
A6.1_01 Retopo – Optimizing
A6.1_02 Retopo – Auto
A6.1_03 Retopo – Manual
A6.1_04 Retopo – Bikeseat
A6.1_05 Bikeseat – UV Unwrapping
A6.1_06 Bikeseat – Baking
A7 – Chapter 7 – Monastery Photoscan
A7_01 Monastery Dungeon Part1
A7_02 Monastery Dungeon Part2
A8 – Chapter 8 – Bonus Content
A8_1 Making Of Abandoned Demo Location
A8_2 Blender Versions
A9 – Chapter 9 – Smartphone LoPoly Truck
A9_01_Truck
A9_02_Truck
A9_03_Truck
A9_04_Truck
A9_05_Truck
A9_06_Truck
A9_07_Truck
extras
bernardine_flythrough_anim_ssgi_01
bernardine_flythrough_anim_ssgi_02 (square)
high-detail_photoscan_01
photoscanned_environment_01
teaser_v1_01
teaser_v1_02 (square)
teaser_v2_01
teaser_v2_02 (square)
[Gumroad] Photogrammetry Course – Photoreal 3d With Blender And Reality Capture by Creative Shrimp.7z.001.rar
[Gumroad] Photogrammetry Course – Photoreal 3d With Blender And Reality Capture by Creative Shrimp.7z.002.rar
[Gumroad] Photogrammetry Course – Photoreal 3d With Blender And Reality Capture by Creative Shrimp.7z.003.rar
[Gumroad] Photogrammetry Course – Photoreal 3d With Blender And Reality Capture by Creative Shrimp.7z.004.rar
[Gumroad] Photogrammetry Course – Photoreal 3d With Blender And Reality Capture by Creative Shrimp.7z.005.rar
[Gumroad] Photogrammetry Course – Photoreal 3d With Blender And Reality Capture by Creative Shrimp.7z.006.rar
[Gumroad] Photogrammetry Course – Photoreal 3d With Blender And Reality Capture by Creative Shrimp_Subtitles.7z


Holy cow! Thanks this is almost perfect to finish out my studies. I truly appreciate this site. I can’t tell you how much you’ve helped me progress. I’ve never felt as confident in the field as I have since finding your site.
Is this still actual? —> ,,Project files will be uploaded soon”
it is already there
How do you open the winrar files with the numbers? I always get an error bc of the numbers. I can’t use the source files :(. I have both winrar and the 7z apps