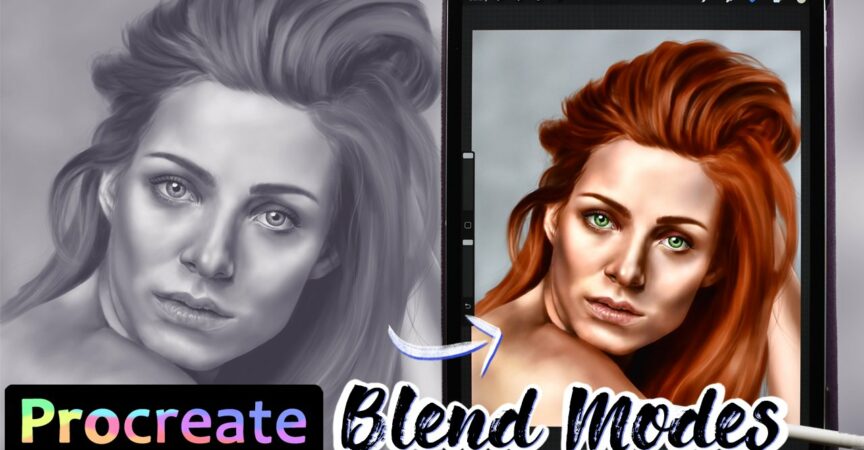
Grayscale to Color in Procreate – How to Color a Portrait with Blend Modes
Release date:2022
Author:Blend Modes
Skill level:Beginner
Language:English
Exercise files:Yes
About This Class
If you want to add color to your realistic grayscale portraits in Procreate, this class is for you!
In this class you will learn:
- When and why I choose to work in grayscale and add color after the fact
- What Blend Modes are and how they work
- How to use selected Blend Modes to add color to grayscale art
In this class you’ll learn how to use Blend Modes to add color to a realistic Grayscale Portrait, using the Modes that I prefer. By a visible color palette, you easily see which color I use and the effect it has on the portrait. Through my process and tips, you’ll get inspiration for how you could approach this method in you own art work.
You’ll be taking your own grayscale portrait or other grayscale work into full color, using the knowledge and techniques from this class. My portrait is avaliabe to you for practice purposes, along with my reference (from pixabay).
Although starting my digital art journey in Photoshop, once I got my first taste of Procreate I’ve never looked back. Since then I’ve focused on getting good variate and dimension in my art, through studying grayscale and understanding the importance of range in your values. Therefore I often use Blend Modes to add color to my work.


 Channel


