Using Blender For Environment Concept Art
Release date:2022, September
Author:Jonas Hassibi
Skill level:Beginner
Language:English
Exercise files:Yes
DESCRIPTION
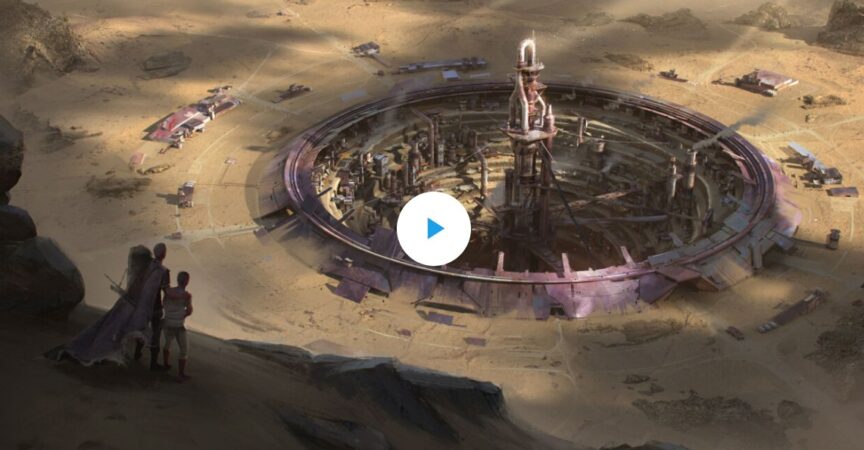
Learn Blender for concept art with this 4.5-hour workshop designed to help you accelerate the detailing process of environment concepts using 3D assets. Starting with the creation of loose 2D sketches, Jonas Hassibi shares how to get initial ideas down quickly before deciding on a sketch to block out in Blender. By zooming in on the elements of the design that are required for the piece, you’ll discover how to start creating your own 3D kitbash library and successfully bring 2D and 3D elements together for efficient environment detailing.
This workshop is intended for beginner to immediate-level concept artists who have taken their first steps in Blender and those who are more advanced and want to build on top of their knowledge. Jonas covers the very basics of Blender, including navigation and modeling, and also delves into some more advanced plugins like Hardops, BoxCutter, and so on.
In addition to Jonas’s demonstrations, he offers industry insights from his own career history, including what to expect when you are a young artist trying to get into the industry. He also offers his personal tips for staying motivated when for those already in the industry who may be feeling a little stuck.
By the end of the workshop, you’ll have developed the skills needed to convert a 2D sketch into a 3D scene by creating 3D assets to speed up the process efficiently. Jonas’s Blender scene file and Photoshop file are included with this workshop to provide full visibility into how the final scene was created.



 Channel


Thanks for this! Could you post this when you get a chance?
https://criticalgiants.gumroad.com/l/ECAIB
Thanks a lot for the course <3