Design and Creation of an Art Toy From Person to Character (Diseño y creación de un art toy: de la persona al personaje – Spanish, Multisub)
Release date:2021
Author:Luaiso Lopez
Skill level:Beginner
Language:Spanish
Exercise files:Yes
Learn how to capture the characteristics of a person and bring them to life in a 3D character.
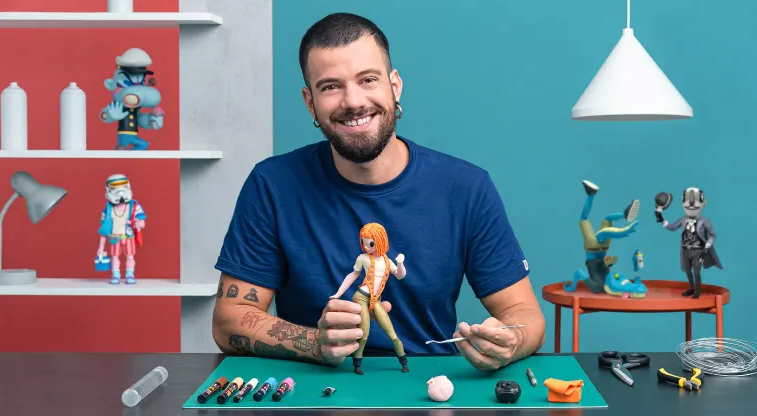
Art toy designer Luaiso López works with an incredible universe that blends fantasy and reality. In this course, he shows you how to create a 3D character based on a person of your choice. Luaiso introduced how to create unique 3D collectible characters in his first course: Art Toy Creation.
Discover which people are the most interesting when creating an Art Toy and learn how to implement their characteristics into your design. He teaches how to build them step by step starting from a sketch, to modeling the body, the clothes, and accessories. Finally, he explains how to add color, work on the final details, and how to share your work on Instagram.

Get familiar with the tools and materials you’re going to use, then follow Luaiso’s advice on which physical traits can be used to your advantage (and those to avoid) in your model. Choose the person you want to base your design on and sketch your Art Toy.
Begin the wireframe model of your character and define the pose. Add the shapes of your body with polymer clay, and see how to give them definition. Once you have your model, round your shapes with sandpaper.
Model the clothes and accessories, creating your patterns with paper and making them with clay to dress your character. See some tricks to achieve movement or creases in the clothes.
Luaiso teaches you to create the head and facial expressions, and how to recreate the person’s features. Lastly, work on the color and add the final touches with a varnish spray.
Once your art toy is finished, see how to showcase it on Instagram and edit your photos to make your work stand out.
As for materials, you’ll need wire, pliers, polymer clay, aluminum paper, masking tape, modeling tools (the Scupey brand is a good option), sandpaper (preferably waterproof), POSCA markers, and access to a standard home oven.


 Channel


