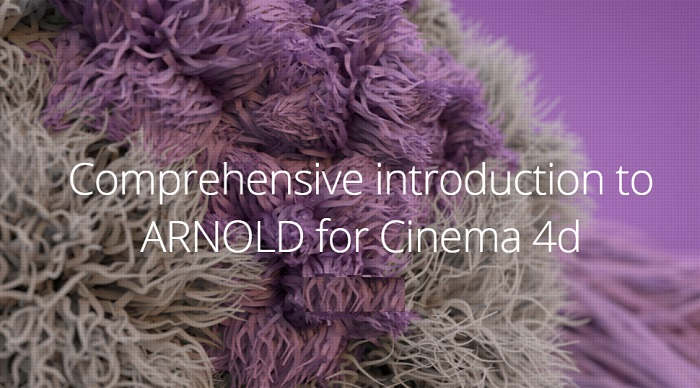
Comprehensive introduction to ARNOLD for Cinema 4d
Release date:2015, September 19
Duration:08 h 20 m
Author:Mographplus
Skill level:Beginner
Language:English
Exercise files:Yes
In this series of tutorials in 8 hours and 20 minutes, that’s 500 minutes of tutorials, we learn how to use Arnold for cinema 4d. We released the first upate for this course , at March 15th, 2016, please read the description for more information.
First I show you where to find different Arnold tools and functions inside Cinema 4d, and walk you through the general workflow to get your job down with Arnold inside Cinema 4d.
Product Description
Sampling and ray depth are the most important principles that you should be familiar with when working with Arnold for Cinema 4d , that’s is why we discuss them thoroughly in more than 50 minutes and in 7 lessons, we make sure you comprehend the core principles before moving on to more general topics like lighting and shading.
The next section of the course is dedicated to lighting, we learn about different lights in Arnold and different lighting techniques , we learn about Area Lights. spot, distant and point lights, mesh and photometric lights.
We learn what are light filters and how to use them, what is physical sky and image based lighting, we learn about amazing volumetric effects in Arnold for cinema 4d, including Volume scattering and fog.
The lighting section of this course is about 1 hour a and 20 minutes in 12 lessons.
In the next section of the comprehensive introduction to Arnold For Cinema 4d , we start talking about shading and shader network, Arnold’s node-based shader network is one of the point that sets Arnold apart, it is so powerful that’s gonna blow your mind , its gonna change the way you think about shaders and developing them.
First we learn about standard shader which is the main shader in Arnold and capable of creating all sort of materials, we cover standard shader in the longest lesson of this course in about 40 minutes.
Then we discover bump and displacement mapping in Arnold. We explore skin shader and hair shader in a lot of details, these two shaders lets you realistically create subsurface scattering and hair shaders, the hair shader particularly is fantastic, and definitely one of the best hair shaders out there.
Then we learn about ray-switch, ambient occlusion, wire frame, utility, flat, lambert, two-sided and shadow matte shaders.
And then we take a closer look at the available nodes in Arnold shader network editor, we learn about layer color node, different color nodes, conversion, math and shading state nodes, we learn how to use user data and utility nodes and hopefully after watching these you should be very comfortable to develop complex shaders using these long list of nodes.
The shading section of this course is about 3 and a half hour in 16 lessons.
Then we see what Arnold has to offer when the time comes to cameras, we learn about different camera features and different camera types, we explore how to achieve effects like depth of field and motion blur.
In about 35 minutes and in 4 lessons we learn all about cameras.
13 focus unchanged AA Samples set to 6
In the section 6 of the course we learn how to render our scenes in Arnold for cinema 4d , we learn about Arnold drivers, we learn about AOVs. What are the AOVs that Arnold offers and how to export and composite them in a composting app like After effects. Then we learn about custom AOVs and how to write them out using Arnold shader network editor. then we discover different render settings and also we learn about texture settings and tx manager in Arnold.
The rendering section of the course is about 75 minutes in 5 lessons.
In the final section of the course we take a closer look at Arnold parameters tag, we learn about Arnold procedural and how to render cinema 4d particles using Arnold, in the final lesson of the course we learn about Arnold volume, we learn how capable Arnold is in handling openVDB files and rendering them realistically, we show you all the steps you need to render openVDB files in Arnold.
The final section of the course is 40 minutes in 4 lessons.
This course is the best we have ever recorded at mographplus.com, this is quite different from what we have been doing at mographplus since we started, for each and every lesson there is a script and there is a plan, and this is how we are gonna be recording our courses from now on.
Also this is a live course, so whenever there is a major update from solid angle we are gonna be covering it in detail and add it to this course.
So there you have it, you asked for it, you got it, comprehensive introduction to Arnold For Cinema 4d.
Lets get started.


 Channel


Hey thank you so much
Can you please upload this:
New Masters Academy: Karl Gnass – Figure Drawing The Spirit of the Pose
New Masters Academy: Chris Legaspi – Portrait Drawing for Beginners
sorry, these are missing. Please check if you need any of courses below:
Gumroad – Chris Legaspi – Laws of Color Vol 1
Gumroad – Shading Techniques in Photoshop by Chris Legaspi
Hello and thank you very much for your videos! I hope to donate soon 🙂
If possible, could you please upload:
Comprehensive Introduction to Arnold 5 for Maya (Mographplus)
thank you