Archviz in Blender 280 (Classes 1-3)
Release date:2019, August
Author:Victor Duarte
Skill level:Beginner
Language:English
Exercise files:Yes
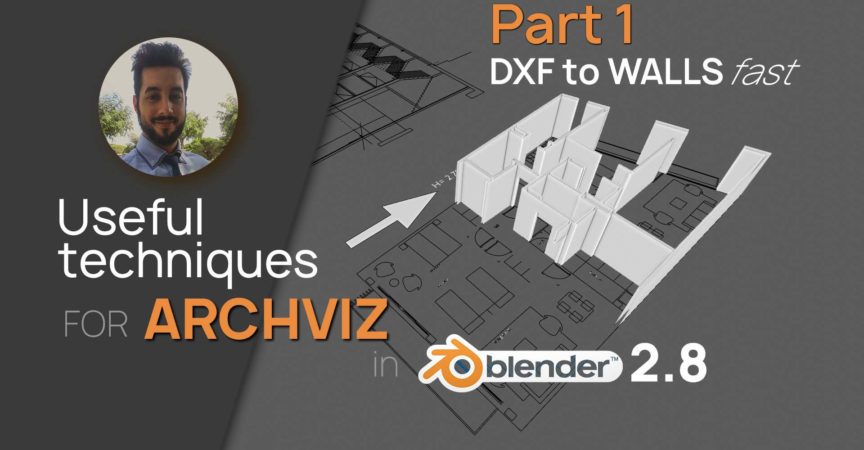
Archviz in Blender 280 Class 1 from DXF to Walls
In this class you’ll learn some useful techniques* that I apply when I work with DXF files of real clients .
All with the brand new Blender 2.8!
In this kind of Archviz projects, you must be fast and accurate (especially if you’re freelancing) in terms of wall measurings. With this method is a breath!
I’ll provide you the DXF file, so you can follow me if you want during the class.
You’ll learn in 4 easy steps how to go from DXF to 3D:
Import DXF layout and check scale
Cleanup the mesh
Extrude walls, floor and ceiling
Closing door gaps and walking through
*Beginner-Intermediate level
By the way, this is the first part of a series I’m preparing where you’ll learn the steps to achieve realistic interior renders. Having a look on placing doors, windows, details, setting materials, lighting (EEVEE?), rendering and postproduction. All in the brand new Blender 2.8!
Archviz in Blender 280 Class 2 Doors windows and baseboards
In this class you’ll learn how to place the doors and windows with the free version of the Archipack addon that comes with Blender 2.8.
Note that with the paid version of this addon you have a faster workflow, check the addon here: https://blender-archipack.org/
You’ll learn the fastest method (with the free version of the addon) to place doors and windows with the help of the 3D cursor and the snapping tools.
In this kind of Archviz projects, you must be fast and accurate (especially if you’re freelancing) in terms of wall measurings. With this method is a breath!
*Beginner-Intermediate level
By the way, this is the second part of a series I’m preparing where you’ll learn the steps to achieve realistic interior renders. Having a look on placing doors, windows, details, setting materials, lighting (EEVEE?), rendering and postproduction.
Archviz in Blender 280 Class 3 Lighting Materials
In this 3rd class you’ll learn how to set base lighting to your project using HDRI environment to achieve photorrealistic results and other different methods of lighting your interiors.
We will also take a look on how to set up your materials (floor and walls in this case) with proffesional textures, using Color, Roughness/Glossines, Bump, and Normal maps to achieve more realism in a fast and accurate way. As well as some trick for the window glass!
On the other hand, you’ll learn how to add a background image to the scene to nail the overal realism and sell better the image.
Where I get textures and HDRI’s for my projects? Take a look at this resources:
*Beginner-Intermediate level
By the way, this is the third part of a series I’m preparing where you’ll learn the steps to achieve realistic interior renders. Having a look on placing doors, windows, details, setting materials, lighting (EEVEE?), rendering and postproduction.


 Channel


Can you upload Class 4 of these videos?
Does anyone have Class 4?