CLASS 1: INTERFACE OVERVIEW AND BASIC TRANSFORM OPTIONS AND MOTION PATHS
Navigating to and from the Fusion Page and some of the basics of the interface. Then a look at some simple methods of moving, or transforming, elements in a composition, culminating in the creation of a graphic object and making it travel along a predefined, editable path.
CLASS 2: USING TRACKERS TO CREATE MOTION PATHS IN BOTH 2D AND 3D SPACE
Working with tiger footage to create two different motion paths using the standard tracking tool in the Fusion Page. For one method, we’ll make a graphic shape follow with the tiger’s face in 2D space. The other method uses an adaptive tracking mode to follow the movement of the background. That data will be used to create a motion path to add foreground objects and simulate the original camera move.
CLASS 3: USING THE GRID WARP AND DISPLACEMENT TOOLS TO ADD MOVEMENT TO STILL IMAGES
Using stills to create time-lapse clouds and moving water using the Grid Warp Tool and displacement techniques. To add drama to the clouds, wrap them around a partial sphere and bring everything together in 3D space.
CLASS 4: BASIC KEYING OPTIONS IN FUSION
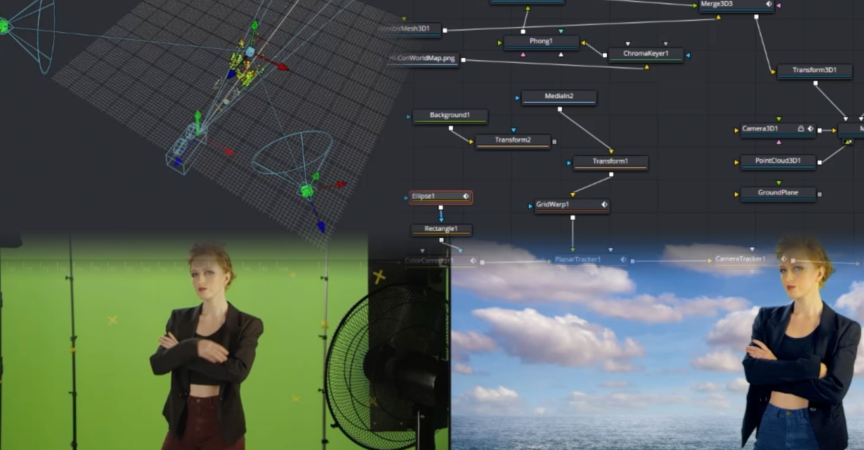
The Delta Keyer is one of the best keyers available in a desktop compositing application. In this class, it will be used along with the Clean Plate Tool to create a composite.
CLASS 5: USING 3D PARTICLE EFFECTS TO CREATE A SWIRLING BALL OF PIXIE DUST
The Fusion page features a powerful suite of particle effect tools. In this class, they are used in combination with Fusion’s Highlight Tool to create a swirling ball of 3D pixie dust to wipe on the chroma keyed woman from the previous class. We’ll also look at a situation that requires using the VFX Connect option to perform an operation in the standalone version of Fusion.
CLASS 6: TURNING GRAPHICS INTO RISING STEAM WITH 2D PARTICLE EFFECTS
2D particles can be used to create effects that look surprisingly three dimensional. In this class, 2D particles are used in conjunction with displacement to make a graphic dissipate in steam. Next, one of the templates that come with the Fusion page is used to make motion tracked steam rise up from a manhole in a crane shot of a streetscape.
CLASS 7: CREATING 3D AND 2D TEXT ON ANIMATED PATHS
Creating animations for both 3D and 2D titles, each of which follow along animated motion paths. One of the most useful modifiers in the Fusion page, The Follower, is also covered in this class.
CLASS 8: CREATING SIMPLE 3D OBJECTS AND IMPORTING A 3D MESH
In addition to native geometry, the Fusion page allows importing of Alembic or FBX meshes. In this class, a basic Alembic mesh created in an external 3D package is used to add materials, lighting and movement. The 3D Shape tool is also used to turn it into a globe with the oceans made transparent.
CLASS 9: USING THE PLANAR TRACKER FOR SCREEN AND LABEL REPLACEMENT
The Planar Tracker in the Fusion page is used to place our completed opening sequence from previous classes on a television screen within a dolly shot, using the Grid Warp tool to ensure it sits snugly within the space. The Planar Tracker is also usedto add a label to a hand-held cardboard box.
CLASS 10: USING THE CAMERA TRACKER TO ADD A 3D OBJECT TO FOOTAGE
The internal Camera Tracker and Camera Solver within the Fusion page is used to recreate the camera used in a dolly shot, allowing the creation of a 3D scene that follows along with the original footage.
CLASS 11: BASIC USE OF THE PAINT TOOL AND PLANAR TRACKER TO REMOVE OBJECTS FROM A SCE
A combination of the Planar Tracker and Paint Tool is used to seamlessly remove three manholes from a road in a crane shot of a streetscape.



 Channel