TY Carter Bundle
Release date:2021
Author:TY Carter
Skill level:Beginner
Language:English
Exercise files:Yes
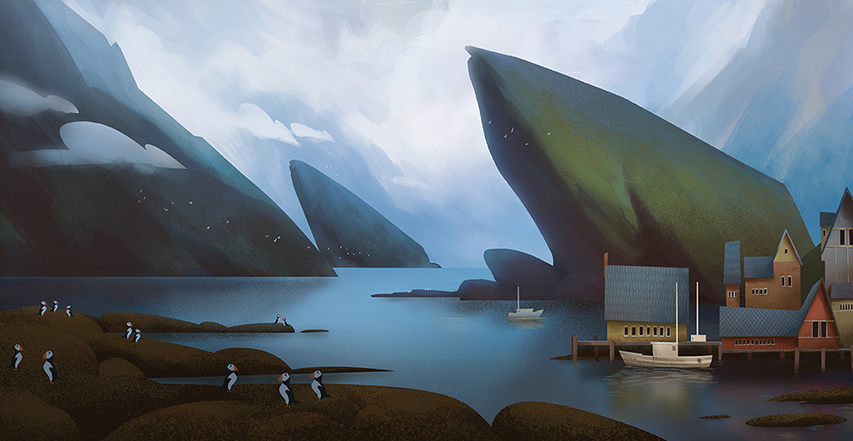
Ty Carter is currently an Art Director at Netflix Animation Studios. He has worked on films such as Nimona (2020), Spies in Disguise (2019), Peanuts, Epic, and Ice Age 4. Ty has years of experience teaching for schools such as SVS, CGMA, AnimSchool, Los Angeles Academy of Figurative Arts, and mentoring at School of Visual Arts in NYC.
Session 2 Street Scene
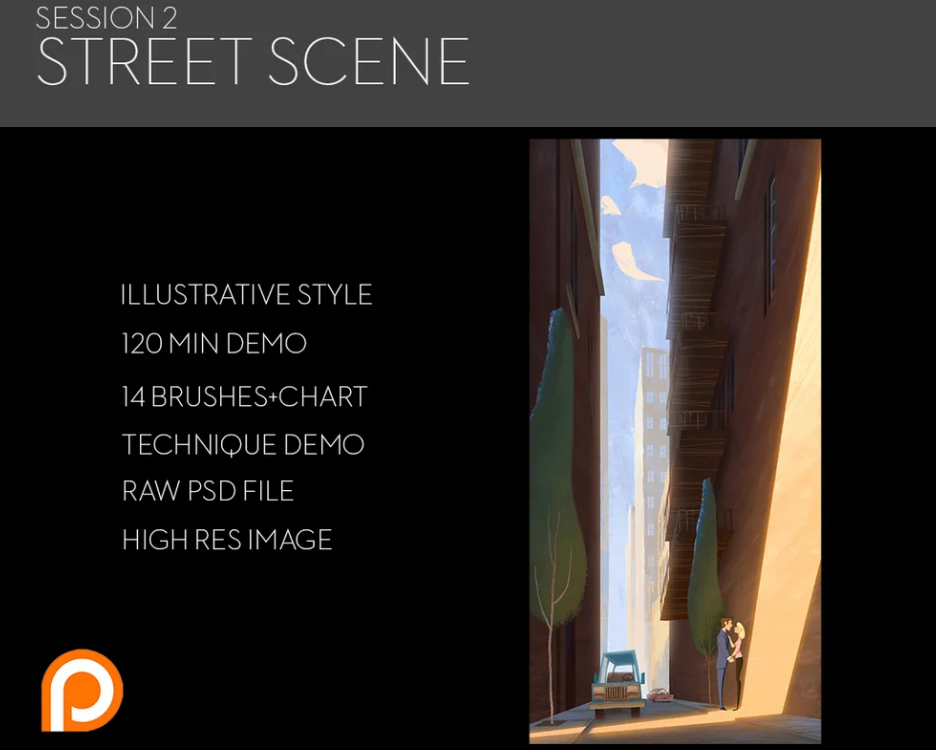
-Structured 2K HD Video Tutorial with full commentary: Street Scene (120 minutes long!!) Includes master case study, principles of design/color/composition and more! Techniques/tools for using your new brushes. Ideas and suggestion list to improve/practice.
– Full Res Painting (JPG’s) Normal version and cinematic crop
– Raw PSD File, including all layers!!!! Untouched Blockin!!
– 14 NEW texture brushes!! These are some of my favs of all time. I hope you like them! I sure do! (.abr file)
-Brush Chart with suggested use for each brush
You’ll learn:
-building a composition from scratch using shape blocks
-incorporating design elements into the macro and micro aspects of the image
-light principles in dark areas
-designing details in props with mastery and understanding
-painting in an illustrative style
-stylizing proportions
-creating harmonious colors
-directing the eye using gradients
-where and when to add details
-taking an image to final while retaining flat illustrative feel
Session 3 Local Color Bundle
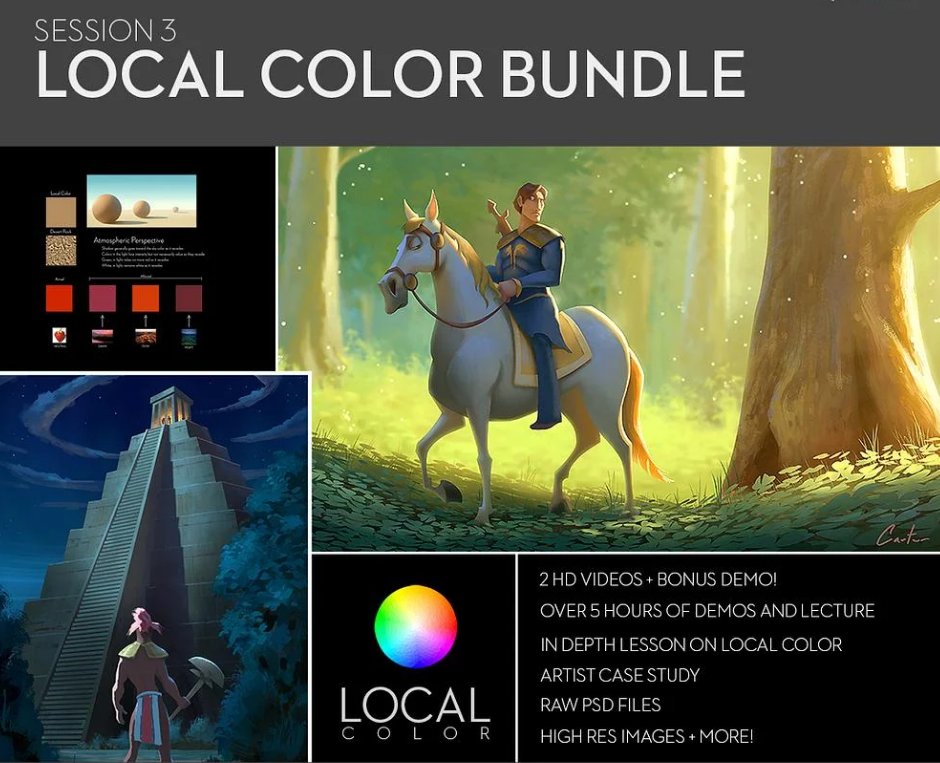
-3 Structured HD Video Tutorials with commentary and detailed process demonstration: Horseman (135 min.), Night of the Jaguar (64 min.) and Local Color Color Theory Lesson (69 min.)!!
– Full Res Images (2 JPGs)
– Raw PSD File, including all layers!!! (2 PSD Files)
– Timelapse Videos (2 .MOVs)
You’ll learn:
-to build a composition from value thumbnails
-to compose a final “moment” with color and light
-to build a painting from the local color up
-to wrap forms using temperatures
-to design and pool light
-to render complex shapes
-to retain the vivid colors in your color key
-to translate loose color to a tightened final
-to add final touches using modes and PS adjustment layers
-to recognize types of light and their differences
-to capture the sense of moonlight
-to utilize photo reference
-to push color even in night setting
-to create the illusion of glow and fire
-to render out an image for production pitches or film moments
Session 4 Value to Color Bundle

-3 Structured HD Video Tutorials with commentary and detailed process demonstration: Cenote (102 min.), Wild West (83 min.) and Value to Color: Lesson/Demo (86 min.)!!
– Full Res Images (2 JPGs)
– Raw PSD File, including all layers!!! (2 PSD Files)
– Timelapse Videos (2 .MOVs)
-Value to Color Tips PDF (3 pages)
You’ll learn:
-to build a composition from value thumbnails
-to compose a final “moment” with color and light
-to transition from a value sketch to color
-to utilize photo reference
-to push color during times of day
-to create blown out light
-to add scale and depth to a scene
-to wrap forms using temperatures
-to design and pool light
-to render complex shapes
-to retain the vivid colors in your color key
-to translate loose color to a tightened final
-to add final touches using modes and PS adjustment layers
-to recognize types of light and their differences
-to choose colors effectively
-to render out an image for production pitches or film moments
Session 5 Bundle

-3 Structured HD Video Tutorials with commentary, annotations, and detailed process demonstration: Mission Selva (116 min.), Burnt Offering (62 min.) and Brushwork Demo (59 min.)!!
– Full Res Images (2 JPGs)
– Raw PSD File, including all layers!!! (2 PSD Files)
– Timelapse Videos (2 .MOVs)
-14 Custom Texture Brushes!! (ABR file)
You’ll learn:
-to control hard and soft edges to make digital feel more traditional
-to approach complex environments
-to light a scene using a fire light source
-to balance a design with shape and line
-to create rhythm within your work
-to build a composition from values and up
-to compose a final “moment” with color and light
-to transition from a value sketch to color
-to utilize photo reference
-to push color during times of day and gain maximum control of color
-to create blown out light
-to add scale and depth to a scene
-to build atmospheric perspective with a large character
-to wrap forms using temperatures
-to design and pool light
-to render complex shapes
-to retain the vivid colors
-to add final touches using modes and PS adjustment layers
-to recognize types of light and their subtle differences
-to create a variety of useful textures
Session 6 Volumetric Lighting Bundle
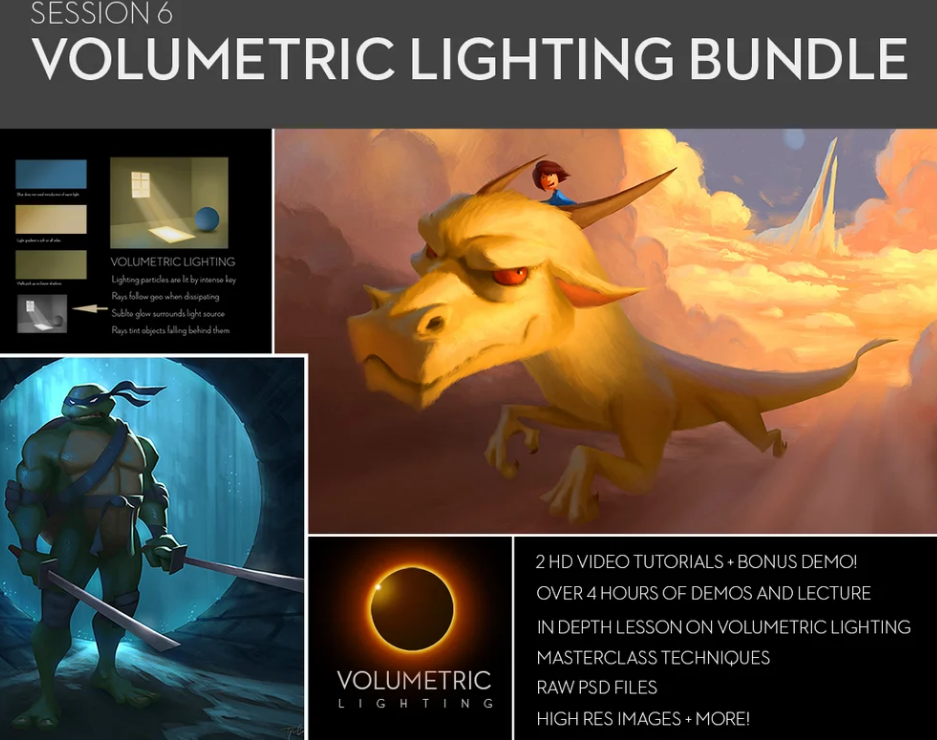
-3 Structured HD Video Tutorials with commentary, annotations, and detailed process demonstration: NeverEnding Story (91 min.), Leo (90 min.) and Volumetric Lighting Masterclass (59 min.)!!
-Explanations on different Volumetric Lighting Scenarios, Examples in Nature
-Film case study on pushing emotion with light
– Full Res Images (3 JPGs)
– Raw PSD File, including all layers!!! (2 PSD Files)
– Timelapse Videos (2 .MOVs)
You’ll learn:
-to apply techniques for volumetric lighting
-to enhance your paintings with light effects
-to add volume to sky (night and day)
-to determine what type of lighting to paint
-to retain appeal and anchor decisions in reality
-to build atmospheric perspective in small/large environments
-to recognize types of light and their differences
-to paint for golden hour or sunsets
-to render fur
-to build scale in complex environments
-to light a scene using an off screen light source
-to avoid tangents and tension points
-to balance a design with shape and line
-to create rhythm/balance within your work
-to build a composition from values and up
-to compose a final “moment” with color and light
-to transition from classic line to color
-to utilize photo reference
-to push your colors and temperature
-to create blown out light
-to build depth to a scene and sweeping motions
-to build atmospheric perspective with a large character
-to wrap forms using temperatures
-to design and pool light
-to render complex shapes
-to retain vivid colors from rough to finish
-to add final touches using modes and PS adjustment layers
-to recognize types of light and their differences
-to create shadow gradients
Session 7 Masterclass Bundle
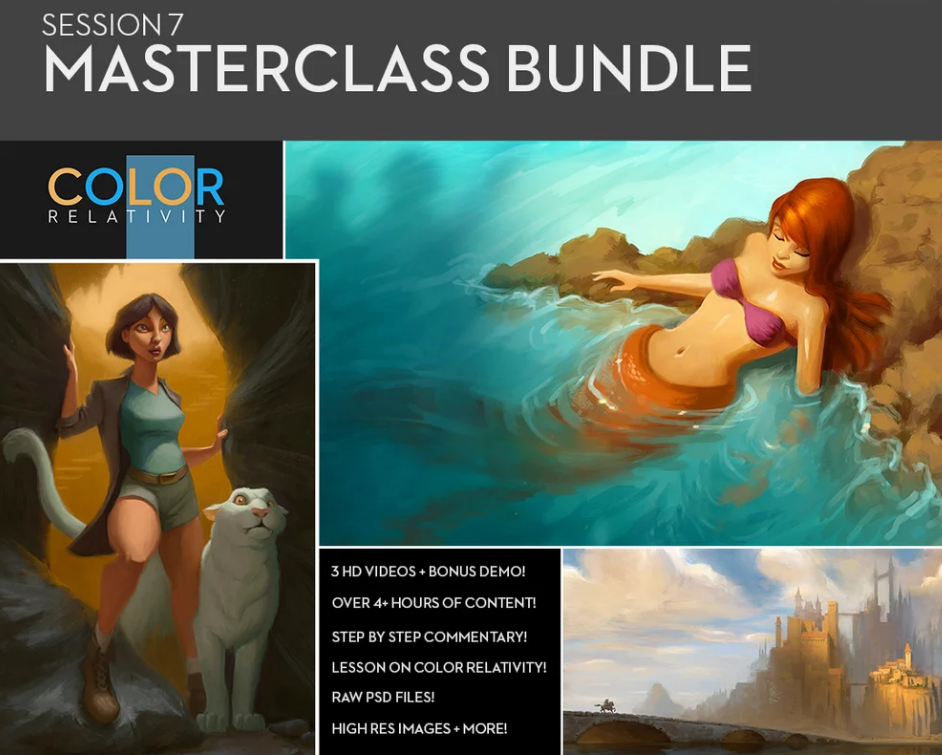
-4 Structured HD Video Tutorials with commentary, annotations, and detailed process demonstration: Mermaid (62 min.), Twin Bridge (76 min.), Cave Dwellers (70 min.), and Color Relativity Masterclass (57 min.)!!
-Explanations and demonstrations on concept design process, color approach, and step by step instruction
-Artist case study on multiple Master Artists
– Full Res Images (3 JPGs)
– Raw PSD File, including all layers!!! (3 PSD Files)
– Timelapse Videos (2 .MOVs)
You’ll learn:
-to understand and utilize relative colors in your work
-to identify visual illusions in hue and value
-to recognize master techniques from observation
-to paint with active and passive color
-to paint limited/dim lighting
-to render fur
-to build up a focal point
-to light a scene using an off screen light source
-to avoid tangents and tension points
-to balance a design with shape and line
-to render fur
-to create rhythm/balance within your work
-to build a composition from line, values and temperatures
-to conceptualize ideas for an executive or director
-to compose a final “moment” with color and light
-to push atmospheric perspective
-to add scale and depth to a scene
-to suggest detail without overworking
-to design and paint architecture
-to utilize photographs as a basis for architecture
-to push your warms and cools
-to build depth in a scene
-to build atmospheric perspective inside a closed environment
-to wrap forms using temperatures
-to design and pool light
-to render complex shapes
-to retain vivid colors from rough to finish
-to add final touches using modes and PS adjustment layers
-to break forms into simplified shapes
Session 8 Color Script Part 1
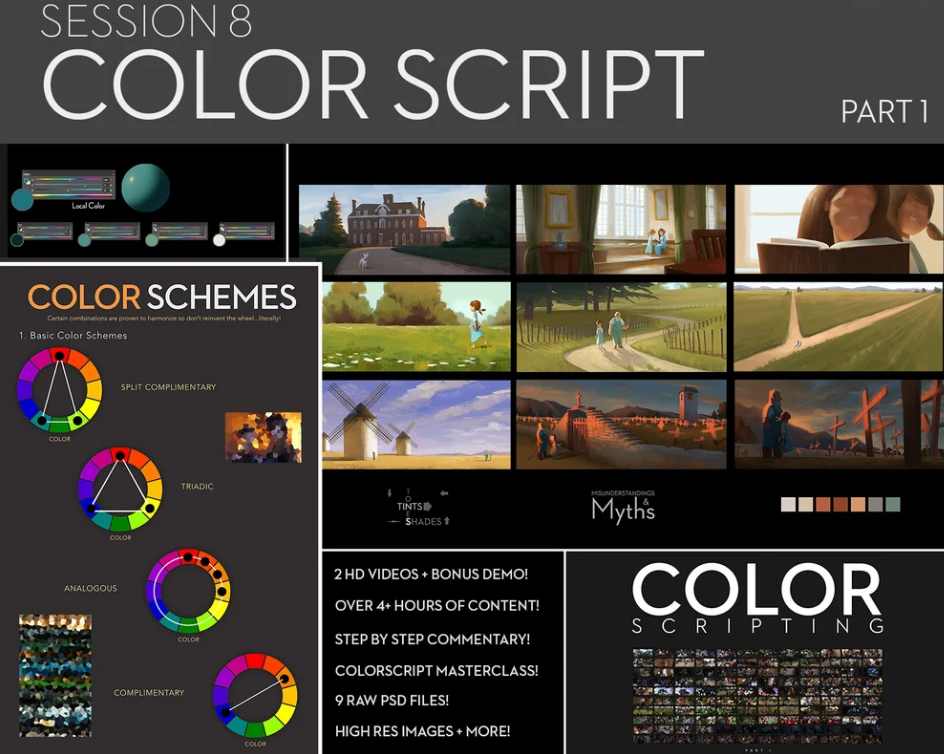
-3 Structured HD Video Tutorials with commentary, annotations, and detailed process demonstration: Part 1 Color Keys A (83 min.), Part 1 Color Keys B (81 min.), and ColorScript Masterclass (80 min.)!!
-In depth Explanations and demonstrations on color design process, color scripting approach, color theory and step by step instruction
-Professional techniques and processes
-Case Studies: Examples from cinema in a variety of films
-Who, what, where, when and how of Color Scripting
-Myths and Misunderstandings Presentation
– Full Res Images (9 JPGs)
– Raw PSD File, including all layers!!! (9 PSD Files)
– Timelapse Videos (2 .MOVs)
You’ll learn:
-to build a color script
-to manipulate inherent emotions in color
-to preserve temperature
-to incorporate symbols into your work
-understand and utilize relative colors
-to paint with active and passive color
-to paint different times of day
-to build up a focal point
-to light a scene using an off screen light source and shadows
-to avoid tangents and tension points
-to create rhythm/balance within your work
-to push atmospheric perspective
-to add scale and depth to a scene
-to suggest detail without overworking
-to paint architecture
-to utilize photographs as a basis for starting a key
-to push your warms and cools
-to build depth in a scene
-to build atmospheric perspective inside a closed environment
-to wrap forms using temperatures
-to design and pool light
-to render complex shapes
-to retain vivid colors from rough to finish
-to add final touches using modes and PS adjustment layers
-to break forms into simplified shapes
-to translate complex shapes into simple paintings
Session 9 Color Script Part 2
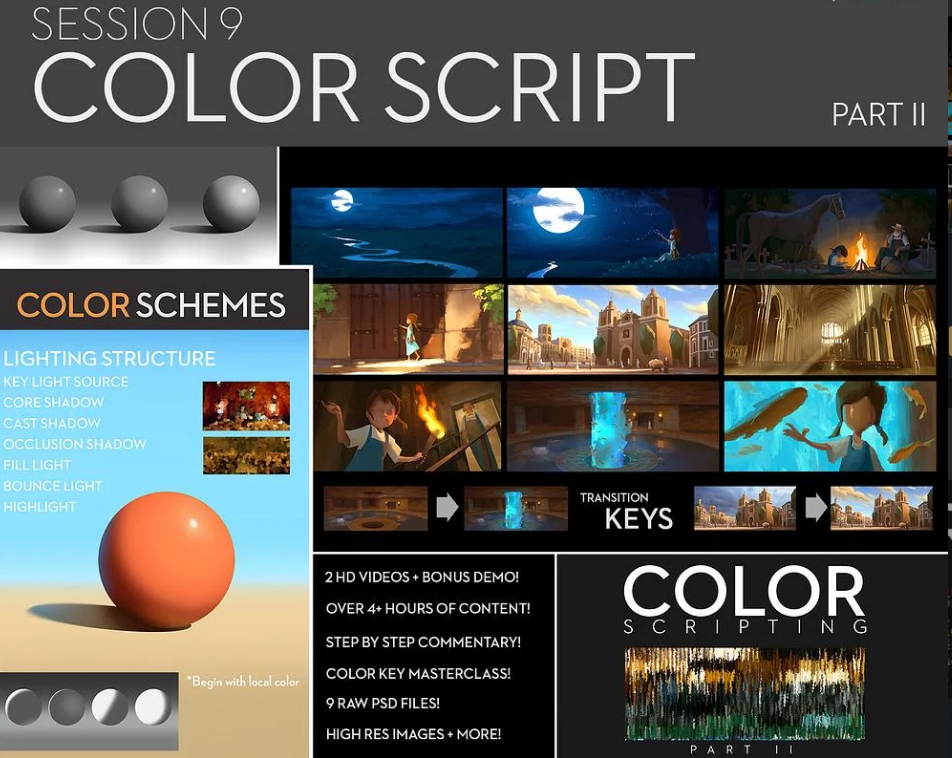
-3 Structured HD Video Tutorials with commentary, annotations, and detailed process demonstration: Part 2 Color Keys A (80 min.), Part 2 Color Keys B (90 min.), and Anatomy of a Color Key Masterclass (71 min.)!!
-Crash course for using photoshop to create color keys
-In depth Explanations and demonstrations on photoshop tools used for painting, including: Hue/Saturation/Brightness adjustments, Color Balance, Levels, Blur types, Lasso Tools, Selection Saving, Pen tool and much more!
-Approaches for designing light shapes
-Creating transitions and options for presentations
-Translating complex geo into basic shapes
-Professional techniques and processes
-In depth Explanations and demonstrations on color design process, color scripting approach, color theory and step by step instruction
-Professional techniques and processes
– Full Res Images (9 JPGs)
– Raw PSD File, including all layers!!! (9 PSD Files)
– Timelapse Video showing all part 2 keys (.MOV)
You’ll learn:
-to build a color script
-to take advantage of all photoshop has to offer
-to work more efficiently
-to give variety and appeal to your work
-to effectively modify or articulate specific notes from a director
-to approach your keys with more forethought and preparation
-to manipulate inherent emotions in color
-to preserve temperature
-to incorporate symbols into your work
-to create campfire, torch, and artificial lights
-to efficiently use Photoshop tools to build color keys
-to organize brushes
-to design light shapes
-to paint moonlight and night sky
-to render shadow occlusion
-to paint large scale architecture
-understand and utilize relative colors
-to paint with active and passive color
-to paint different times of day
-to build up a focal point
-to light a scene using an off screen light source and shadows
-to avoid tangents and tension points
-to create rhythm/balance within your work
-to push atmospheric perspective
-to add scale and depth to a scene
-to suggest detail without overworking
-to paint architecture
-to utilize photographs as a basis for starting a key
-to push your warms and cools
-to build depth in a scene
-to build atmospheric perspective inside a closed environment
-to wrap forms using temperatures
-to design and pool light
-to render complex shapes
-to retain vivid colors from rough to finish
-to add final touches using modes and PS adjustment layers
-to break forms into simplified shapes
-to translate complex shapes into simple paintings
Session 10 Color Script Part 3
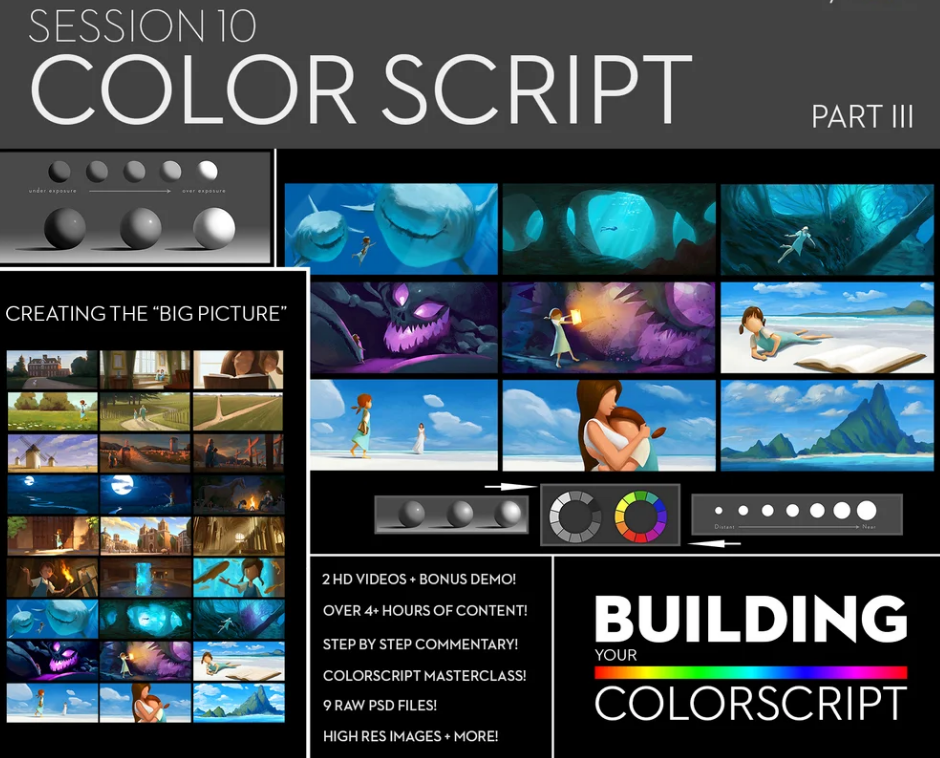
-3 Structured HD Video Tutorials with commentary, annotations, and detailed process demonstration: Part 3 Color Keys A (90 min.), Part 3 Color Keys B (90 min.), and Building Your ColorScript Masterclass (66 min.)!!
-Intuitive approaches for building a competitive ColorScript
-Choosing Character and Environment colors and their meanings
-Symbolic Color Theory
-Film Case Studies and analysis
-Professional techniques and processes
-In depth Explanations and demonstrations on color design process, color scripting approach, color theory and step by step instruction
-Professional techniques and processes
– Full Res Images (10 JPGs)
– Raw PSD File, including all layers!!! (9 PSD Files)
– Timelapse Video showing all part 3 keys (.MOV)
You’ll learn:
-to build a color script
-to give variety and appeal to your work
-to effectively modify or articulate specific notes from a director
-to approach your keys with more forethought and preparation
-to manipulate inherent emotions in color
-to preserve temperature
-to incorporate symbols into your work
-to incorporate symbols into your work
-to create effects and eerie lights
-to efficiently use Photoshop tools to build color keys
-to design light shapes
-to paint deep, shallow and murky water
-to render shadow occlusion
-understand and utilize relative colors
-to paint with active and passive color
-to paint different times of day
-to build up a focal point
-to light a scene using an off screen light source and shadows
-to avoid tangents and tension points
-to create rhythm/balance within your work
-to push atmospheric perspective
-to add scale and depth to a scene
-to suggest detail without overworking
-to paint clouds
-to push your warms and cools
-to build depth in a scene
-to build atmospheric perspective inside a closed environment
-to wrap forms using temperatures
-to design and pool light
-to render complex shapes
-to retain vivid colors from rough to finish
-to add final touches using modes and PS adjustment layers
-to break forms into simplified shapes
-to translate complex shapes into simple paintings
Session 41 Cinematic Storytelling
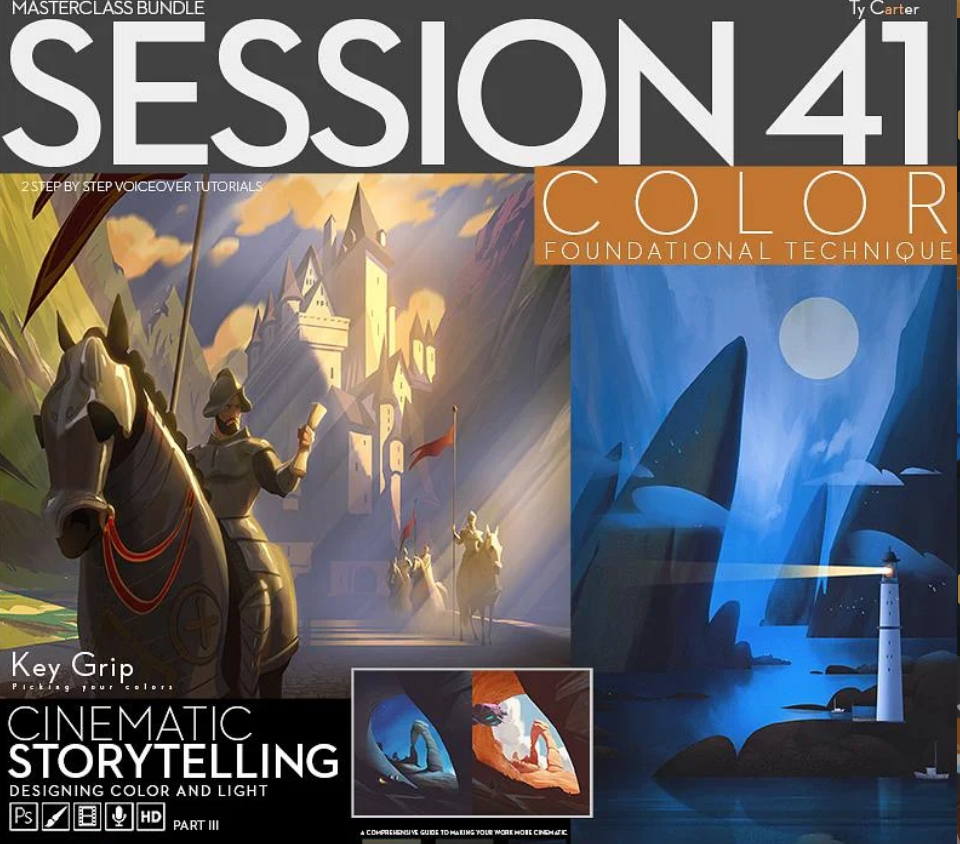
*THREE of an Eight Part Series
Here is everything you get!!
-Two Structured HD Video Tutorials with commentary, annotations, and detailed process demonstration:
1) Key Grip Lecture: (22 min.)
2) Demonstrations (41 min)
-Explanations and demonstrations on stylization process, color application, and step by step instruction on cinematic storytelling.
3) Process Video Timelapse (3 MOVs)
4) Full Res Images (4 JPGs)
5) Raw PSD Files, including all layers!!! (6 PSD Files)
6) Assignments for Practice
7) BrushPack 3.0: Some of my favorites plus some bonus brushes
8) Texture Brush Set: Some of my favorite Material brushes
9) Recommended Book List PDF
You’ll learn:
-to pick colors effectively
-to up your images production value
-to layout a scene with staging elements
-to connect with viewers through emotion and beauty
-to create iconic imagery
-to paint faster
-to economize your layers
-to stylize designs in color and light
-to break down good and bad design
-to balance design using the rules, principles and elements of design
-to embrace lighting as a design element
-to create a story moment
-to paint characters within a scene
-to build up a focal point
-to light a scene using an off screen light source
-to create rhythm/balance within your work
-to build a composition from line, shapes, patterns and temperatures
-to conceptualize ideas for an executive or director
-to compose a final “moment” with color and light
-to render complex shapes
-to retain vivid colors from rough to finish
-to add final touches using modes and PS adjustment layers
-to provide the best option for presentation
-to commit to an idea and carry it through
-to facilitate coherent technique throughout a piece



 Channel

Thank you for all the bundles you’ve been providing so far, it becomes easier to find and very useful
Thanks so much for the course. I was wondering if you could get this course From erak note. Here is a link and it’s also on their Instagram. Either way thank you so much for your hard work!
https://coloso.co.kr/illust_webtoon/conceptartist_eraknote
file [Gumroad] TY Carter Bundle.7z.002 is not working, file format can not be extracted. Can you recheck? thanks a lot.
file [Gumroad] TY Carter Bundle.7z.002 is not working. file format can not be extracted. Can you recheck? thanks a lot.
Thank you for that!
Thanks you , can u upload all bundle from ty carter please ?
can’t donlowad( pls fix
Hi, Thanks for sharing,
Can you add other contents from https://tycarter.gumroad.com/. It has 77 Session contents.