Stylized Skin Growth in Houdini
Release date:2021, September 15
Author:Adam Priester
Skill level:Beginner
Language:English
Exercise files:Yes
Description
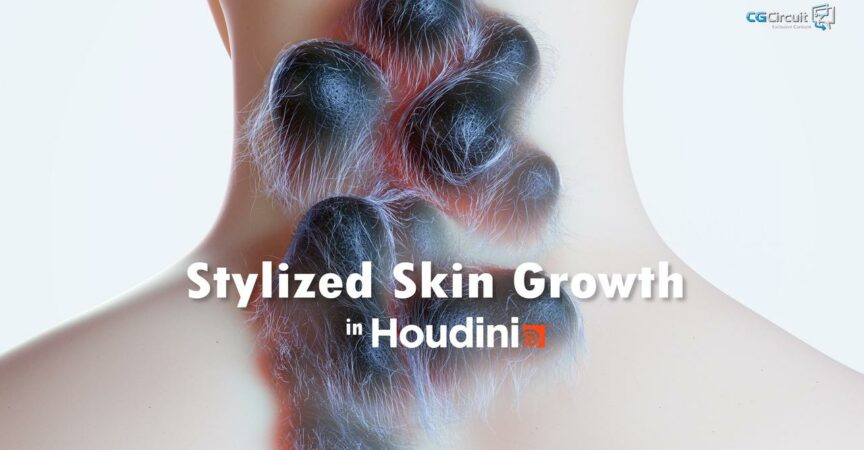
In this course we’ll be tackling how to set up a stylized, organic and slightly creepy skin growth effect that sits somewhere between VFX and Motion Graphics.
While creating this highly specific effect the viewer will be able to pick up a bunch of useful tips and tricks that can be implemented into their work.
We will set up the effect from scratch using several simulations that work in unison. We start out with a custom grain simulation that drives our vellum skin simulation, which in turn influences the hair simulation. Once we’re done with our simulation we’ll bring back our deforming geometry onto our base model.
After this we’ll cover a bit of shading and rendering with Redshift.
We will use a decent amount of VEX and we will end up with a clean, reusable setup.
This course is aimed at beginners to intermediate users of Houdini.


 Channel


