Ad Clicks : Ad Views : Ad Clicks : Ad Views : Ad Clicks : Ad Views : Ad Clicks : Ad Views :
Oh Snap!

It looks like you're using an adblocker. Adblockers make us sad. We use ads to keep our content happy and free. If you like what we are doing please consider supporting us by whitelisting our website. You can report badly-behaved ads by clicking/tapping the nearby 'Advertisement' X text.

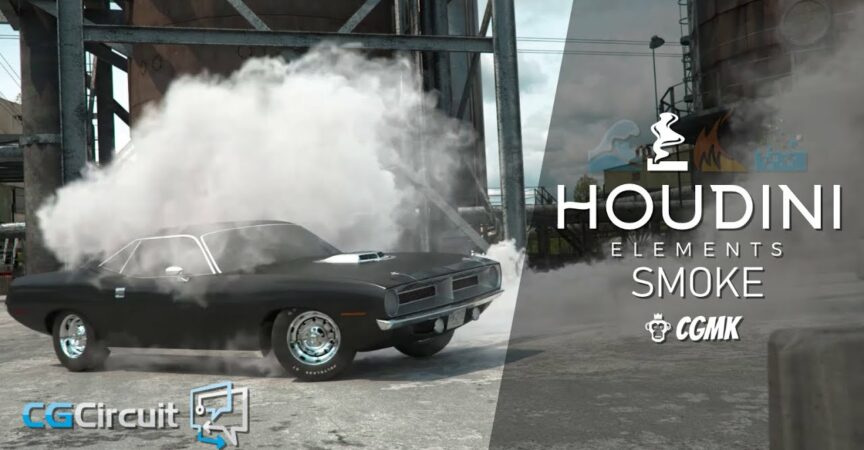
Houdini Elements – Smoke

/

Release date:2021, February

Author:CGCircuit

Skill level:Intermediate

Language:English

Exercise files:Yes

In this online course, the viewer will learn about Houdini simulating realistic Smoke and having it interact with the environment as well as animated objects.

The course will start exploring DOPs and Smoke simulation in Houdini as a way to introduce you to simulating real world phenomenon in Houdini. We’ll work on smaller projects such as a smoke vortex portal, a tire burnout effect and a big project which will consist of simulating a smoke grenade and having a car collide with it. Not only will we be creating great smoke effects but we’ll also learn about lighting, shading and rendering with Vray inside Houdini.

Along the way, we’ll go through many tips and tricks to work efficiently and get amazing results.

This course has been designed for users already familiar with Houdini’s UI and workflow. The complexity of the topics and assignments will start fairly simple but get progressively more complex every week.

After viewing this course, people can expect to feel confident while creating complex Smoke FX with Houdini using the Pyro Solver and the new Pyro Sparse Solver, and also lighting and shading with Vray 5 for Houdini.

Watch online or Download for Free

Week 1
01_Workshop Introduction
02_What are Volumes
03_creating a Pyro Source
04_Animating the source
05_Creating a pyro SIM
06_Simulation Settings
07_Shape Microsolver
08_Caching The sim
09_Starting a smoke vortex
10_Completing the source
11_Building the vortex DOP network
12_Finalizing the vortex shape
13_Add color
14_smoke vortex recap

Week 2
01_Importing The Assets
02_Source Logic explained
03_Isolate source surface
04_Setting up our vecolities
05_Temperature Solver
06_Density from temperature
07_Wrapping Collision Geometry
08_Setting up Our DOPs system
09_Adjusting the Microsolvers
10_Creating our cache system
11_Final Adjustements
12_Scene Setup
13_Camera and Lights
14_Motion Blur Issue
15_Final Render
16_Homework week 2

Week 3
01_Smoke Project Briefing
02_Scene Start File
03_Creating the Smoke Source
04_Setting up our DOPs system
05_Adjusting Main Shape
06_Adjusting the Microsolvers – Turbulence
07_Adjusting the Microsolvers – Disturbance
08_Basic Render Setup and OCIO
09_Wedging with PDG – Cache and Render
10_Wedging with PDG – Text Overlay and Export Video
11_Homework Week 3

Week 4
01_Positioning the Car
02_Positioning the Car
03_Wrapping the tires
04_Preparing Smoke Start Frame
05_Adjusting Smoke Start Frame
06_Setting up the Collision Simulation
07_First Collision Simulation
08_Starting the Extra Velocity Field
09_Finishing the Extra Velocity Field
10_Tweaking the Velocity Field
11_High Resolution Smoke Column
12_High Quality Sim
13_Scene Assembly
14_First Renders
15_Adding the Concrete Barrier
16_Setting up the Tire Marks
17_Setting up the Tire Marks
18_Final Renders and Result
19_Homework Week 4

Week 5
58 working on final projects

[CG Circuit] Houdini Elements – Smoke.7z.001
[CG Circuit] Houdini Elements – Smoke.7z.002
[CG Circuit] Houdini Elements – Smoke_Subtitles.7z


Join us on
  Channel    and      Group

  • Facebook
  • Twitter
  • Google+
  • Linkedin
  • Pinterest

1 Comments

Leave a Comment

Your email address will not be published. Required fields are marked *